The Finished Faux Stone On The Exterior Bedroom Door Is Finished!

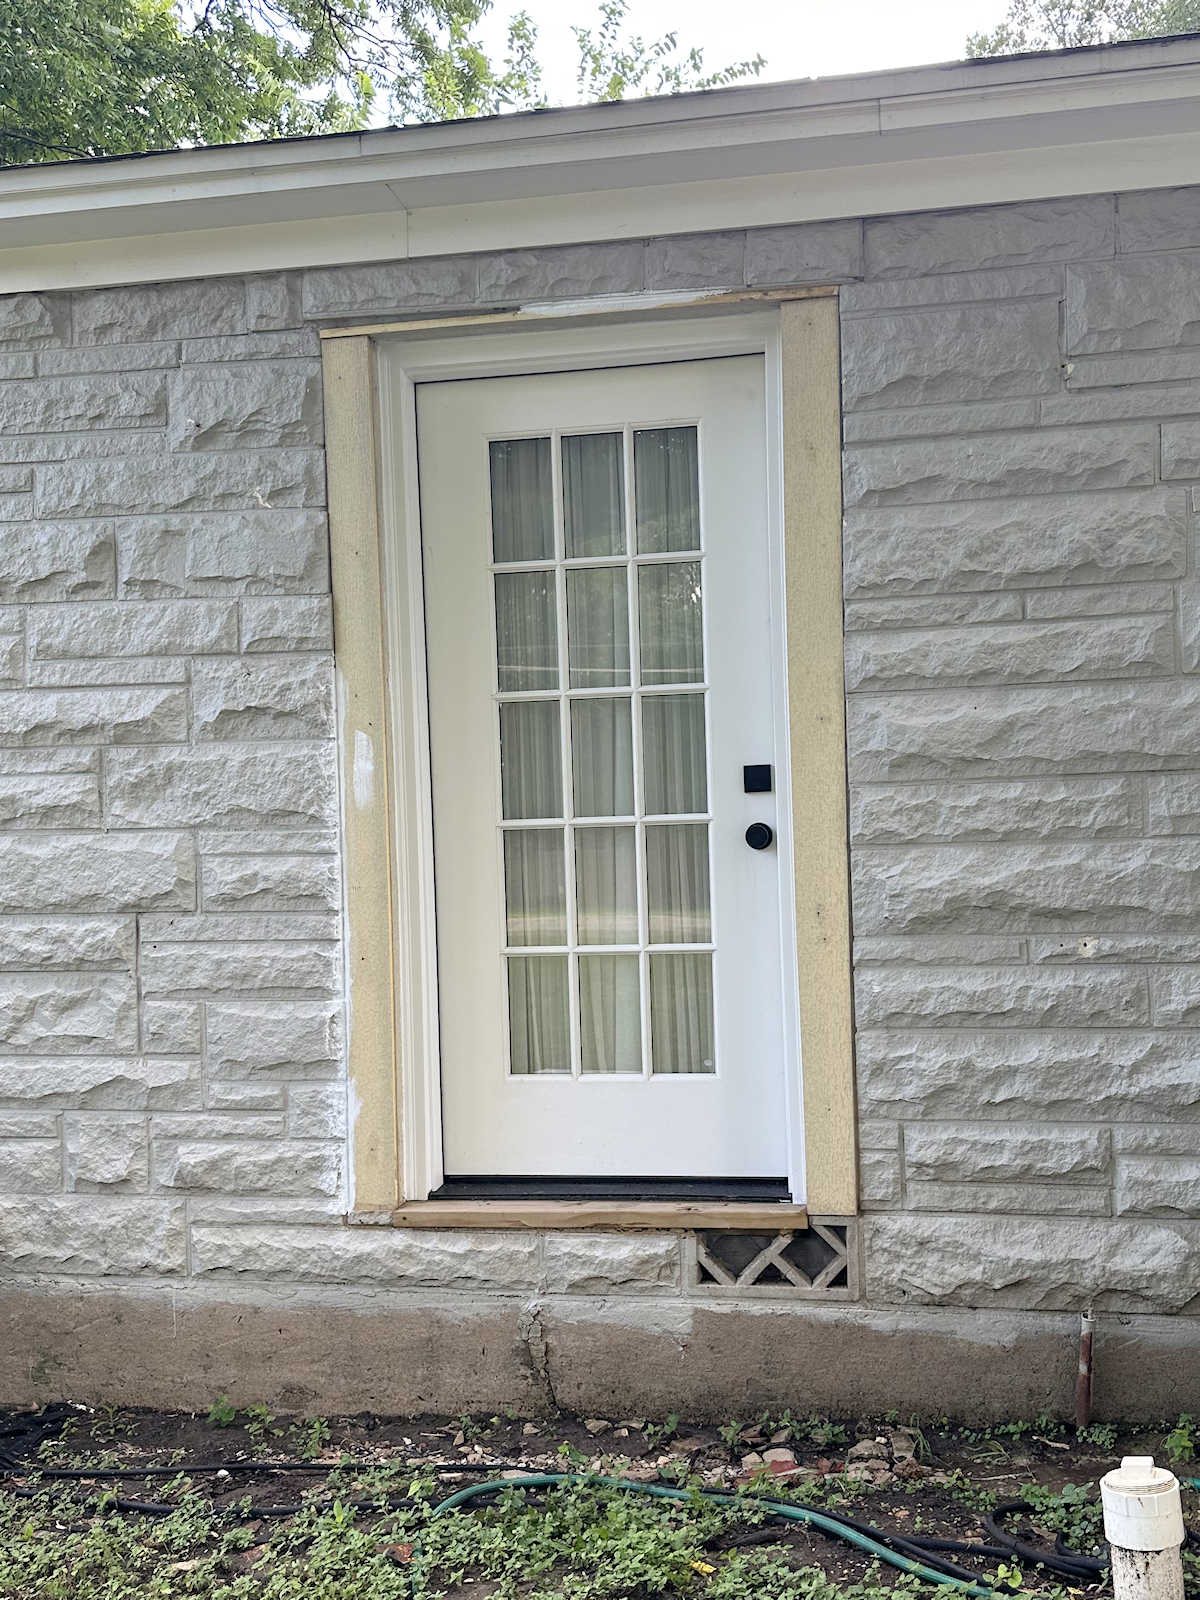
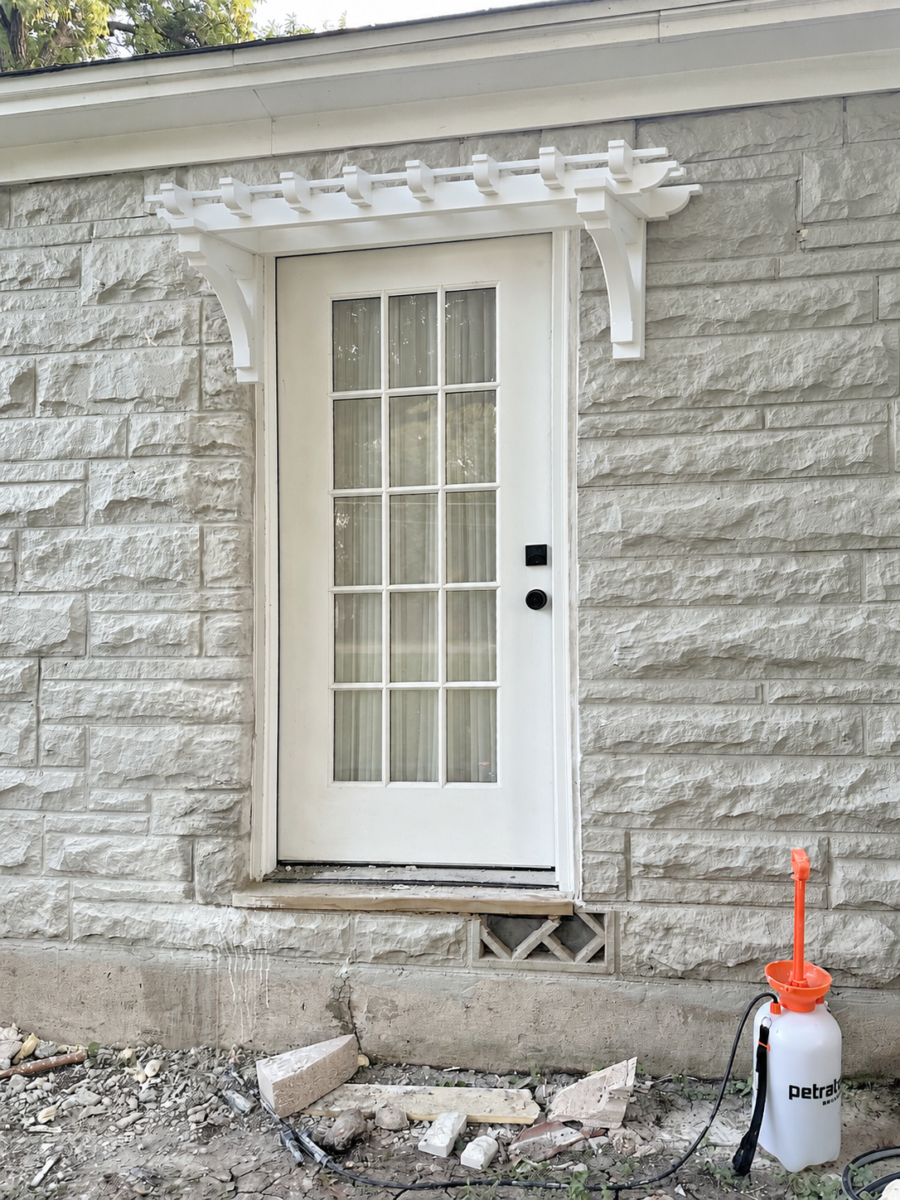
Y’all, I finished the faux stone around the exterior bedroom door this weekend! And I’m so incredibly excited about how this project turned out.
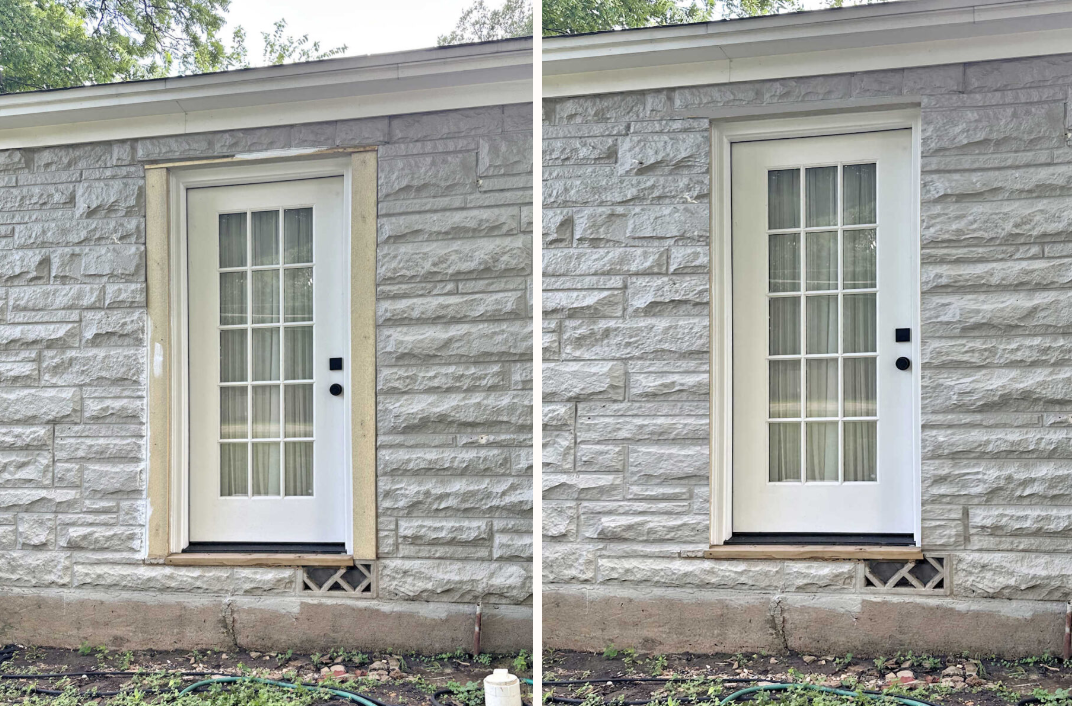
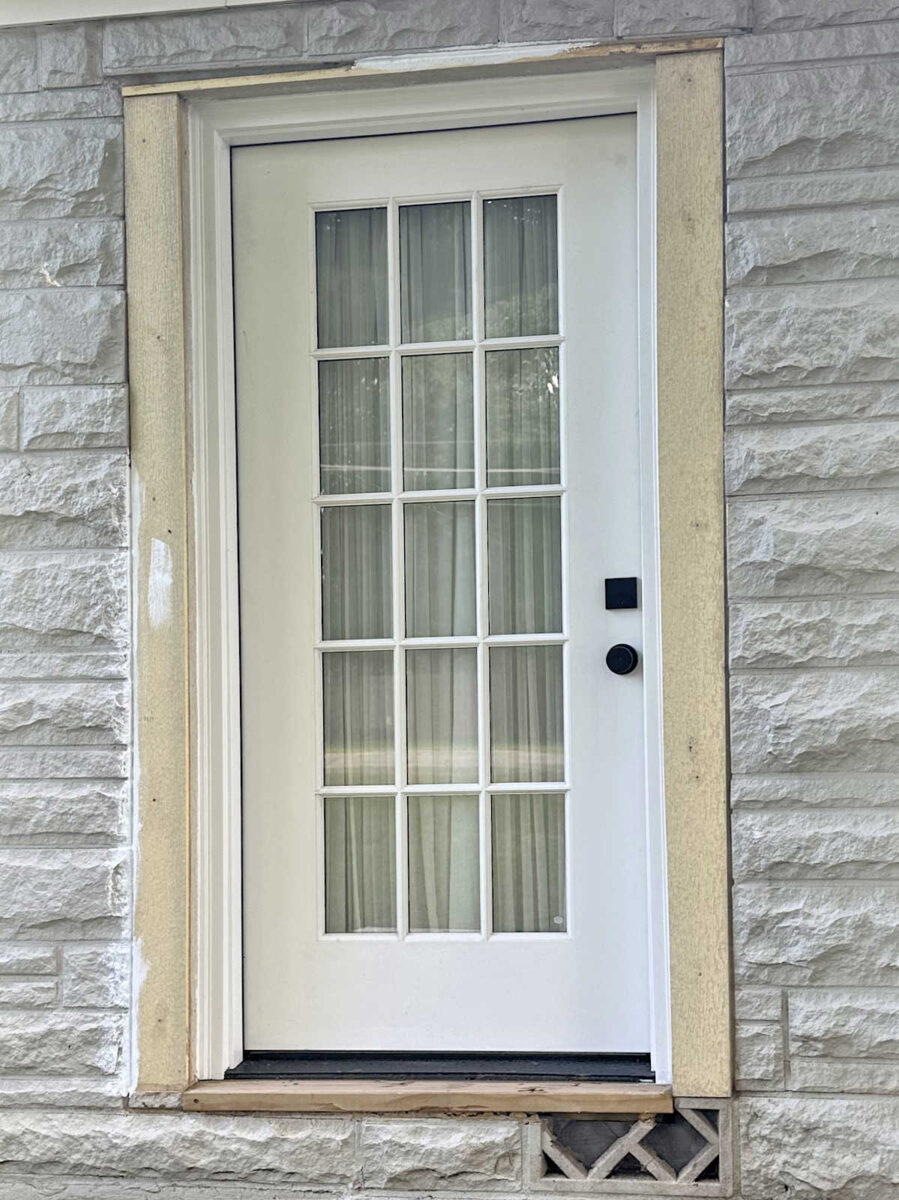
Let me remind you that this is how the door looked before I got the idea to replace the Hardie trim with faux stone.
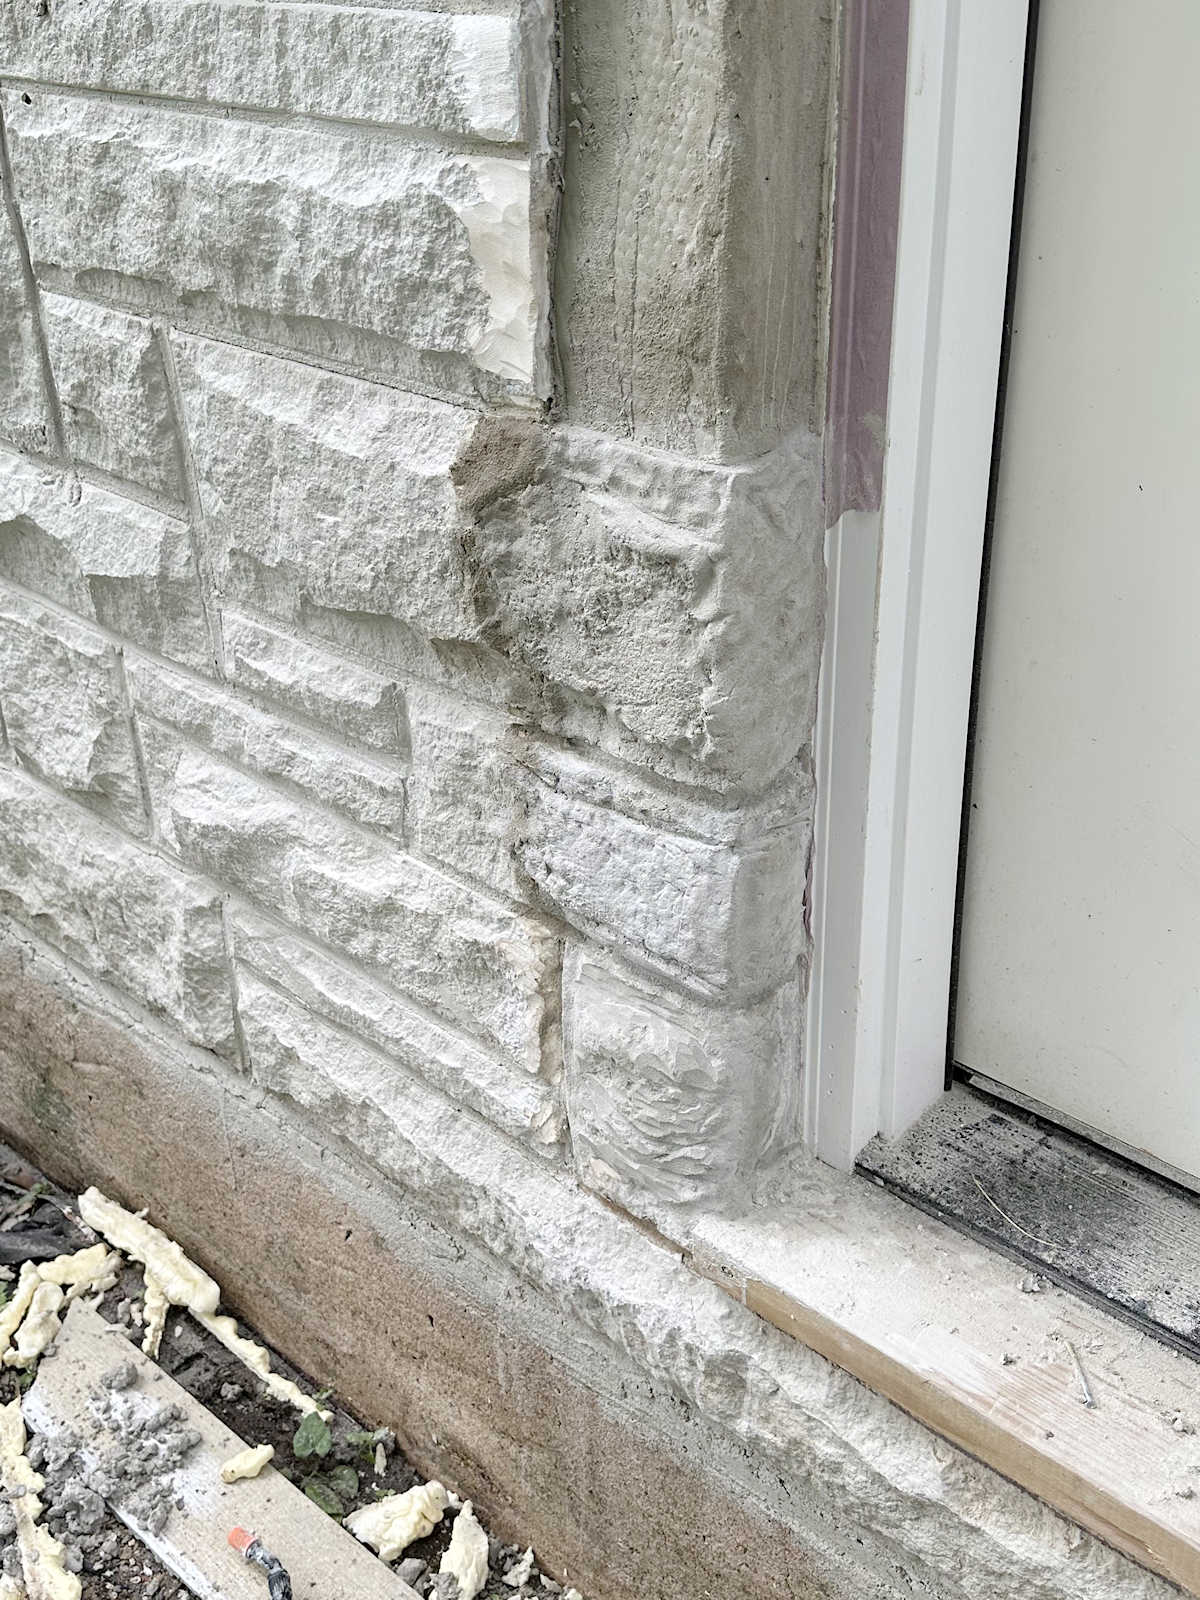
I hated the way that looked, but for the longest, I couldn’t come up with a solution. I thought my only option was to paint the trim the same gray as the house and hope that it disappeared. And in reality, taking that easy route probably would have gone a long way towards disguising it. But I know myself very well, and I know without a doubt that the trim would have bothered me no matter what color it is. So I took the trim off, prepped the area for concrete, and made faux concrete stones in place of the Hardie trim.
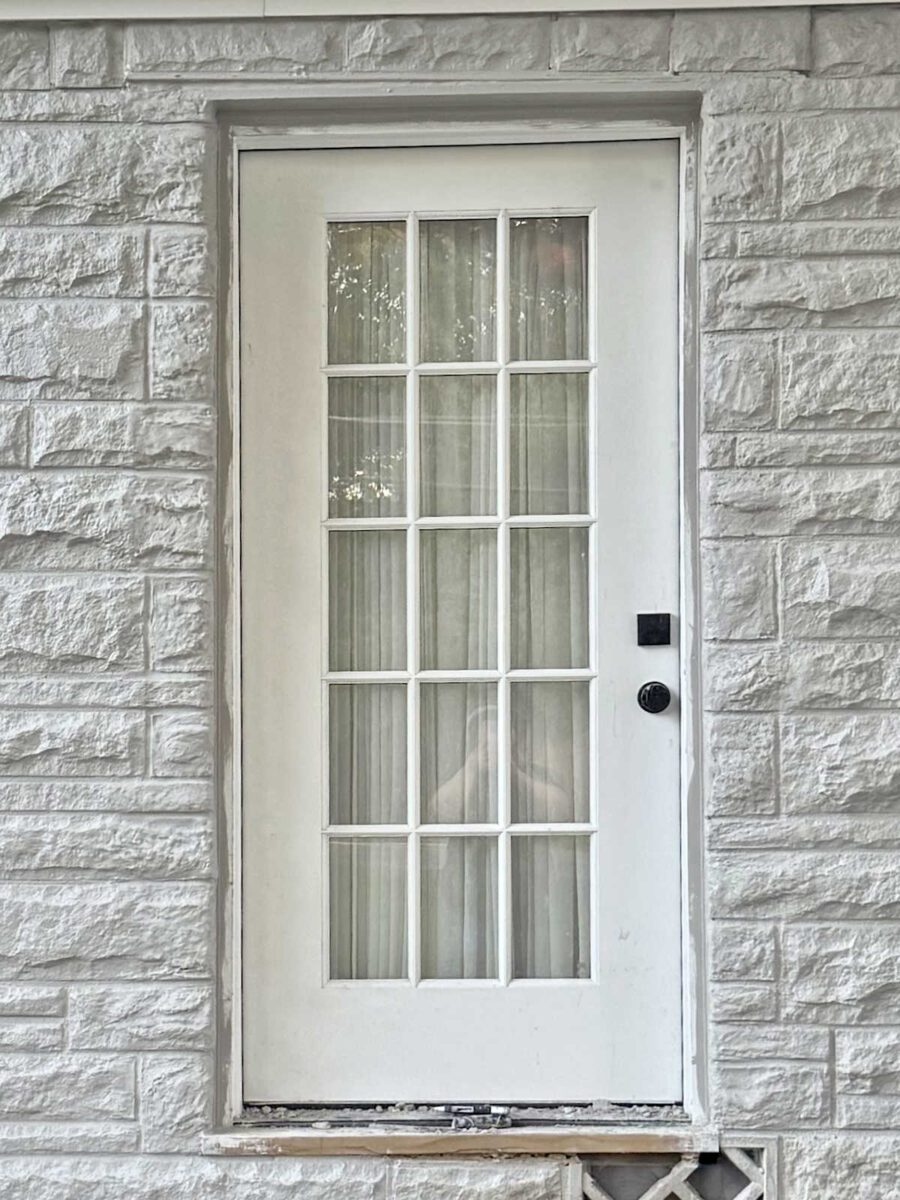
And now that ugly trim has been replaced with faux concrete stone. I do want to point out that while the stone is finished, I still haven’t had time to finish painting the white trim and the door. I’ll do that today. So right now, the gray paint on the part of the door trim that’s supposed to be white is looking pretty messy, but it’ll be all painted by the end of today. But I was too excited about the faux stone to wait another day to show you how it turned out. 😀
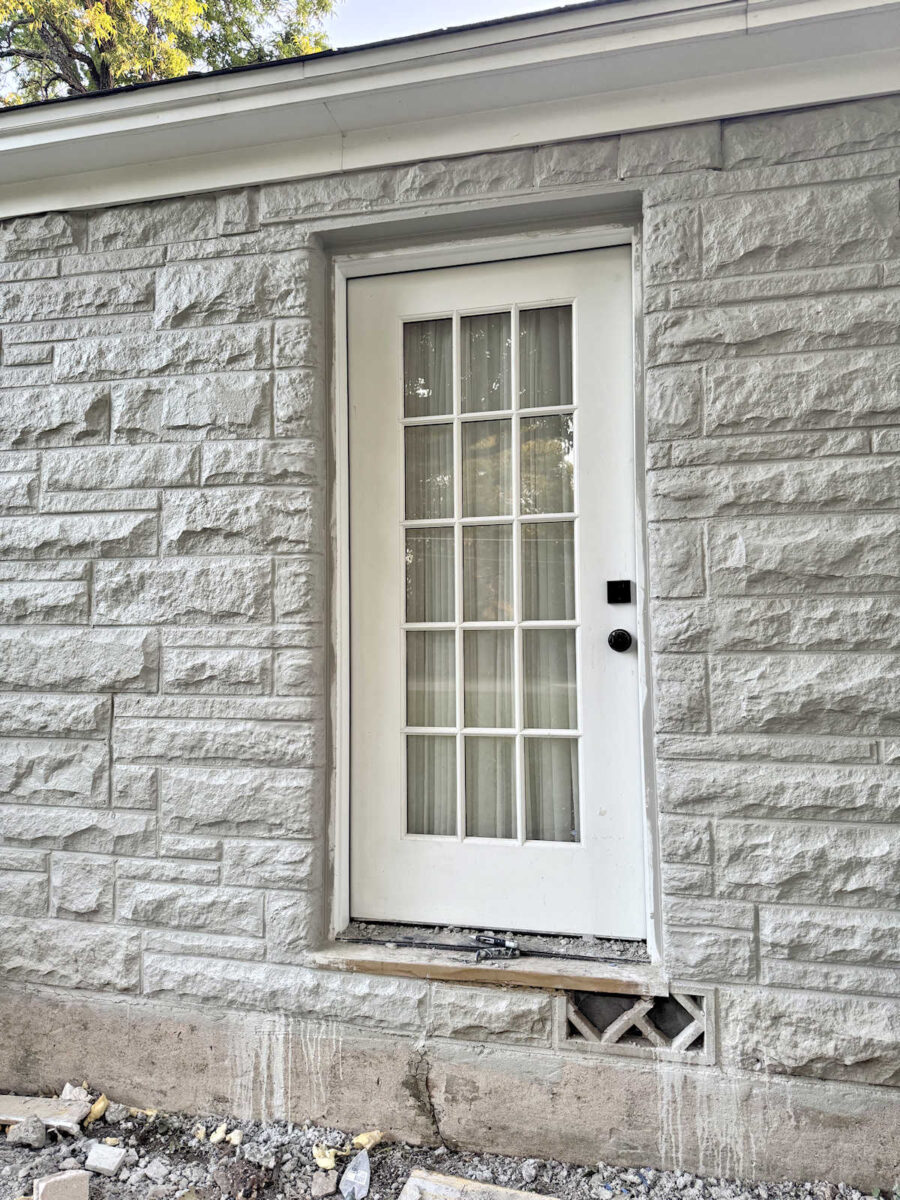
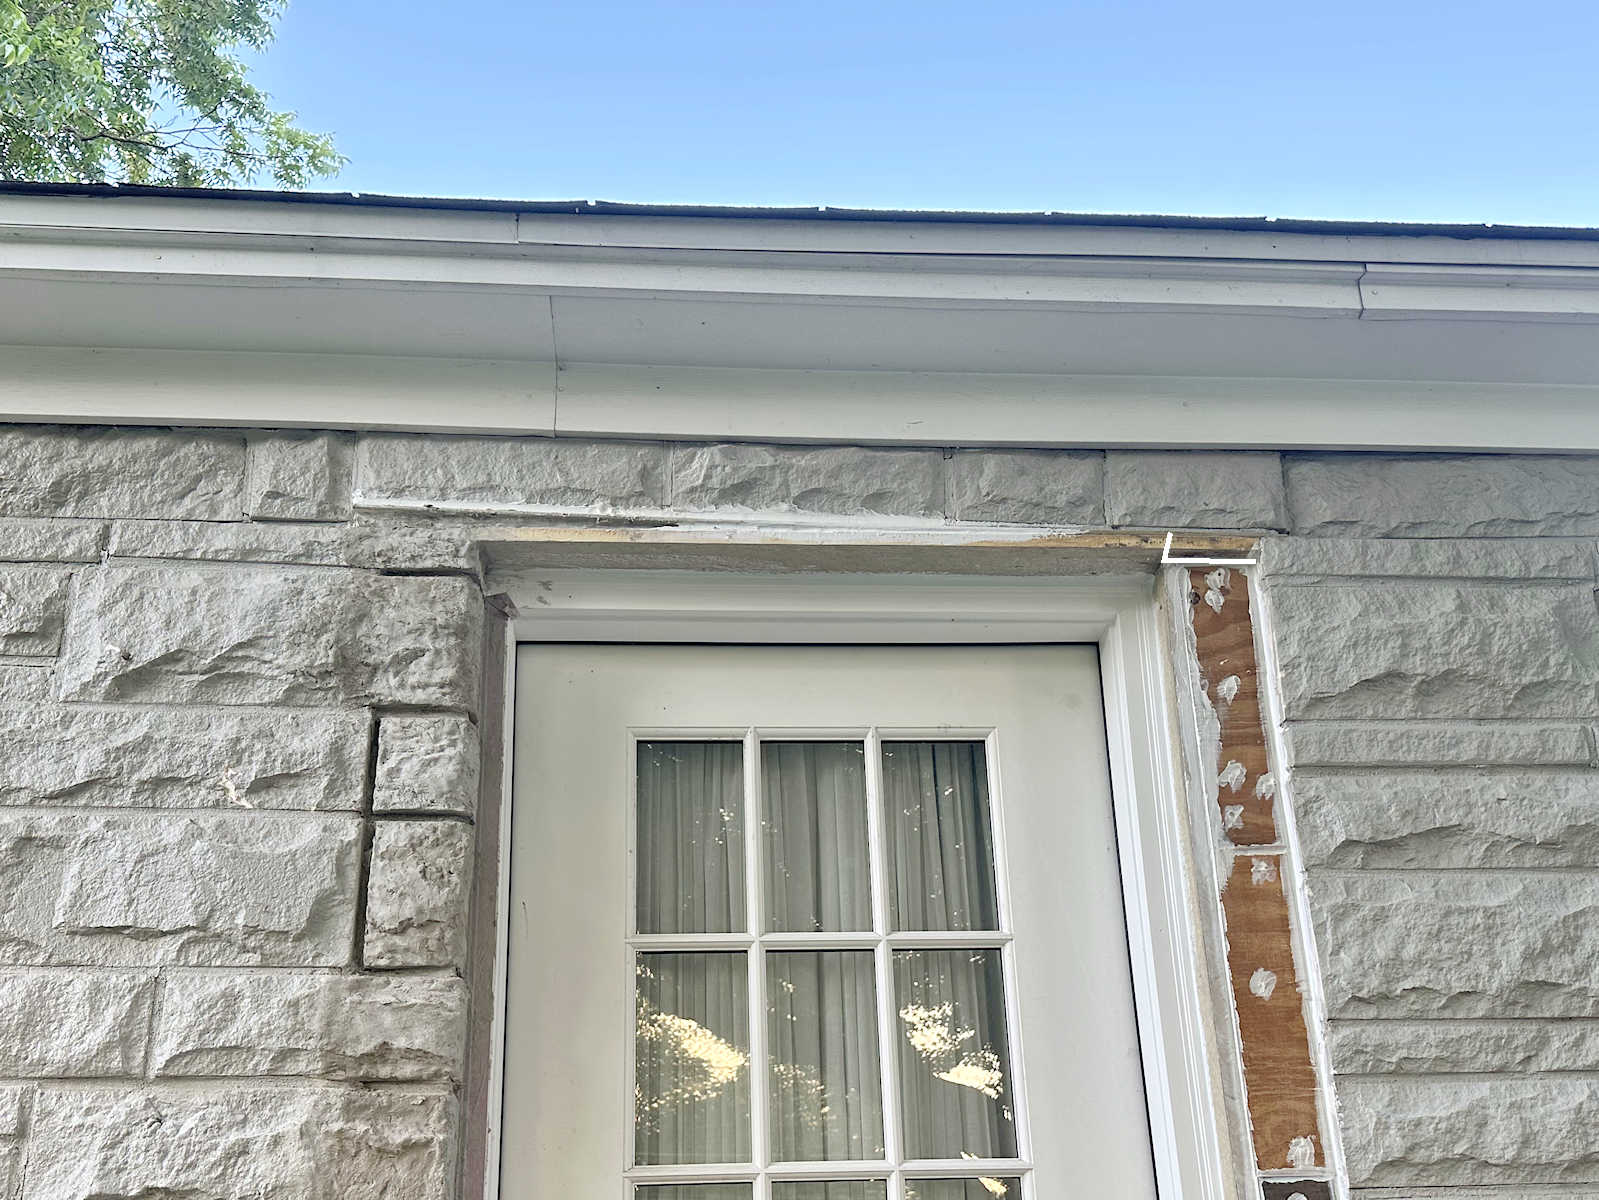
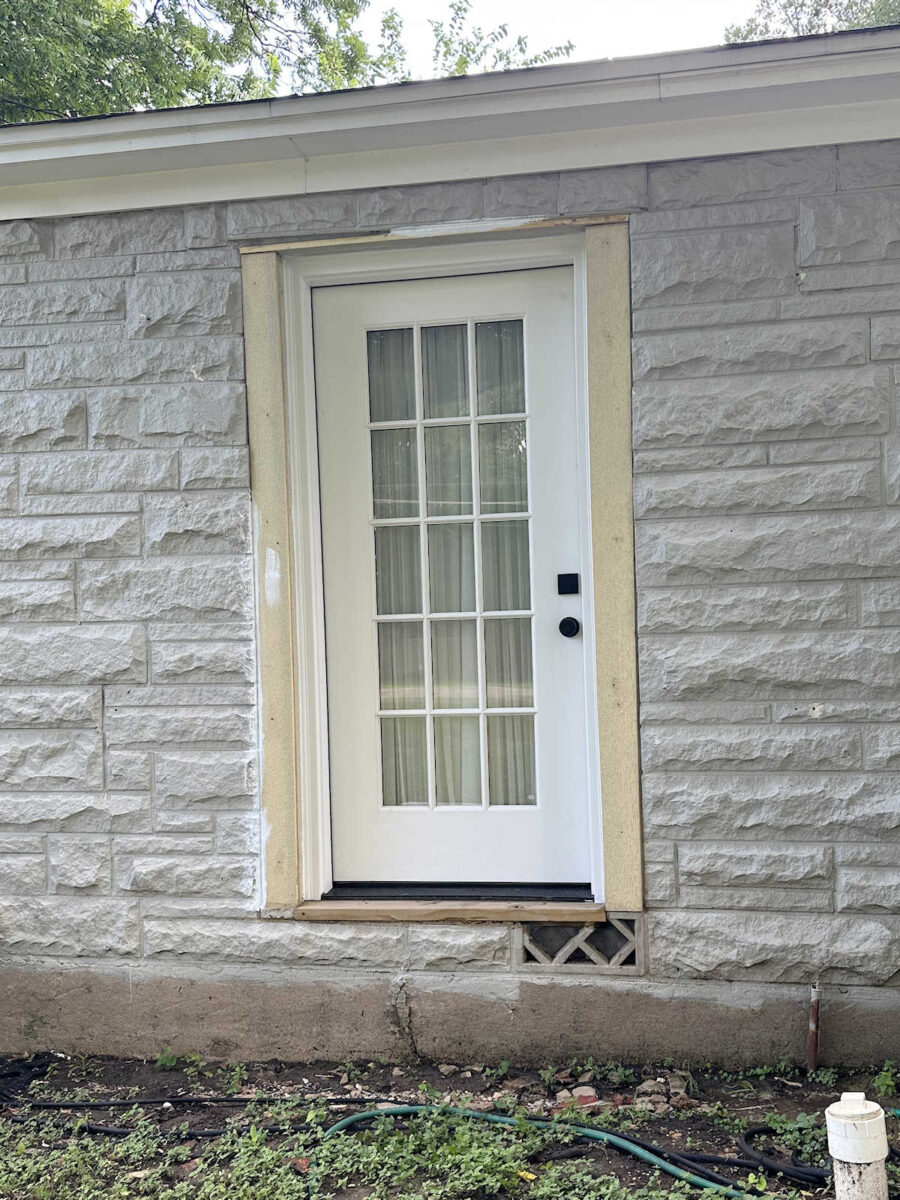
Now let me back up a bit and show you an “in progress” picture because I want to point out a couple of things. First, you’ll notice that for now, at least, I’ve decided to ignore the wonky area above the door and just paint it gray to see if that would make it disappear. It’s very visible in this picture because it has white caulk on it.
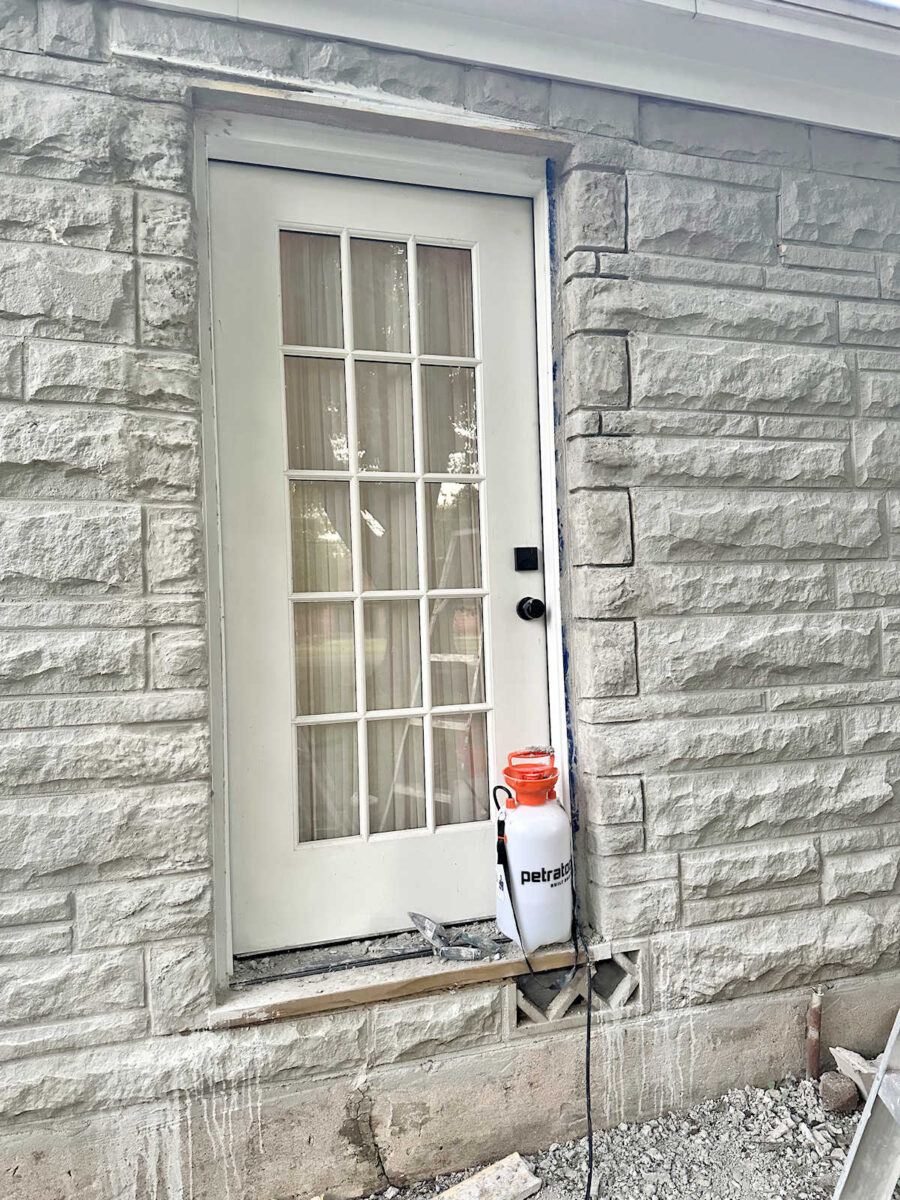
But at least for now, I’m pretty happy with the way that it kind of disappears when it’s all painted the same color. And keep in mind, my main concern is what it looks like from the street and not what it looks like when someone is standing four feet from the door since this isn’t the main entrance to our house.
The second thing I wanted to point out is that I did something a little different on the right side of the door. You have to keep in mind that I had never done anything like this before, so I was pretty much making it up as I went along. 😀 So when I did the left side, which is the side I did first, I decided which stones I wanted to extend all the way around to the door jamb, and which rows I wanted to create all new, separate stones to cover the area where the trim had been. Because I was trying to be random with that decision, I ended up with two rows with new, separate stones next to each other, which made the mortar lines line up vertically.
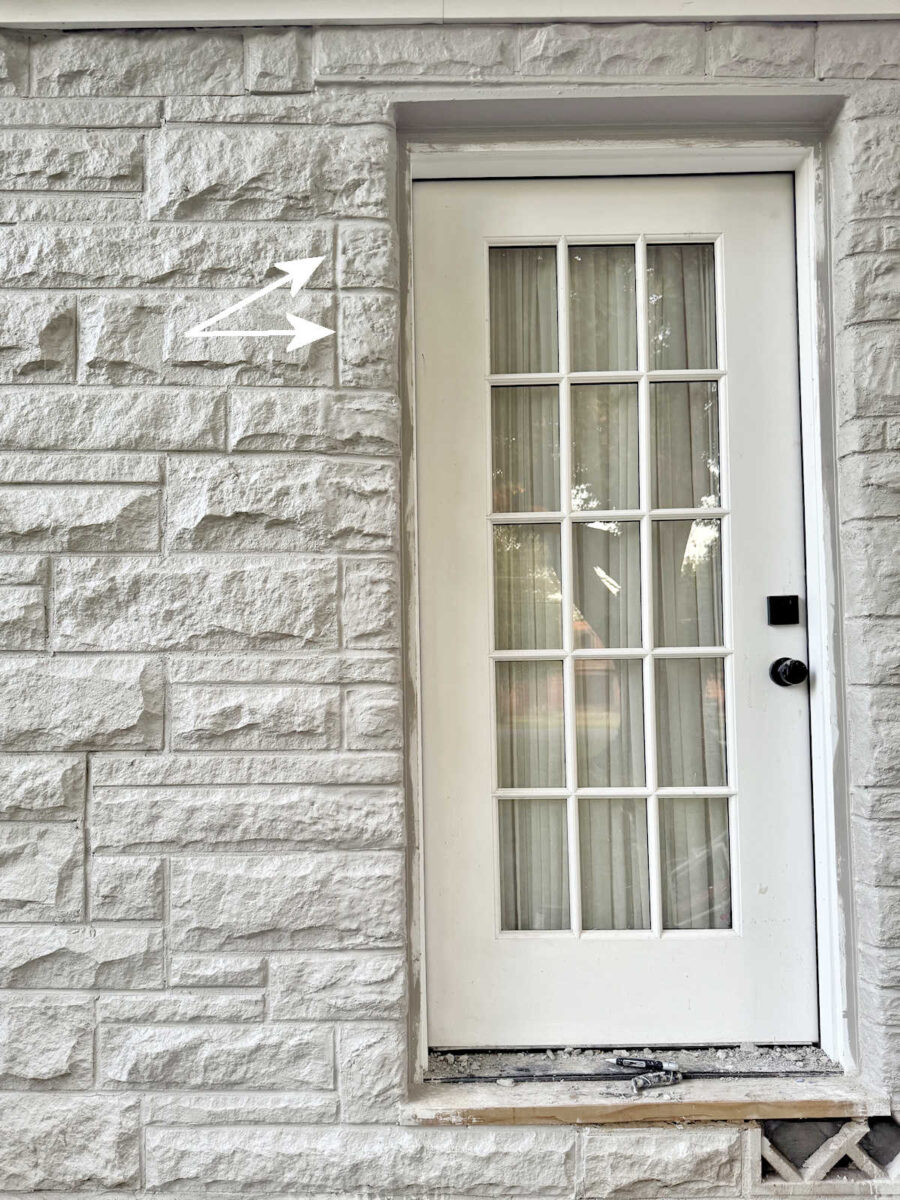
It’s a small detail, but it’s one of those things that I should have avoided. It’s kind of like when you’re installing hardwood floors, you never want the ends of your boards lining up on rows that are right next to each other. But since it’s one of those small details that will only ever bother me, and it clearly didn’t bother me enough because I didn’t even notice it until I started on right side of the door, I decided to let it go instead of fixing it.
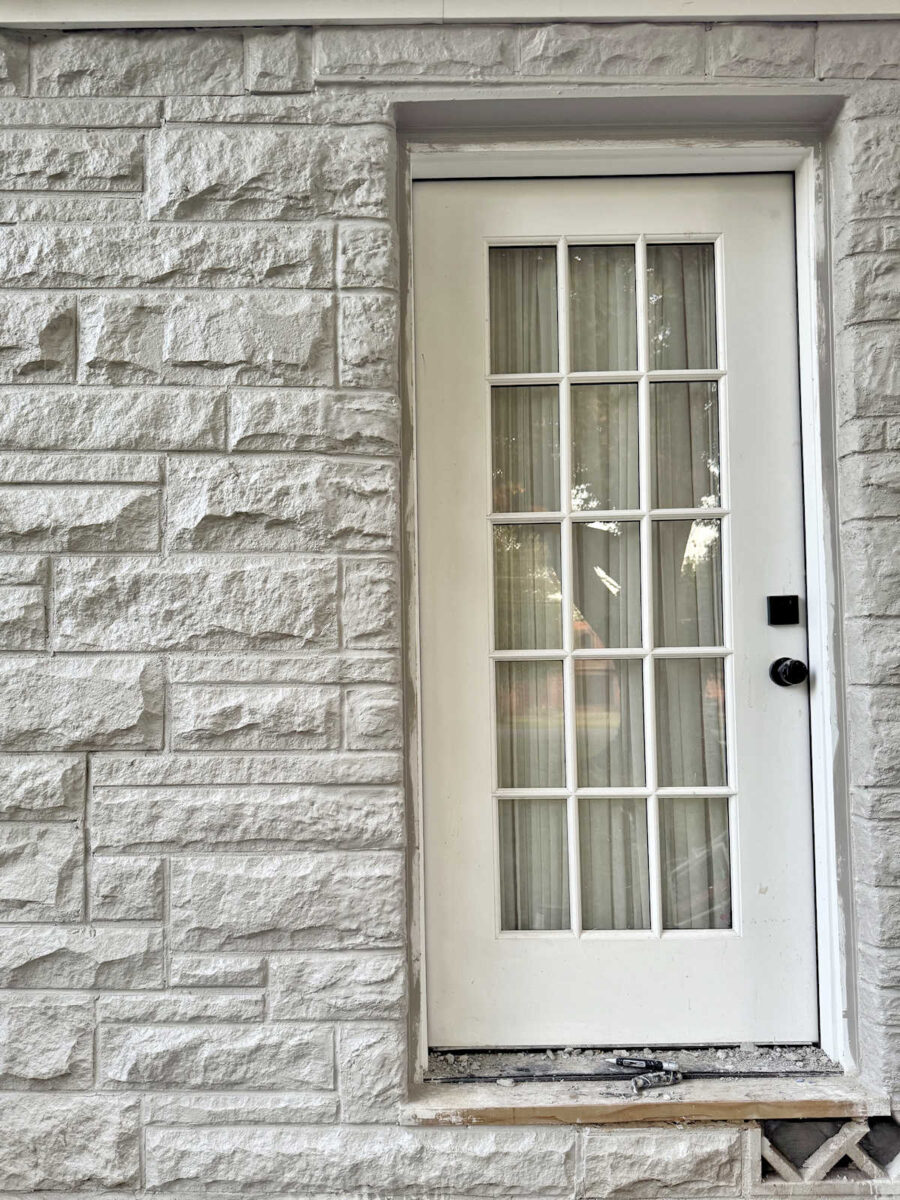
But I kept that in mind when doing the right side, and instead of giving myself only top options (i.e., either continuing a stone all the way around, or ending the stone and starting a new one where the trim had been), I gave myself a third option. I extended the stone halfway into the prior trim area and then started a new stone. That way I wouldn’t have vertical mortar lines lined up from one row to the next.
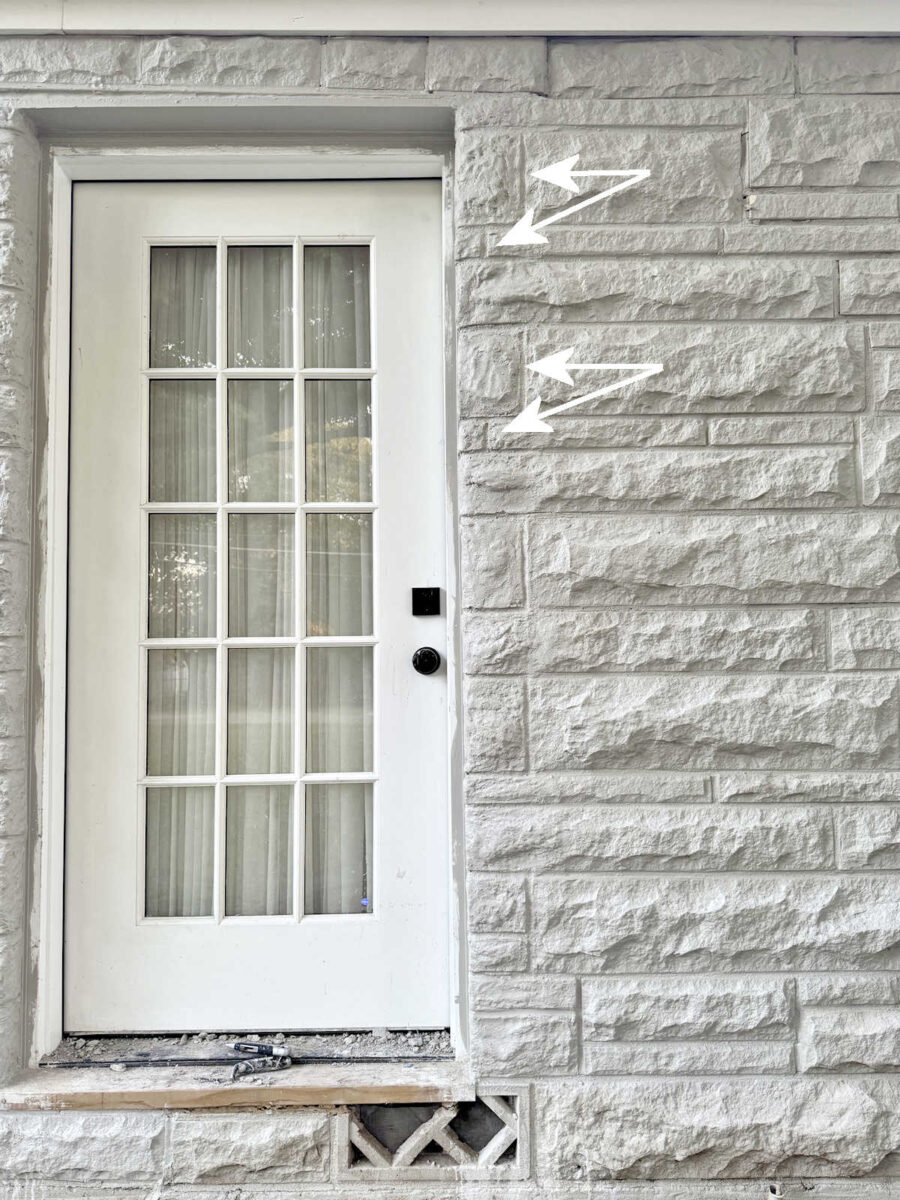
I think this looks more in keeping with the layout of the original stone on the house, and it just looks more pleasing to the eye.
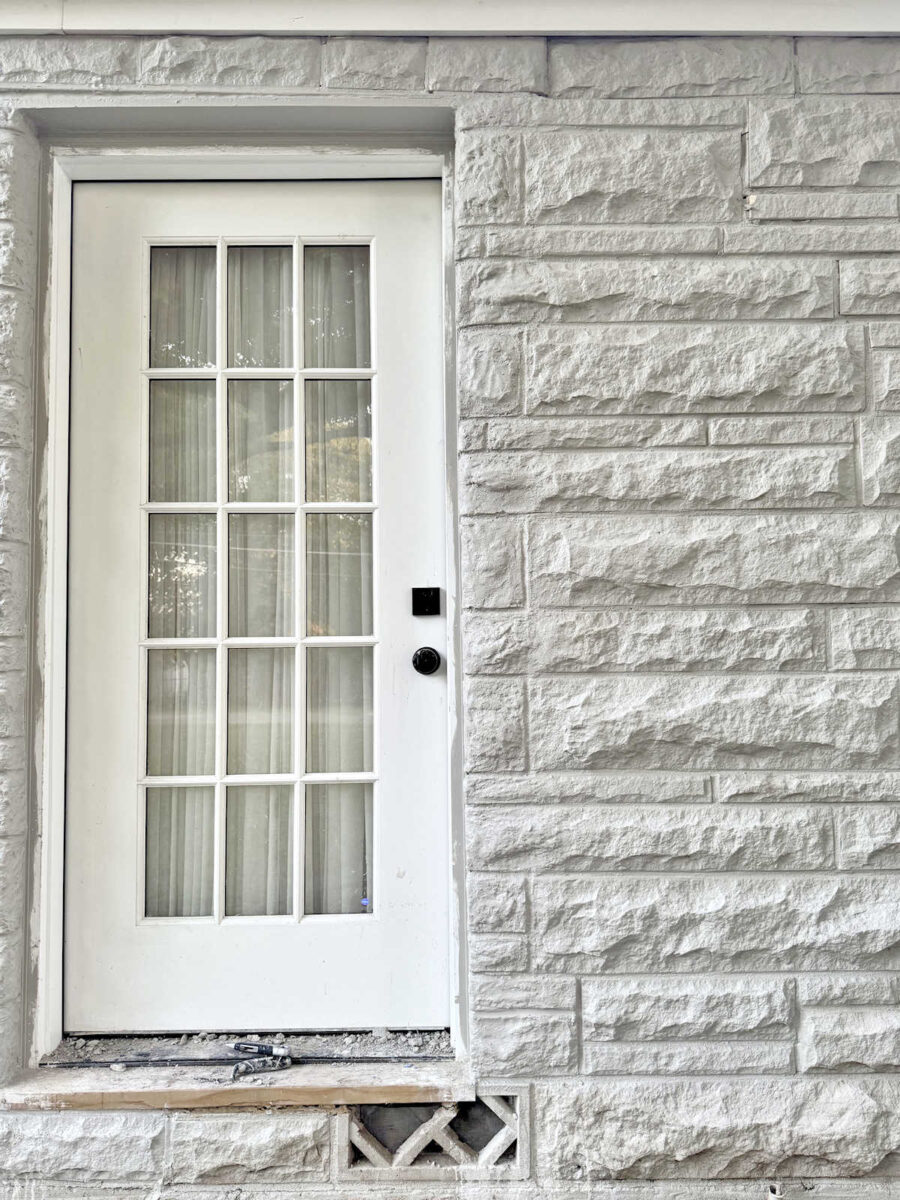
Once I got all of the stone and mortar finished and gave it a few hours to cure, I primed all of it with Behr Concrete and Mortar Primer. I had never used this product before, and it’s more like the consistency of water than paint. Of course, I didn’t read all of the directions until after I was finished priming it and noticed that it said it wasn’t intended for vertical surfaces. 😀 Oh well. It was done, and it definitely soaked in really well to the concrete. But because it’s so thin, it was a very messy process. Just imagine trying to “paint” a vertical surface with a paint brush and water. It’s going to get everywhere, and it’s going to run down your arm as you’re reaching up to get the high areas. But I went with it, and that porous concrete really soaked up the primer.
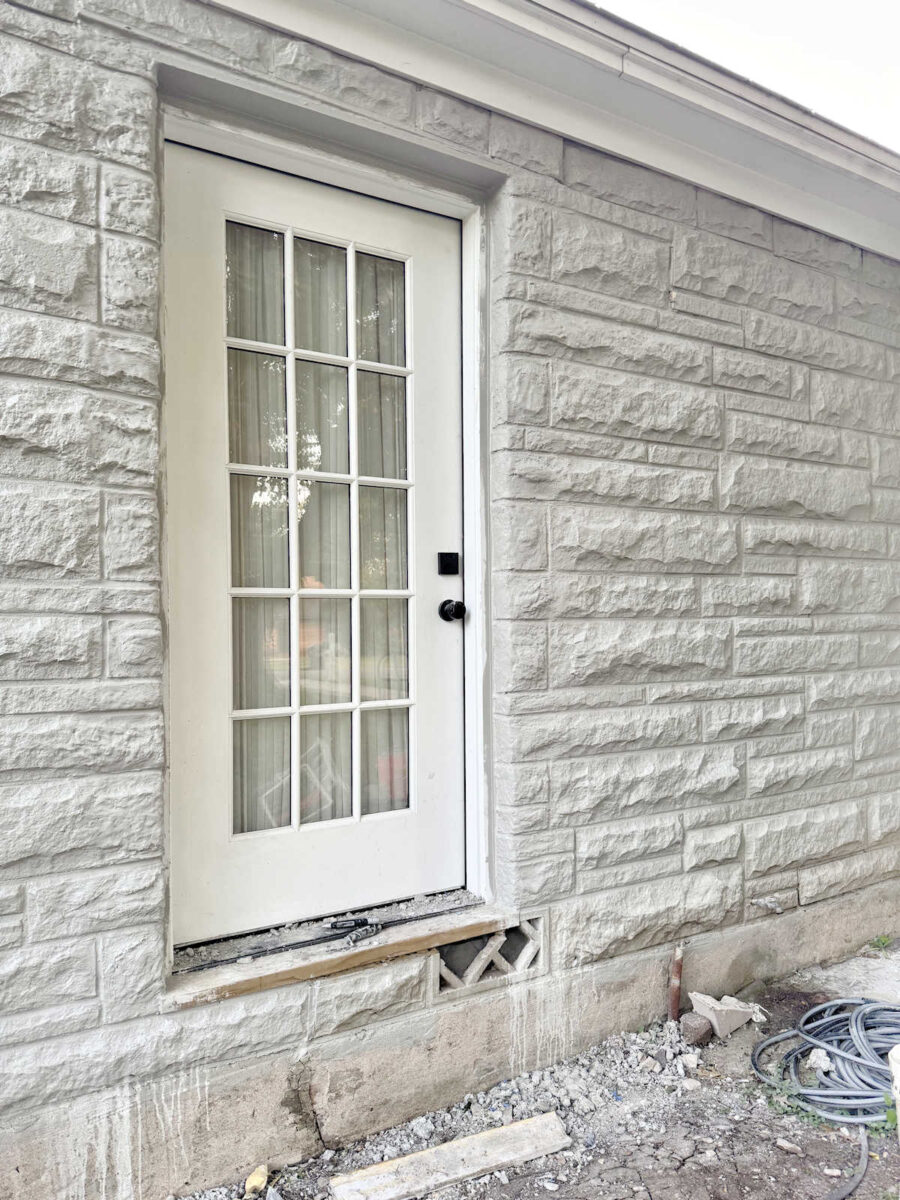
I gave that four hours to dry, as per the instructions, and then I painted with two coats of Sherwin Williams Duration exterior paint in Mindful Gray to match the rest of the house. But as you’ll remember, since the rest of the house was painted several years ago, I had to do a little bit of color adjustment to get it to match. It’s still not a perfect match, but I don’t think it’s noticeable. The new paint is a bit shinier than the old, but I’m hoping that sheen will dull quickly in the central Texas sun and heat.
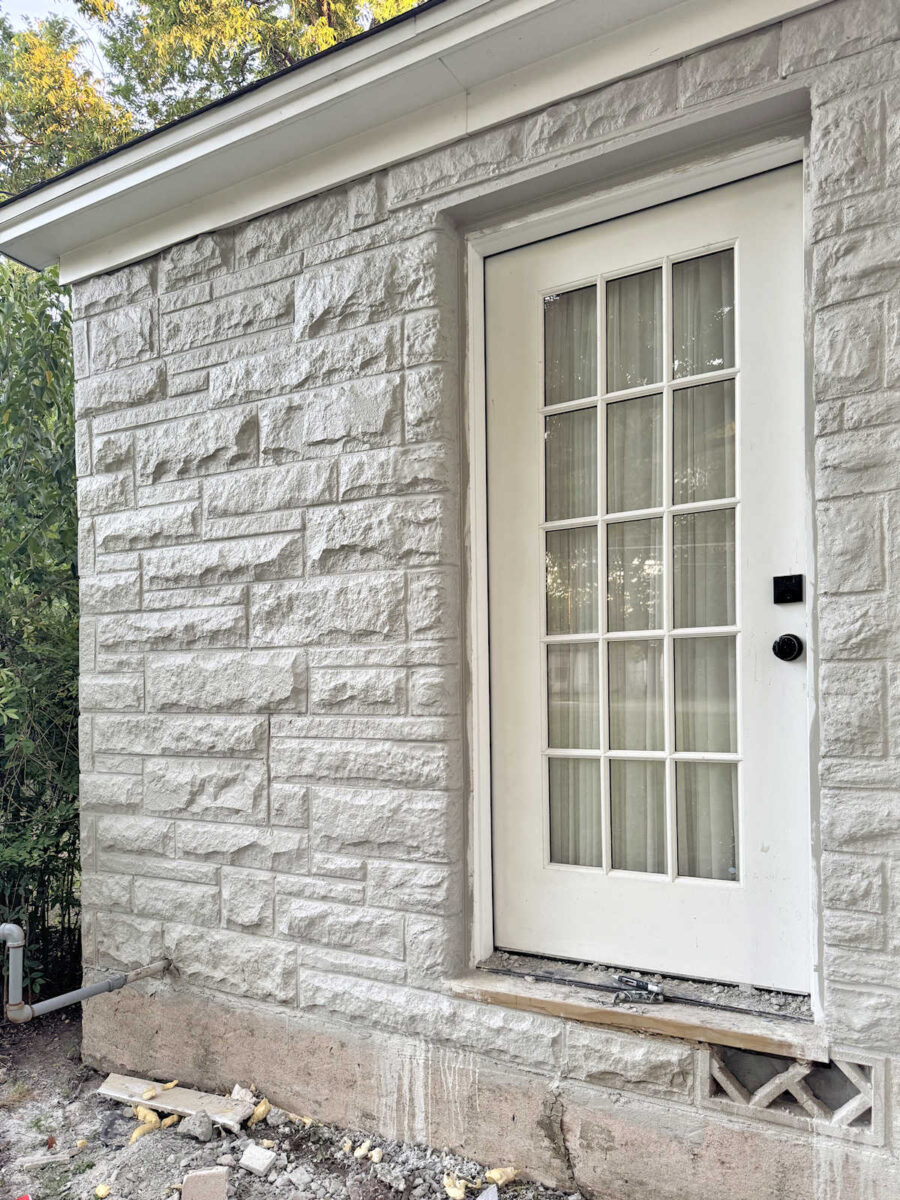
Today, I’ll get the trim and door painted and then get my work area cleaned up, so try not to get distracted by my mess. But y’all. Just look at this door now! It’s certainly not perfect, but it’s so much better than it was!
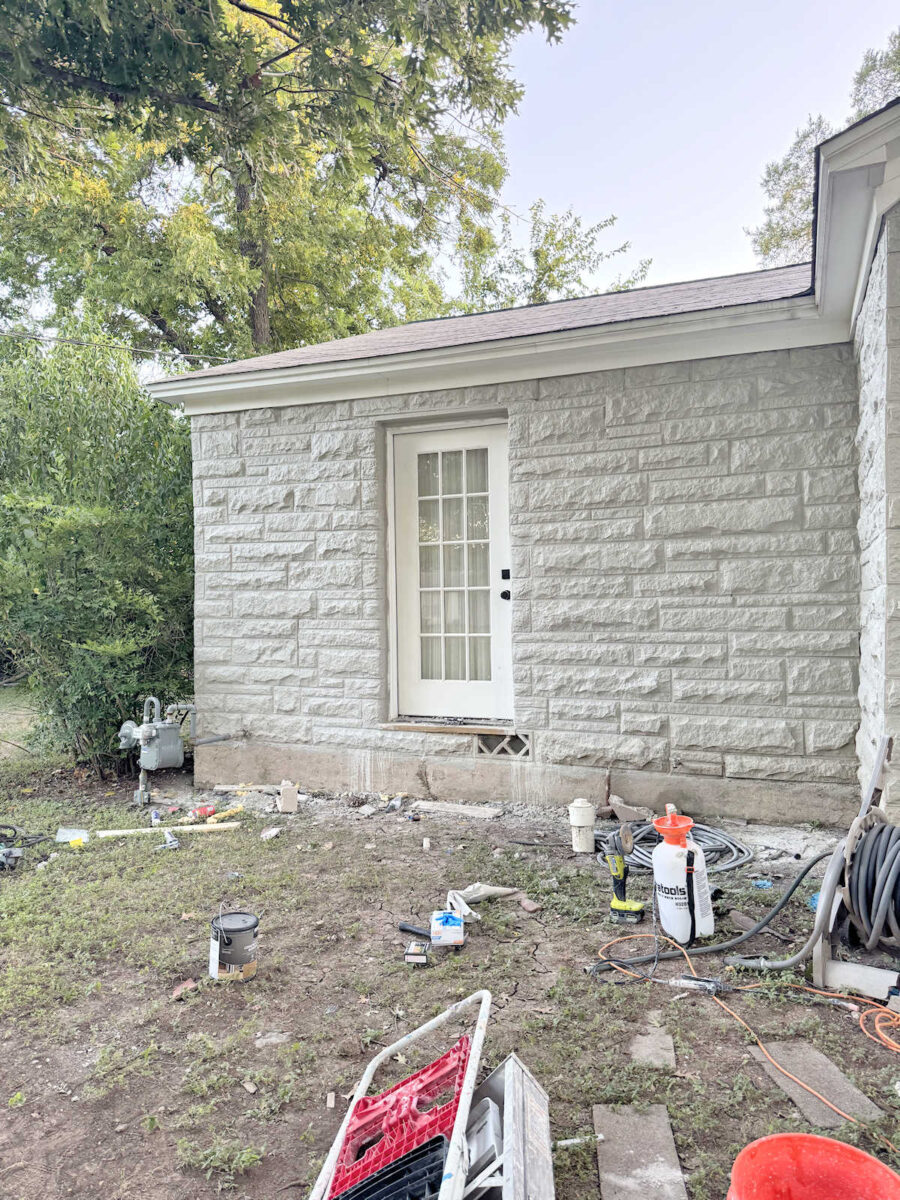
And it’ll only get better when I get that white trim painted so that there’s a clean, sharp distinction between the stone and the trim around the door.
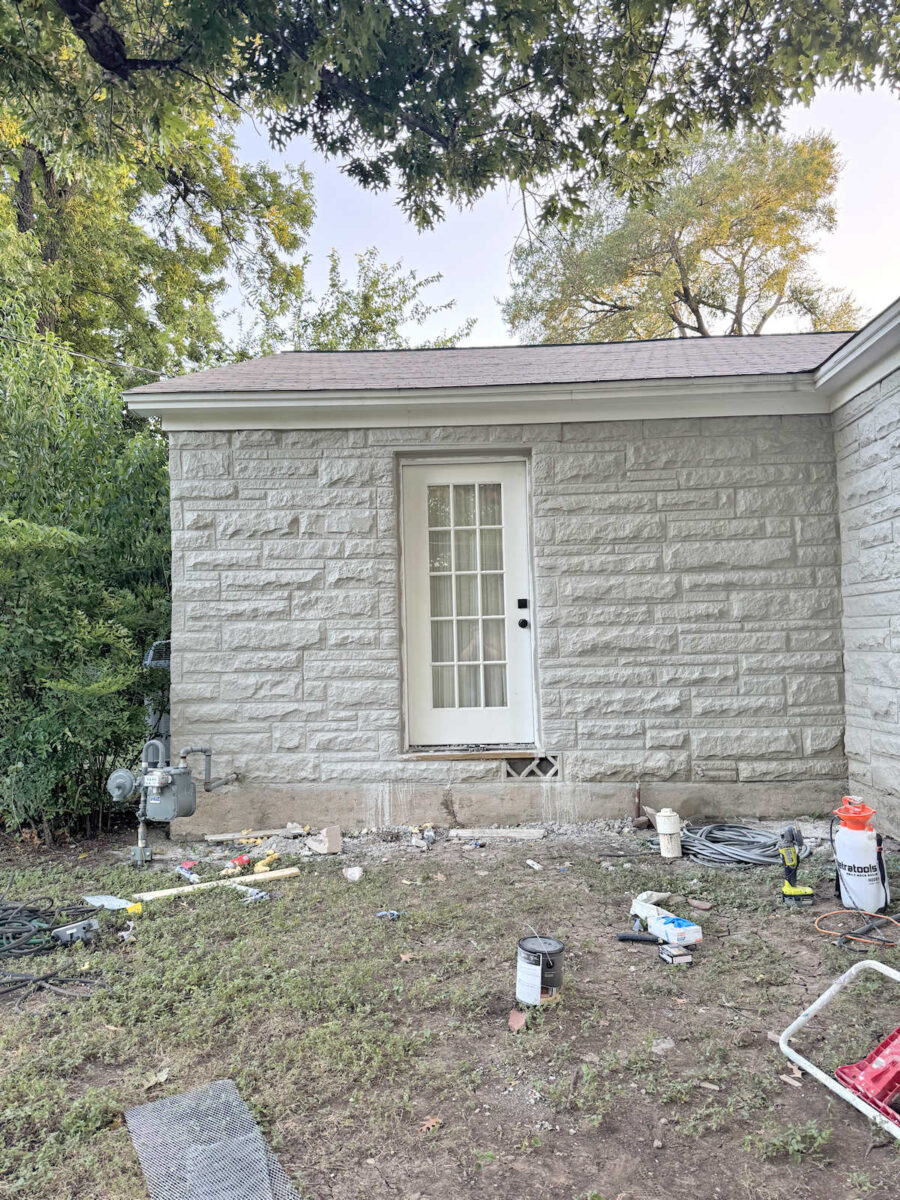
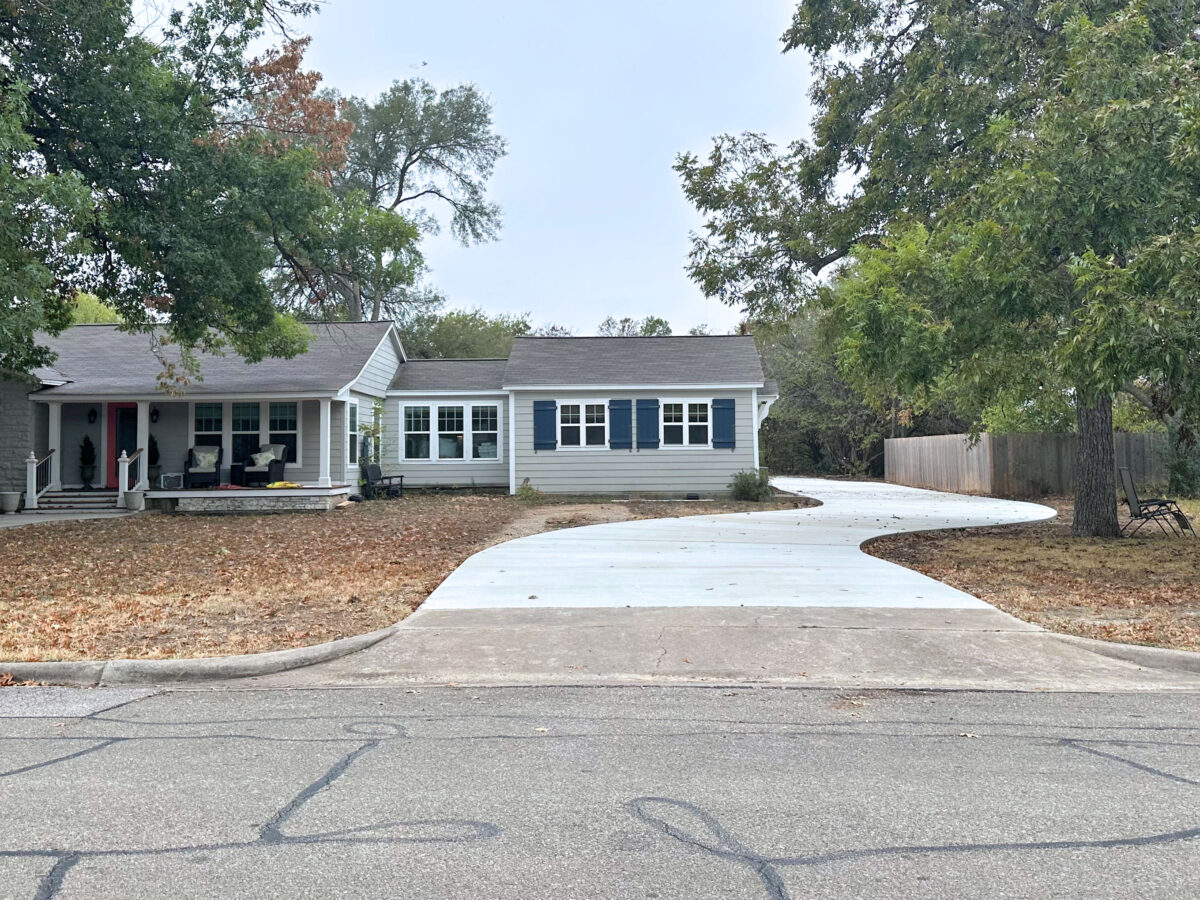
So what do you think about the wonky area above the door? I took the picture below from a distance, but I was only about halfway between the door and the street. And from that distance, the area above the door doesn’t bother me at all. But you can tell me what you think. Should I leave it, or does it need a little bit more work?
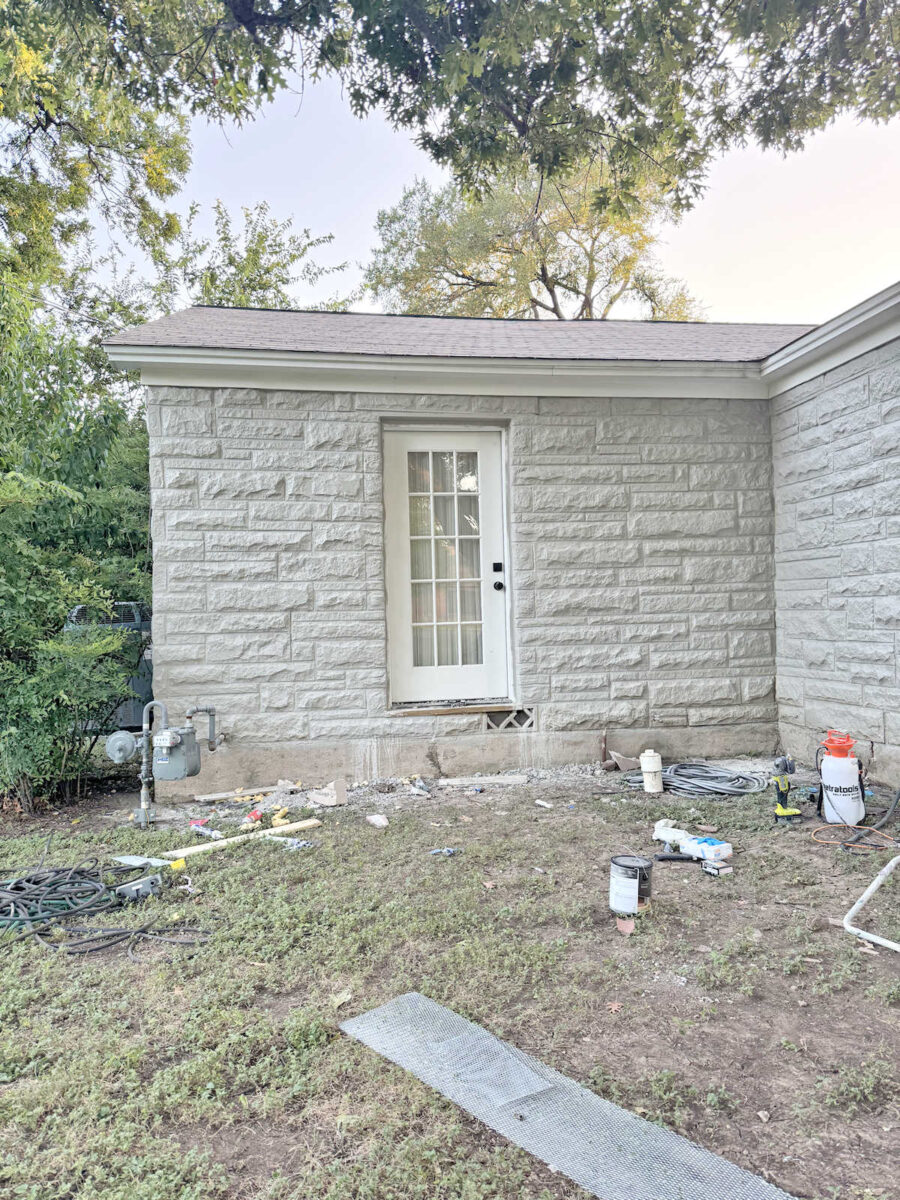
I think just getting it all the same color did a remarkable job at disguising that area, but be honest with me if you think I should do a little more work to disguise it.
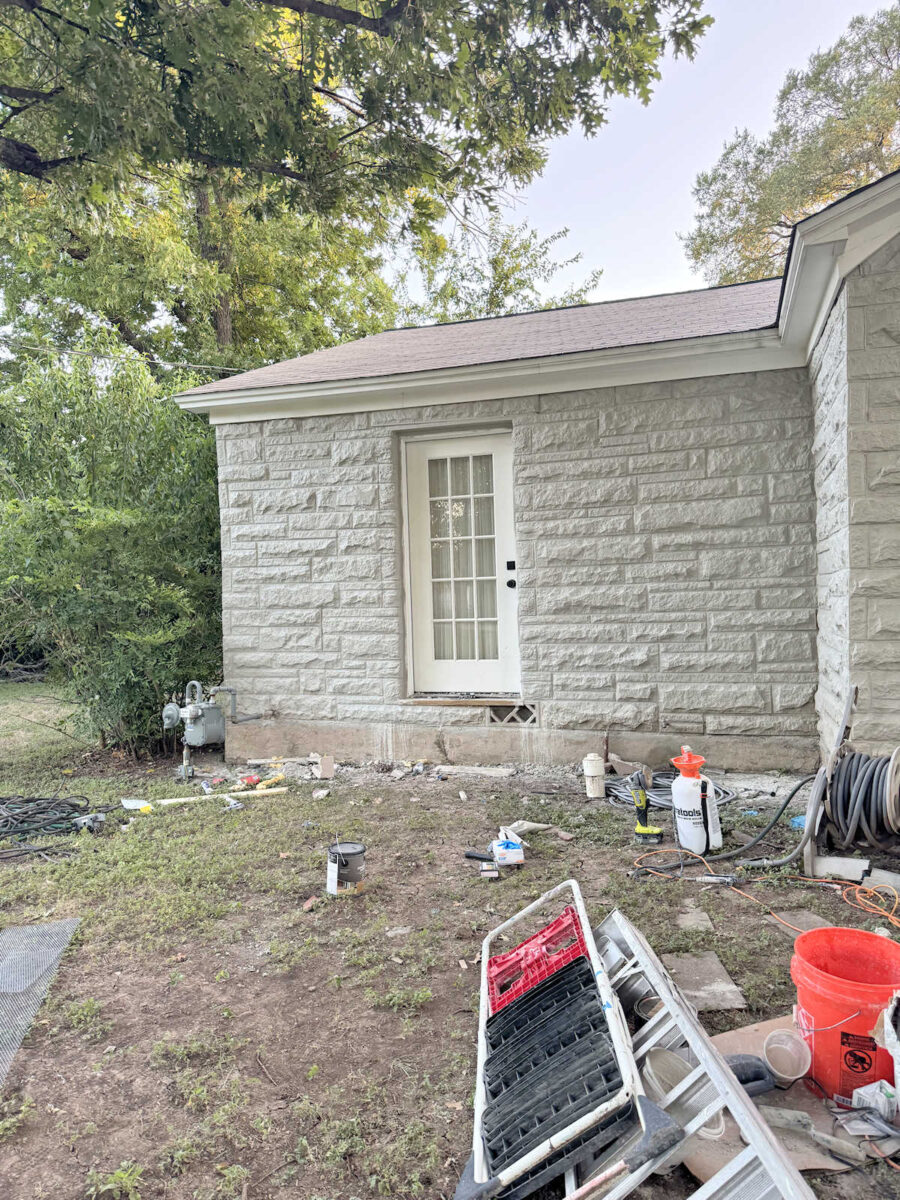
Obviously, when you get closer, it becomes more noticeable. But most people will never get this close to this door. They’ll only see it from the street or from the sidewalk as they’re heading to our front door.
Wonkiness above the door aside, I am absolutely thrilled with how this door looks now. I think it looks so much more intentional now, and I think that passersby might even think that it’s original to the house. I think only my friends, my family, and a few thousand of my internet friends would ever know that it’s not original. 😀
More About Our House Exterior & Yard
see all exterior &
yard diy projects
read all exterior &
yard blog posts

Addicted 2 Decorating is where I share my DIY and decorating journey as I remodel and decorate the 1948 fixer upper that my husband, Matt, and I bought in 2013. Matt has M.S. and is unable to do physical work, so I do the majority of the work on the house by myself. You can learn more about me here.