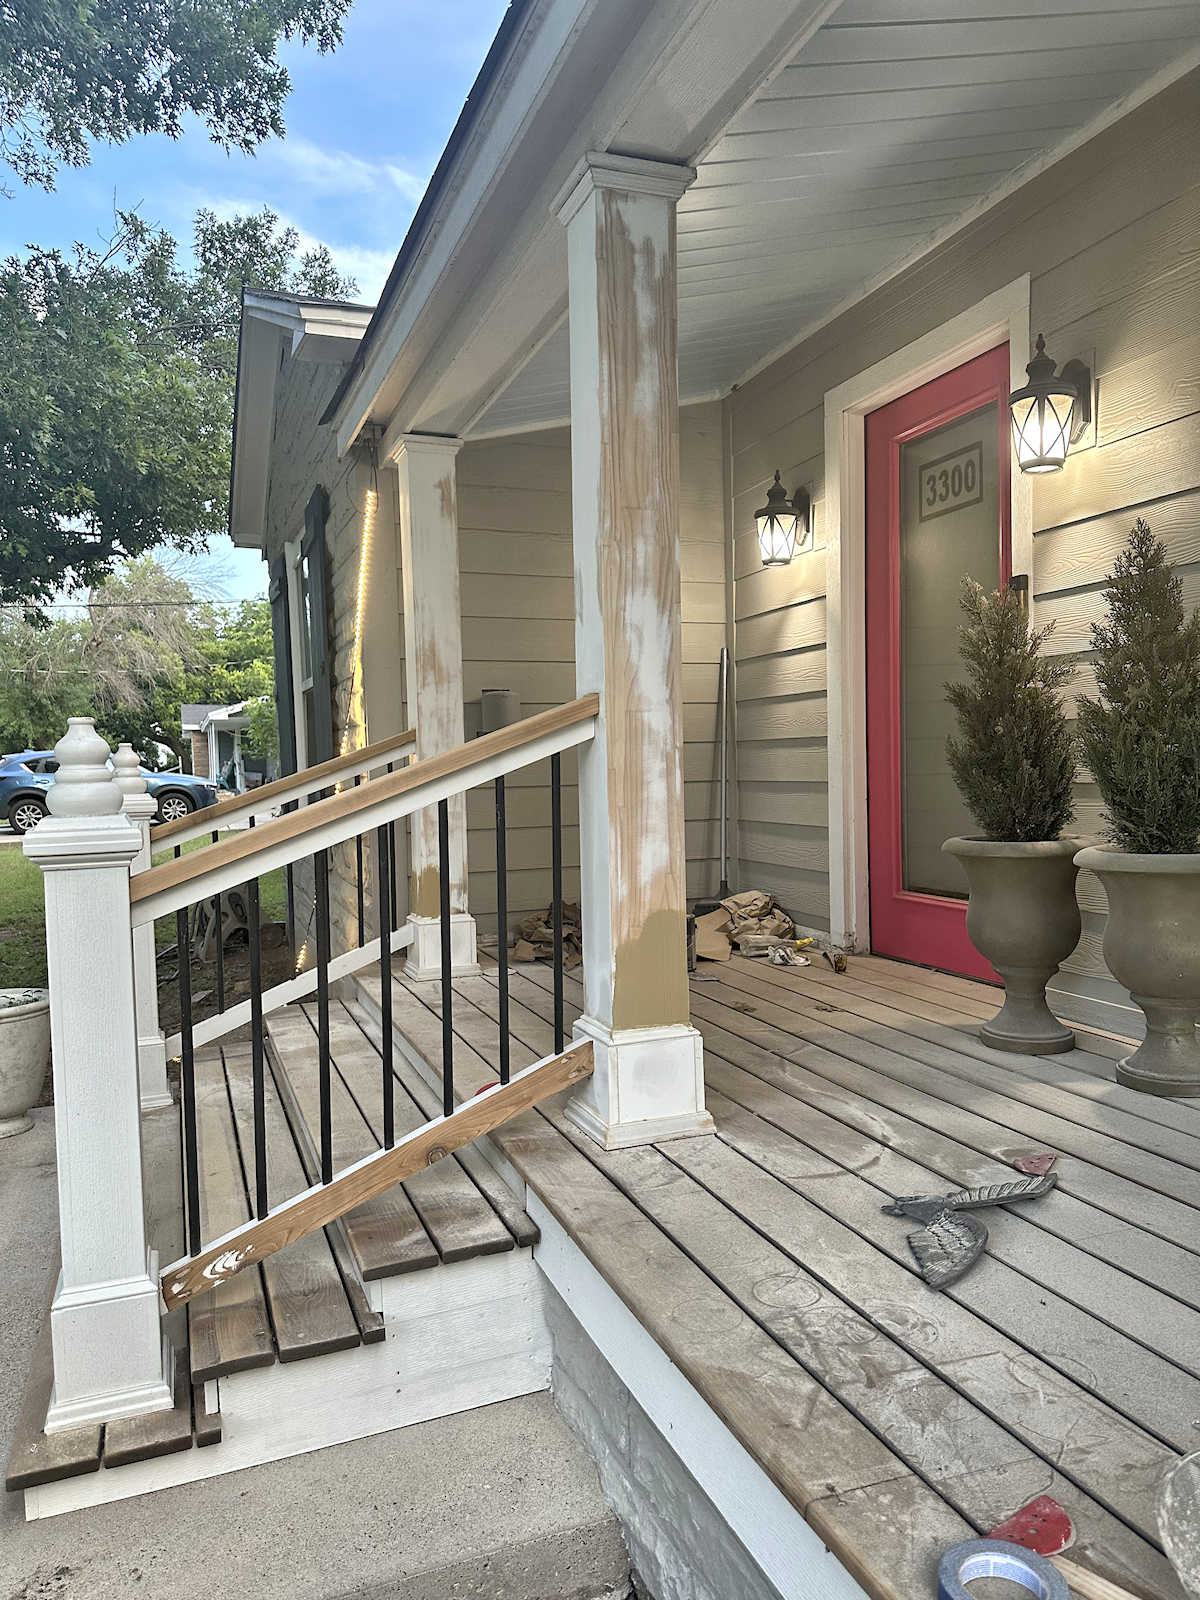
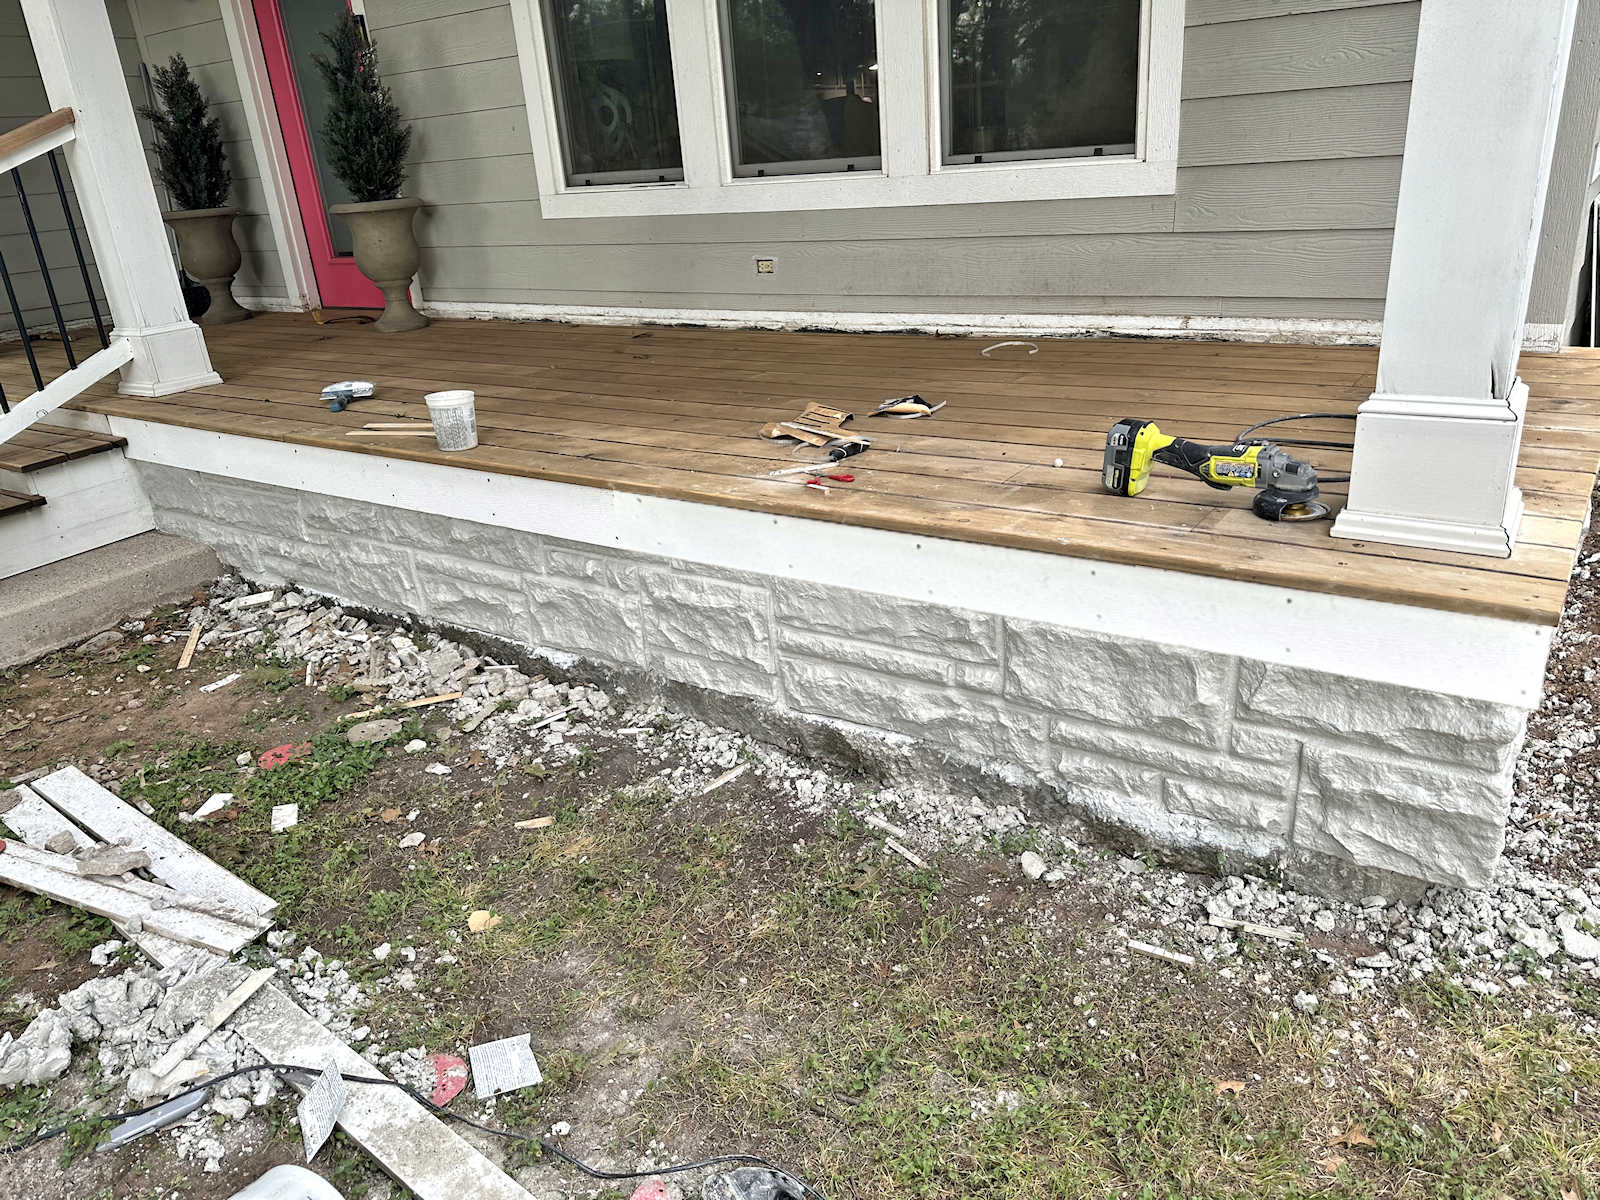
All New Photos Of The Front Of Our House (Before & Progress)

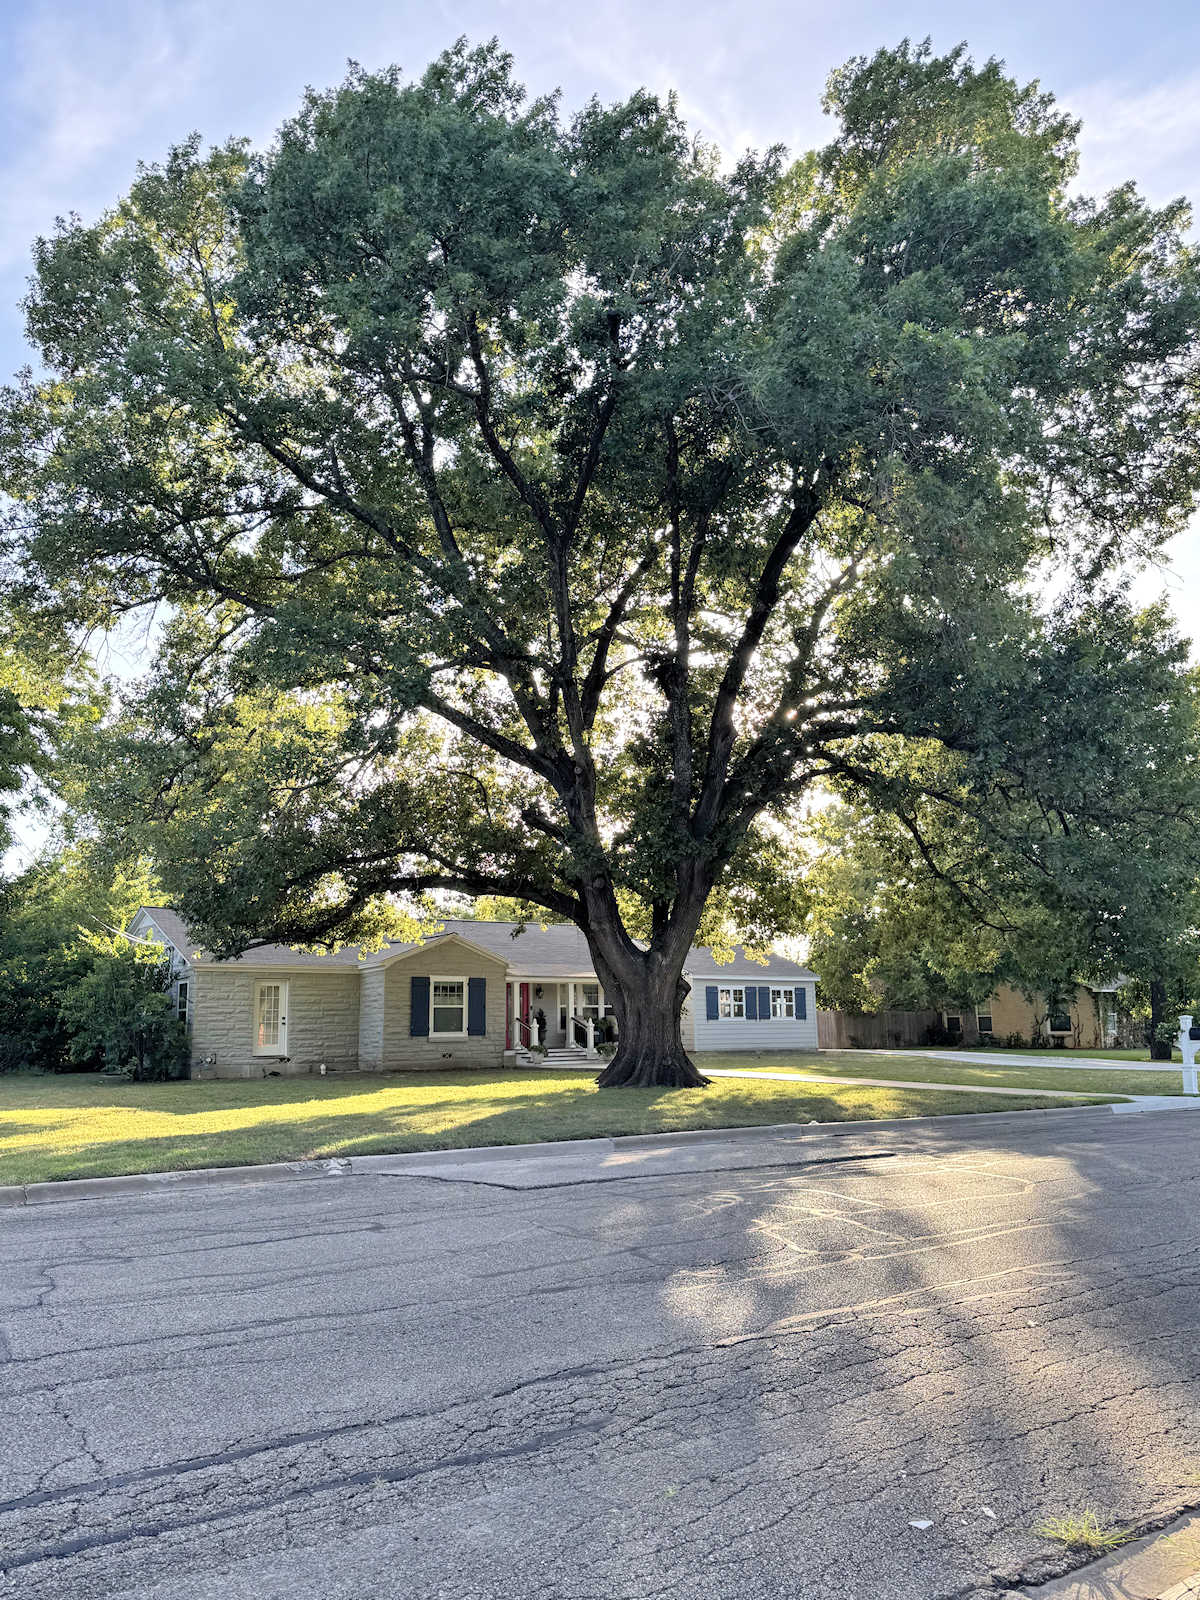
I finally have all new photos of the front of our house after spending the last few weeks working on various projects on the exterior. So let’s jump right in.
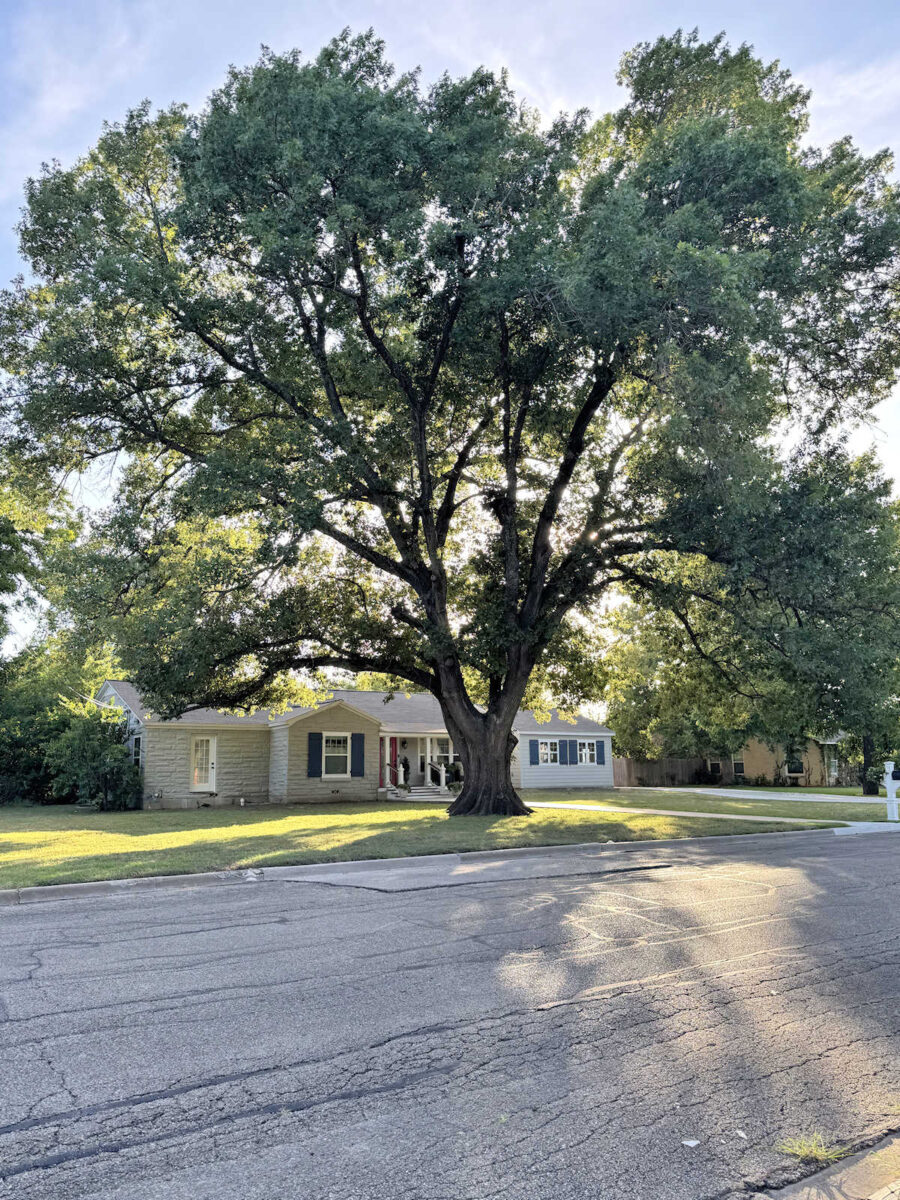
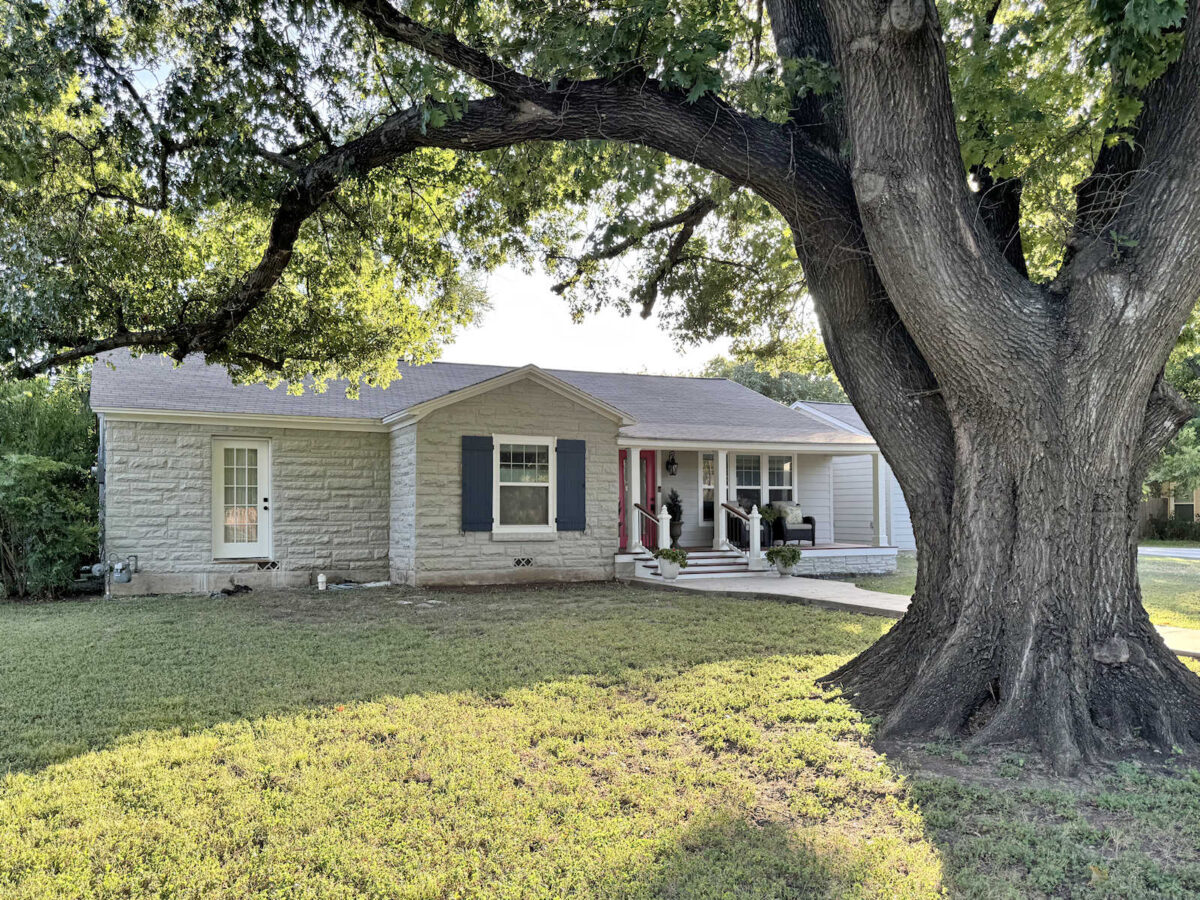
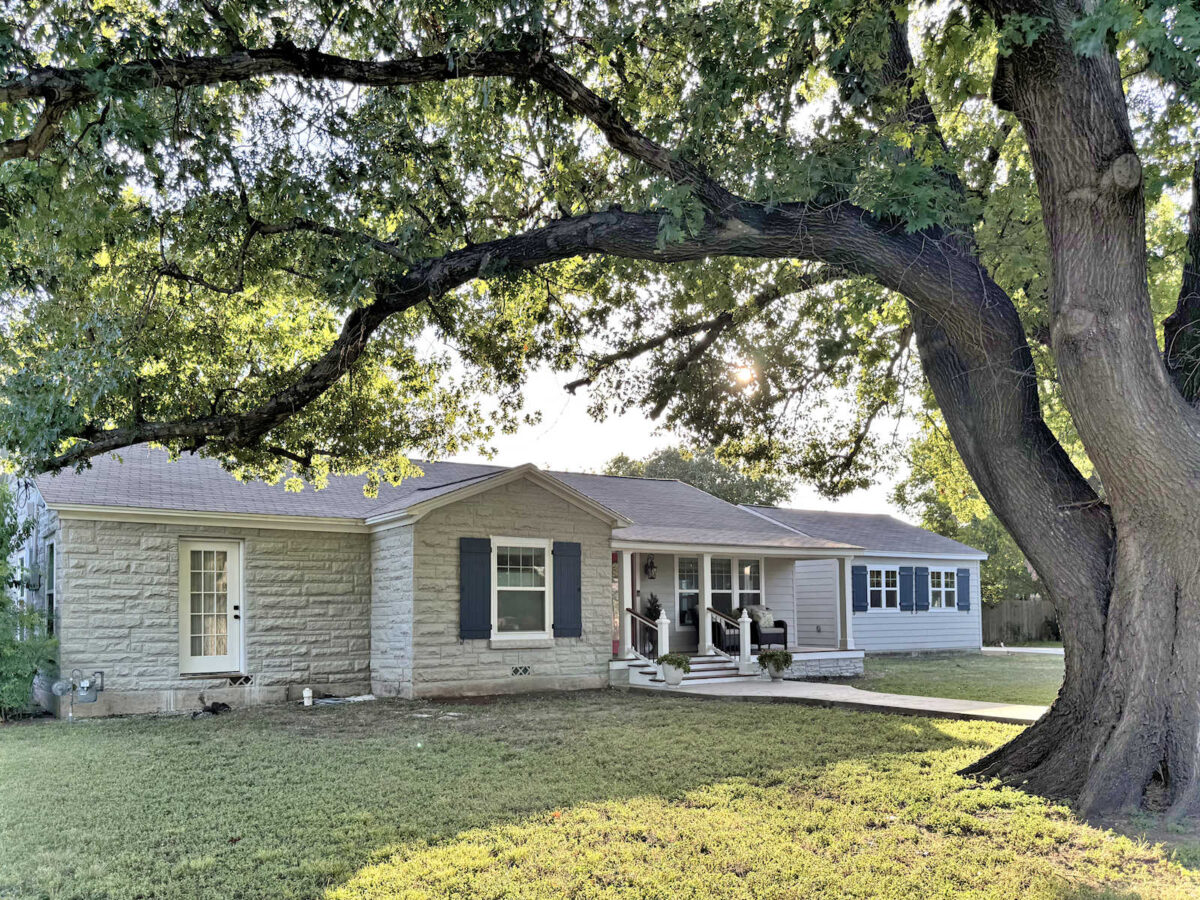
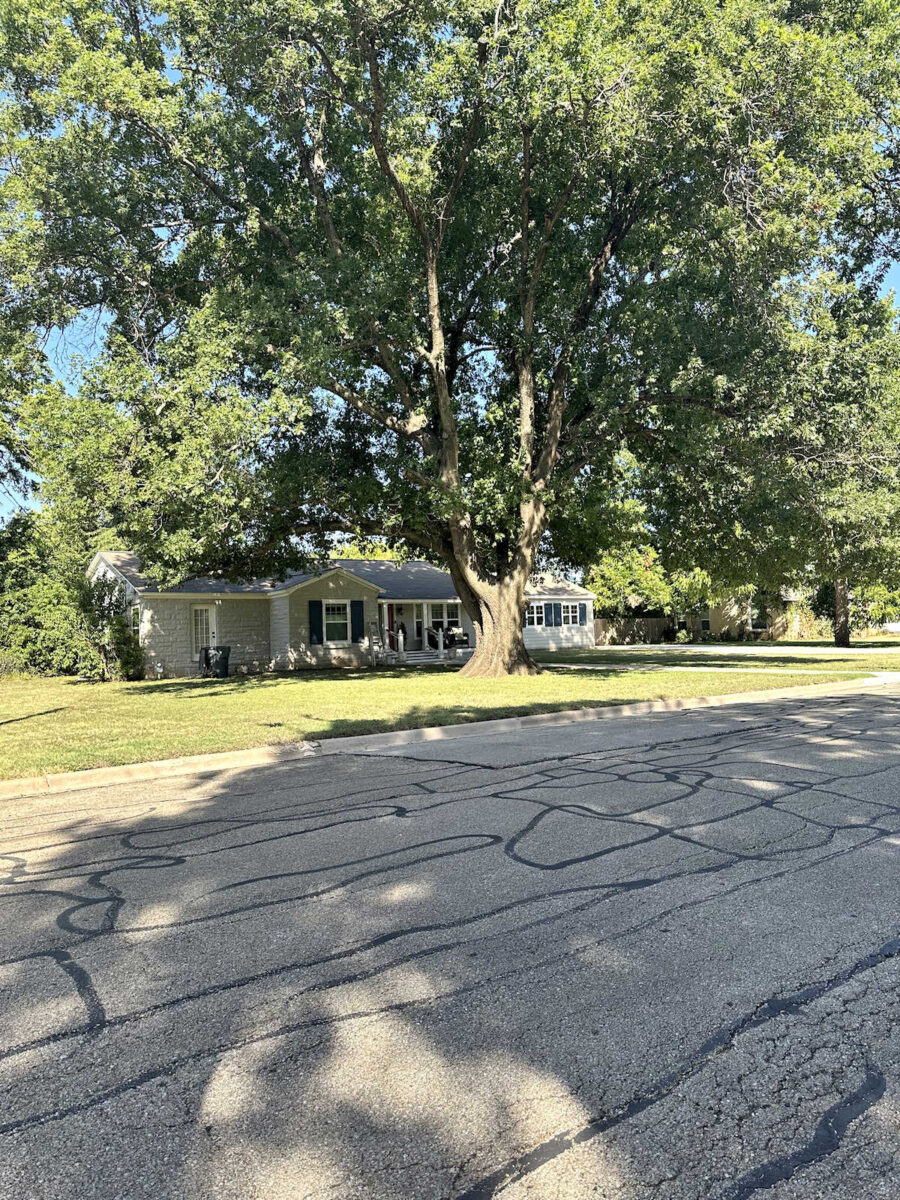
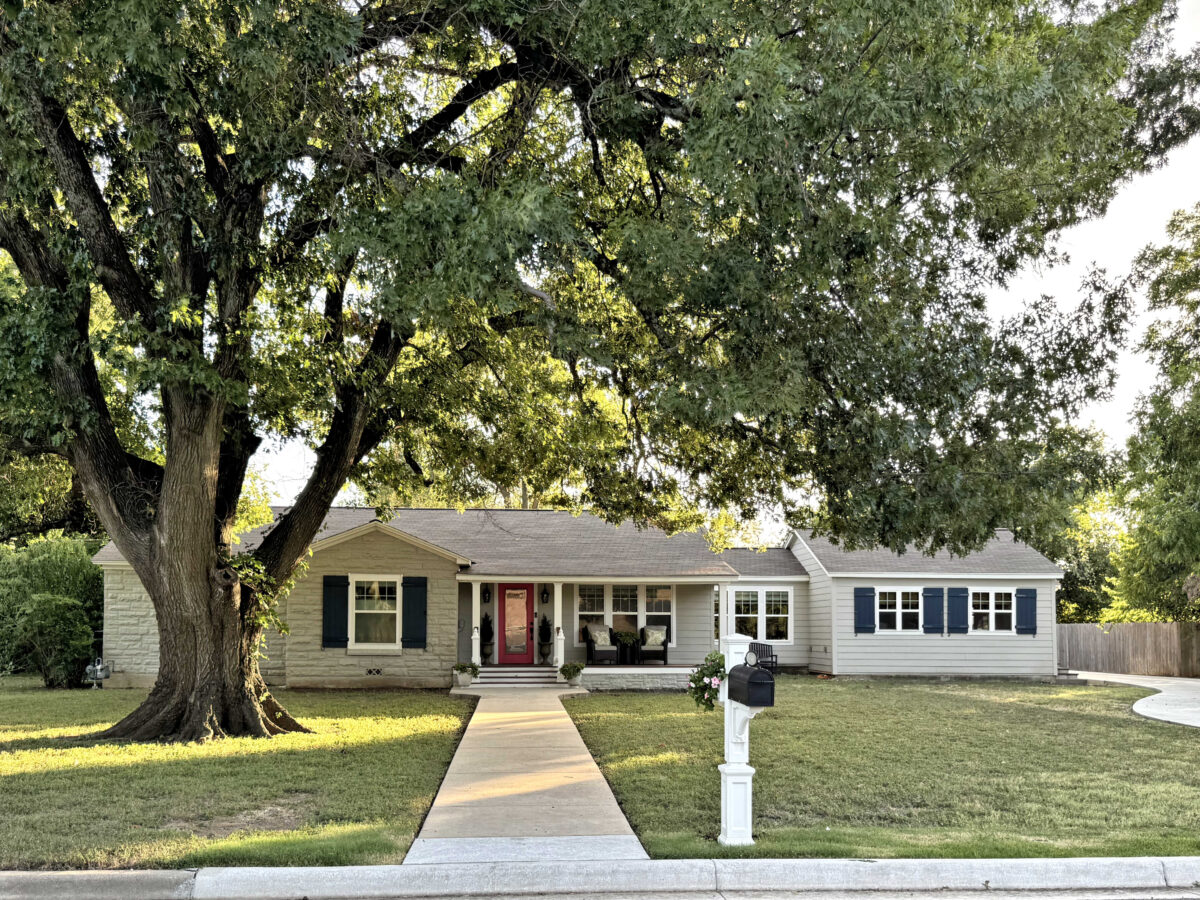
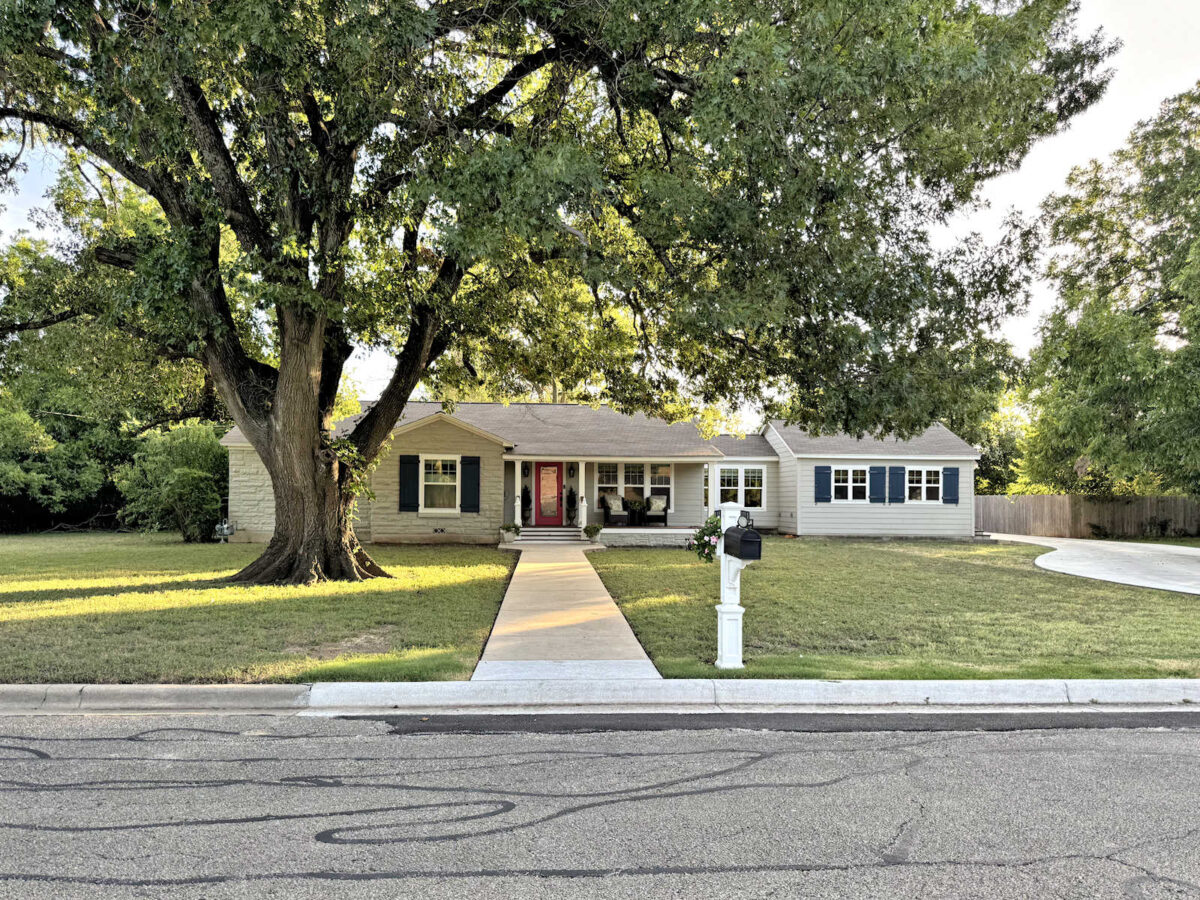
I have to start out by showing this picture that captures the massiveness of the oak tree in our front yard. It’s challenging to capture the whole tree in a photo because it’s so massive. I love this tree, and I’m always so sad when fall comes and it loses all of its leaves.
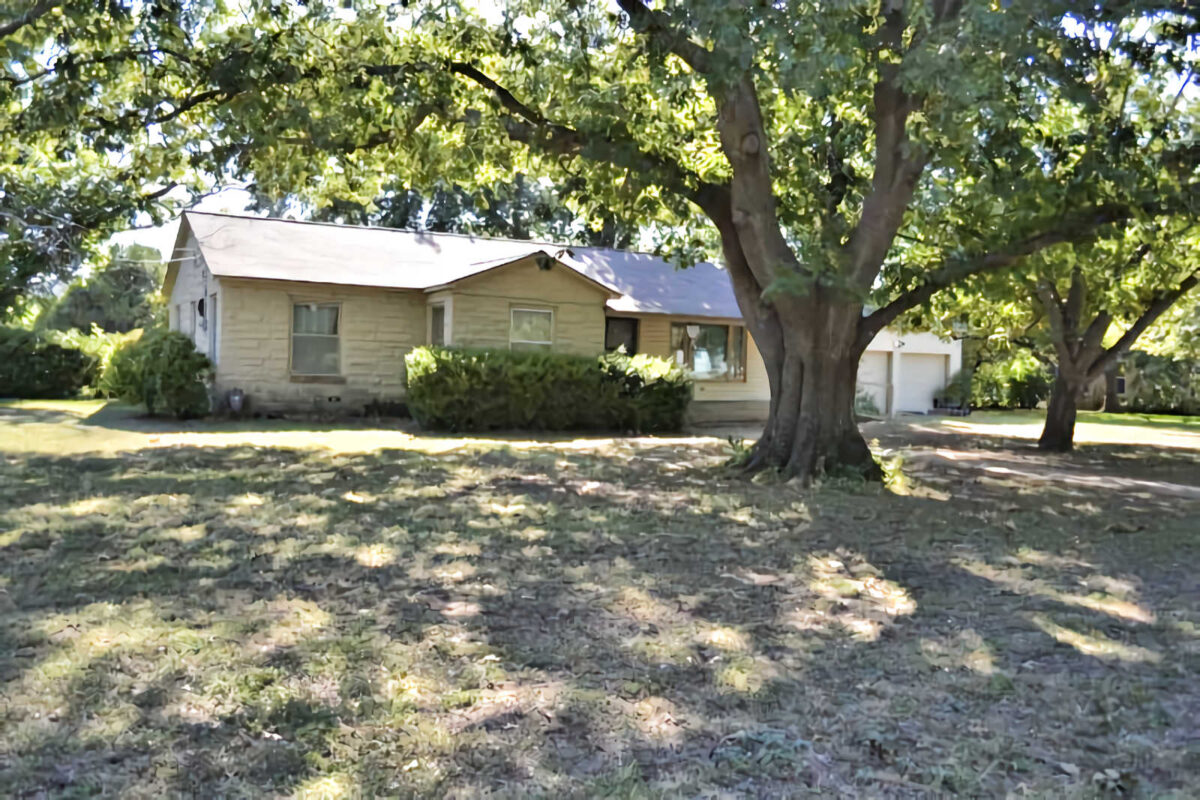
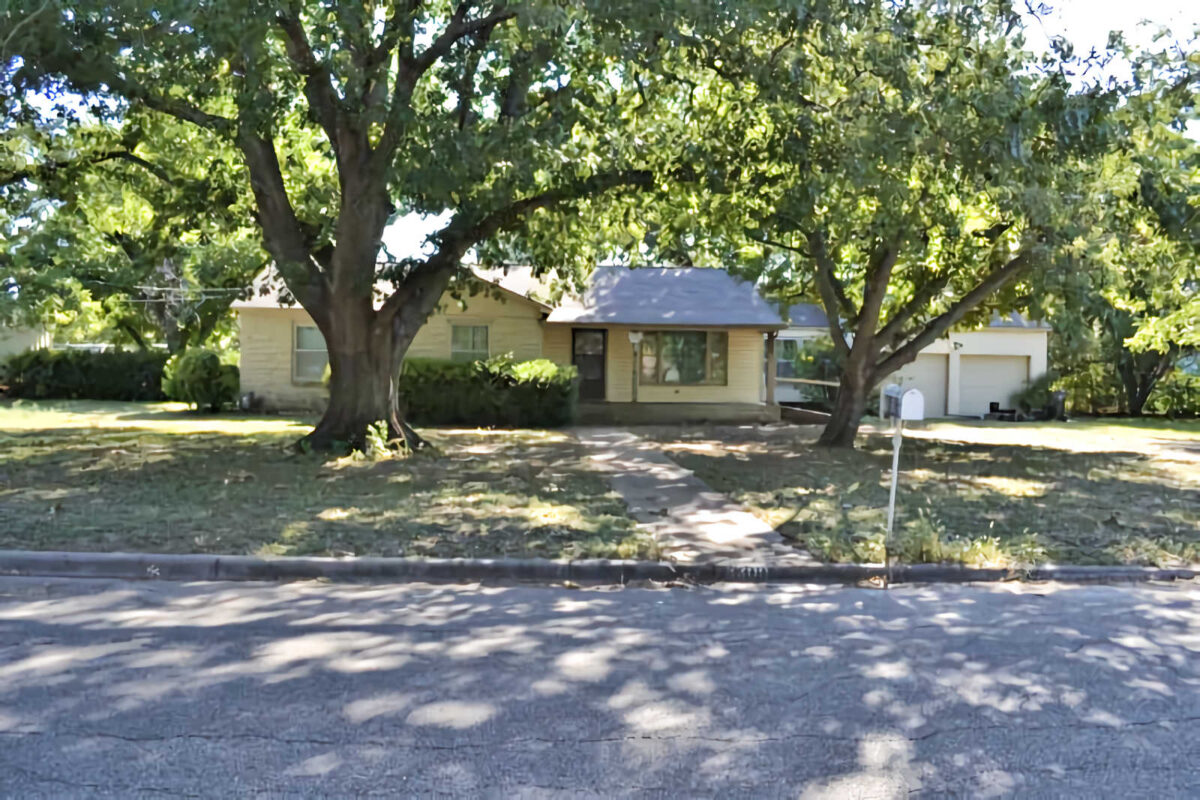
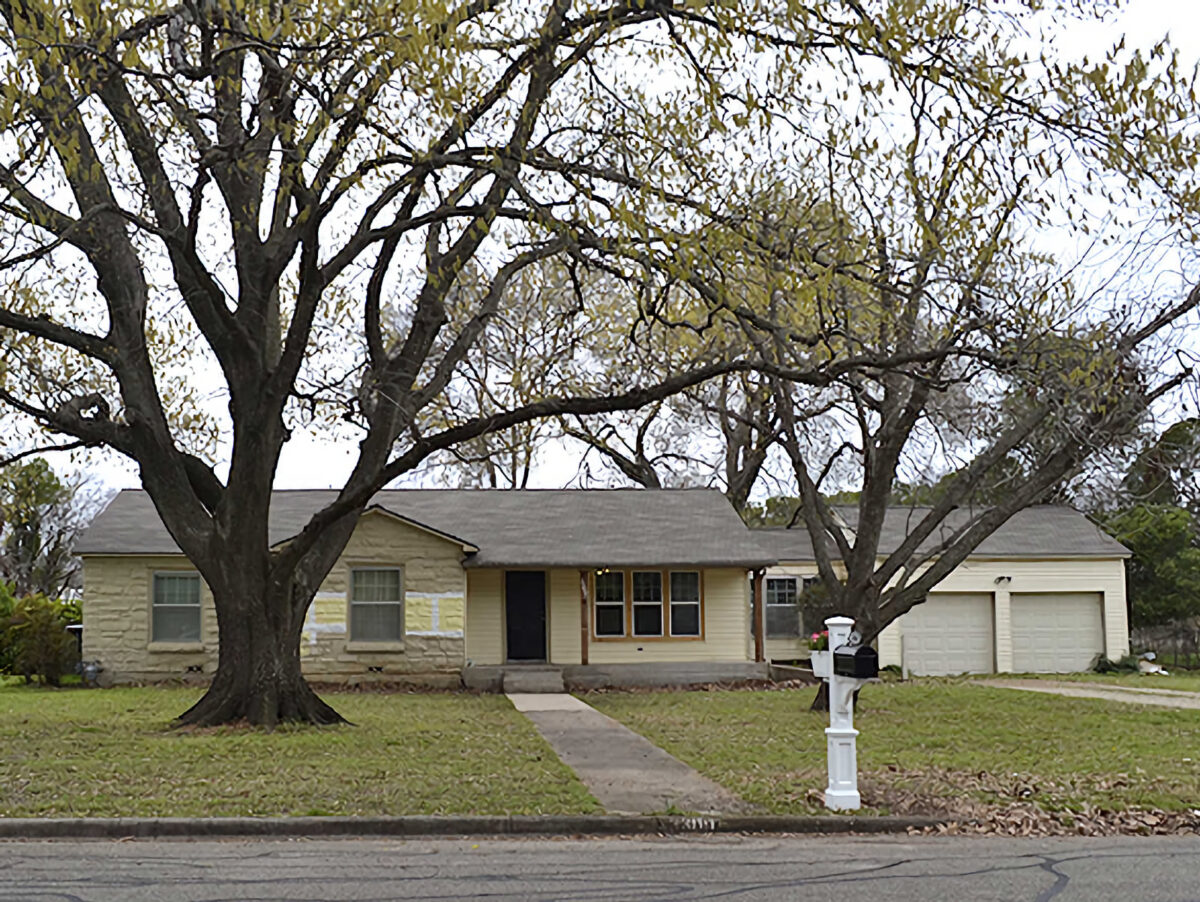
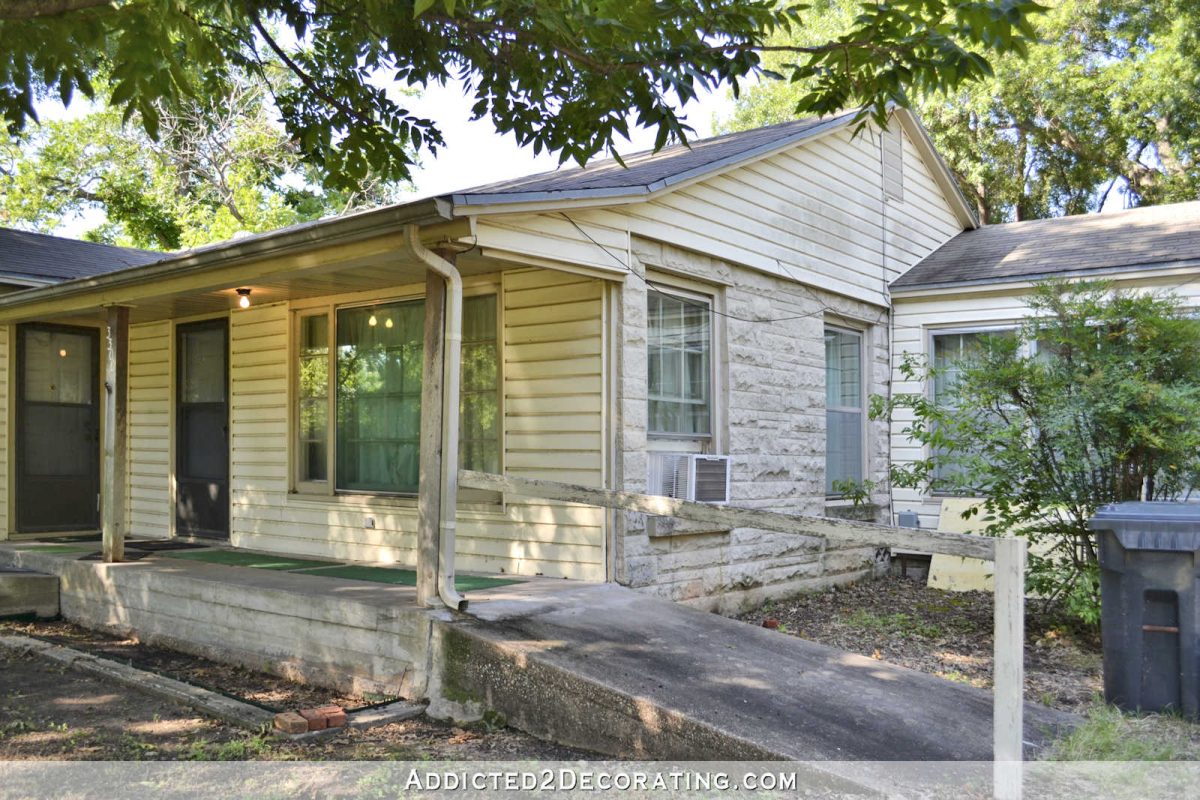
But now let’s get to the house. I went back and found “before” pictures from two different years so that we could compare what this house looked like back then with the progress I’ve made so far. So let’s start with the front of the house the day that we closed on our house back in August 2013. It was kind of drab, but I saw potential in this little house.
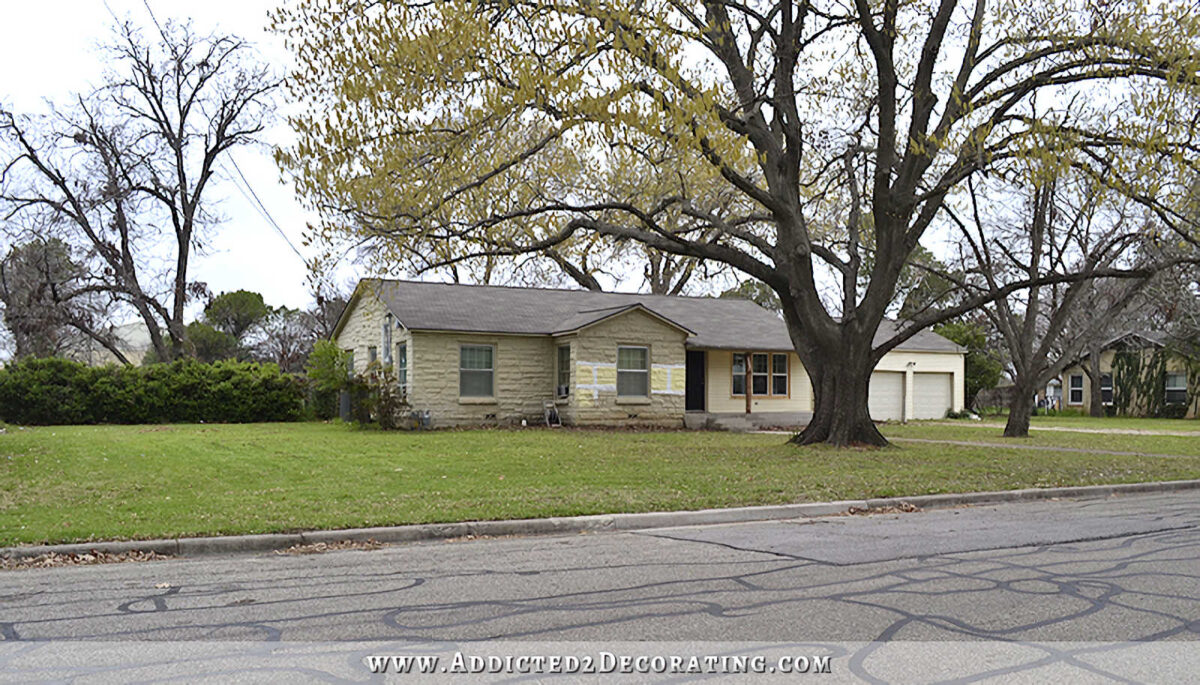
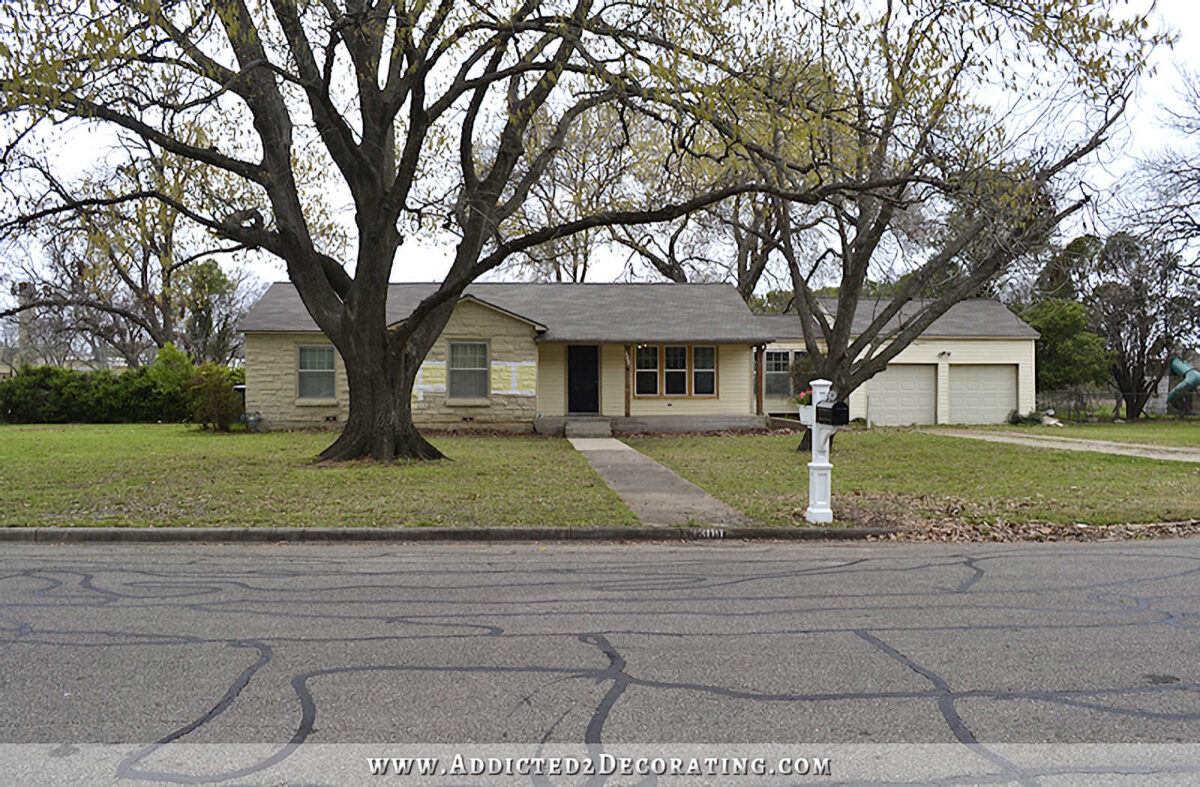
This next picture is from early spring in 2016. This is when I was thinking about painting the house yellow, so I had yellow paint samples on the front of the house. We had replaced the windows in the living room, but the rest of the house pretty much looked the same. I like these pictures better than my original “before” pictures from three years earlier because you can actually see more of the house since the trees don’t’ have many leaves on them.
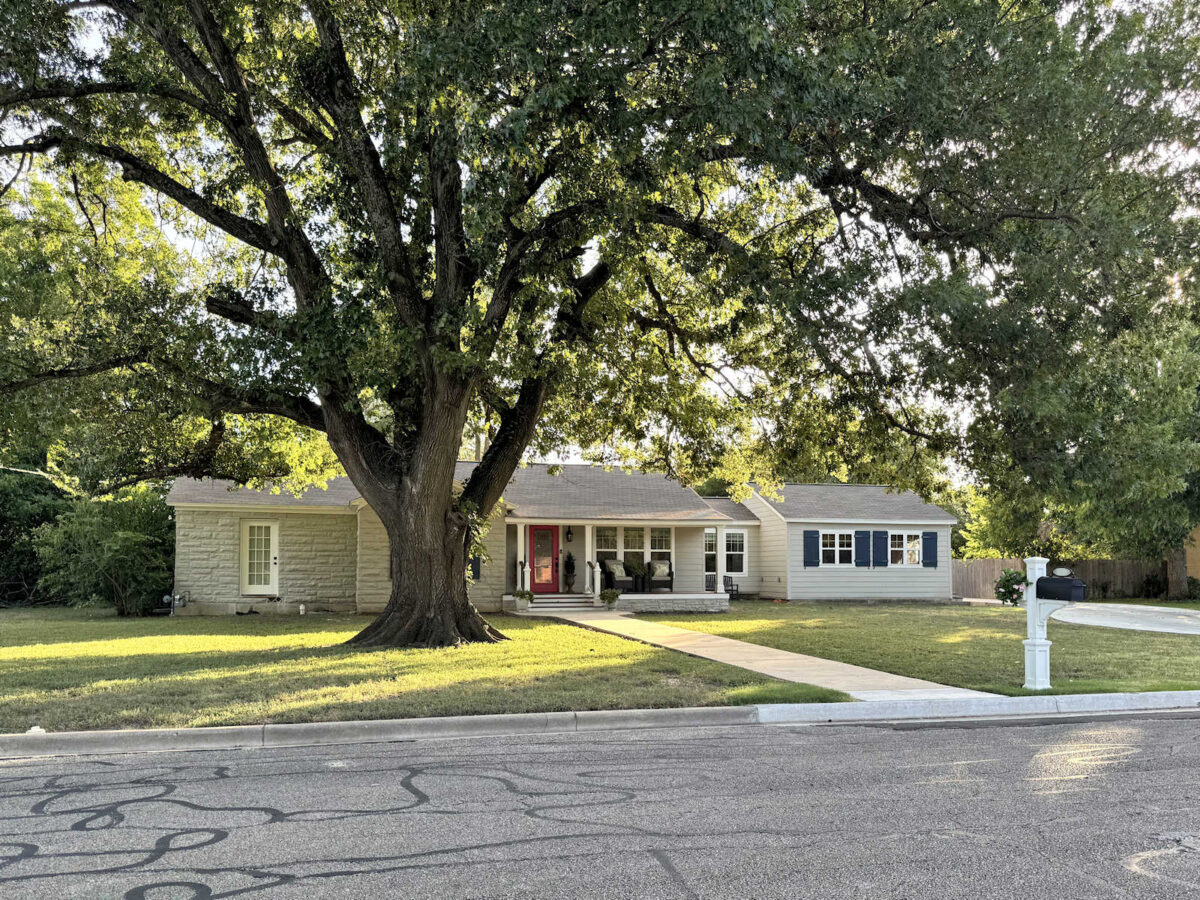
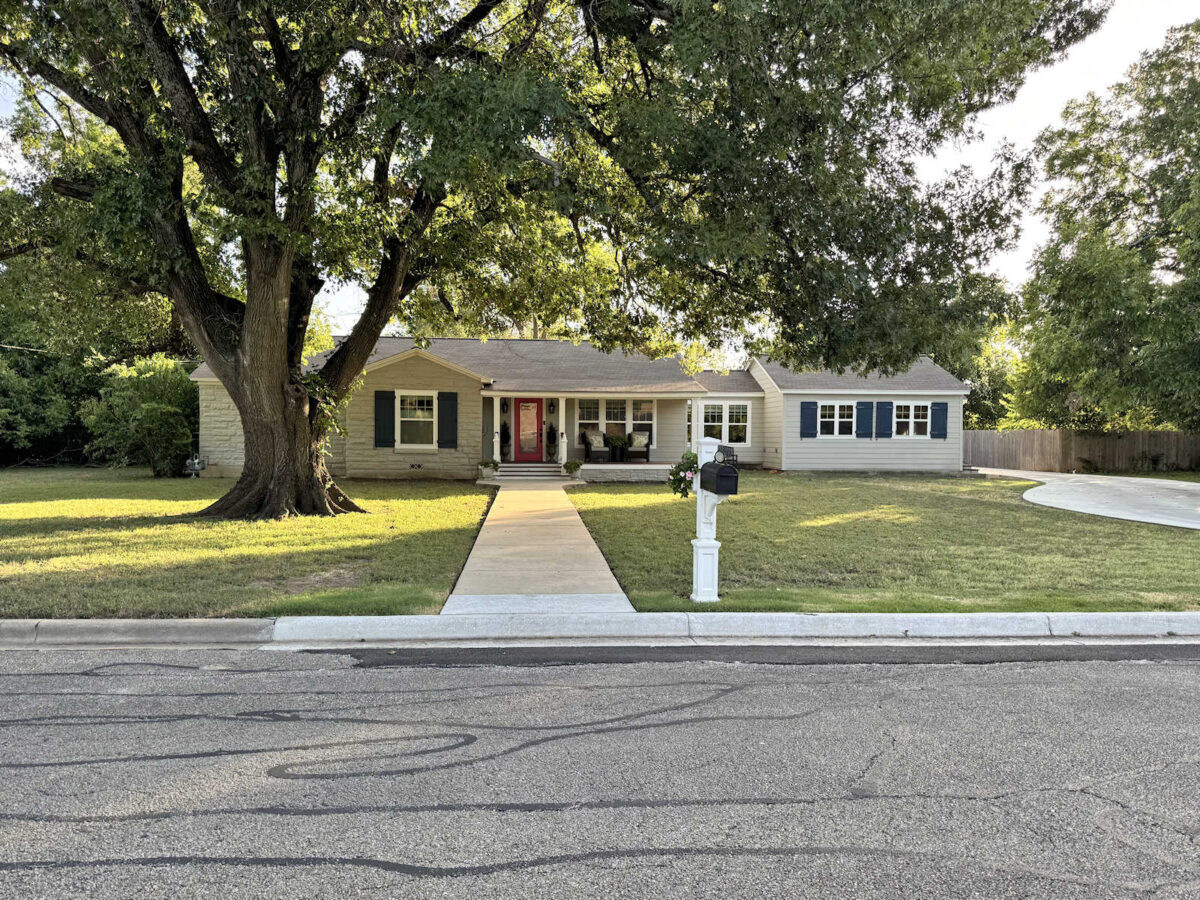
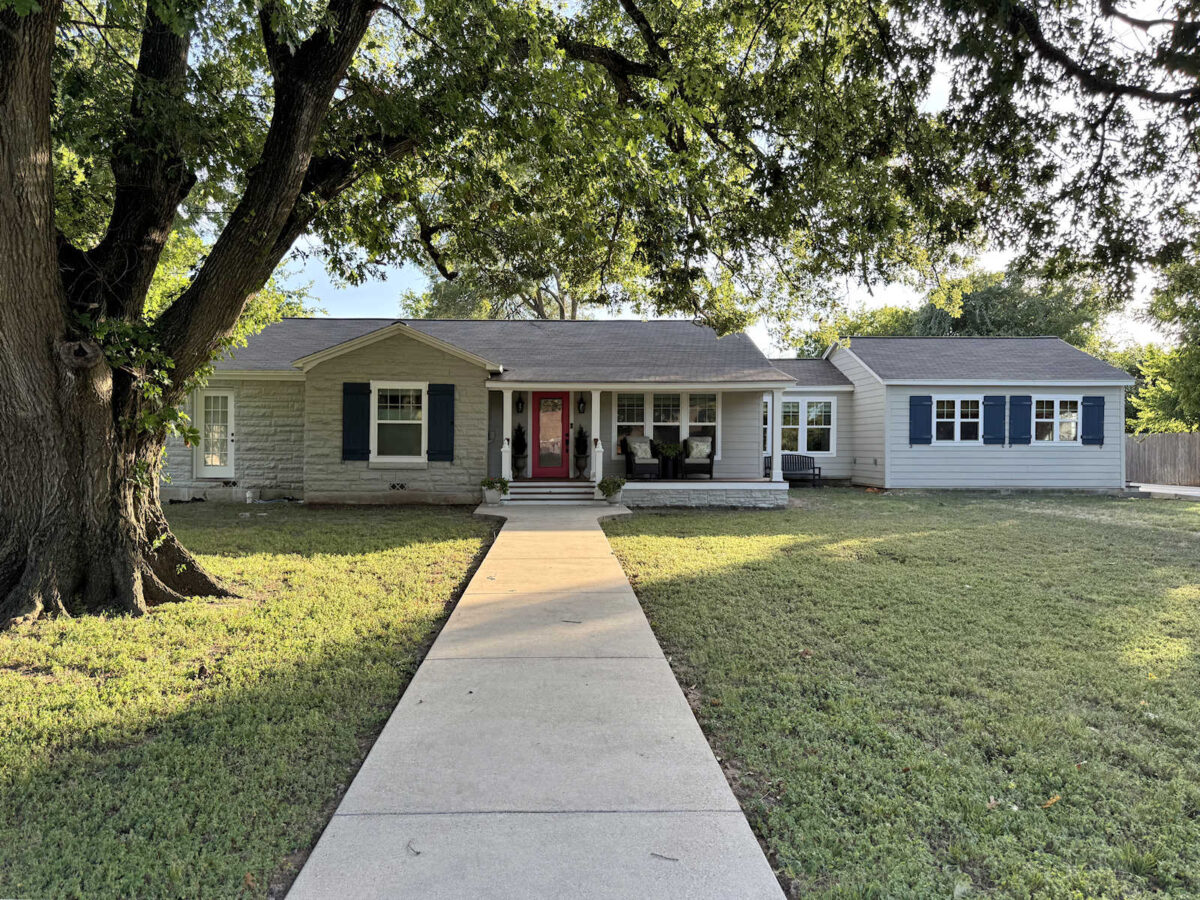
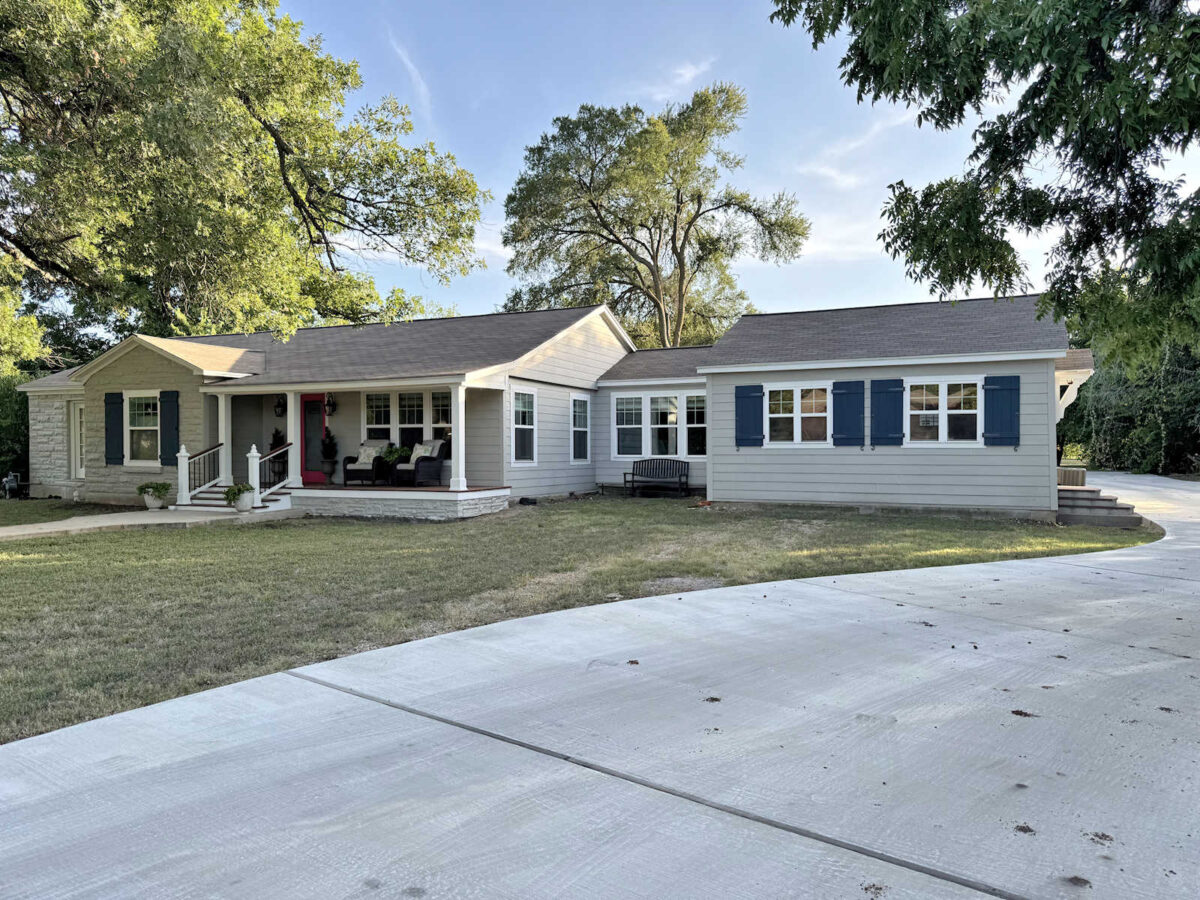
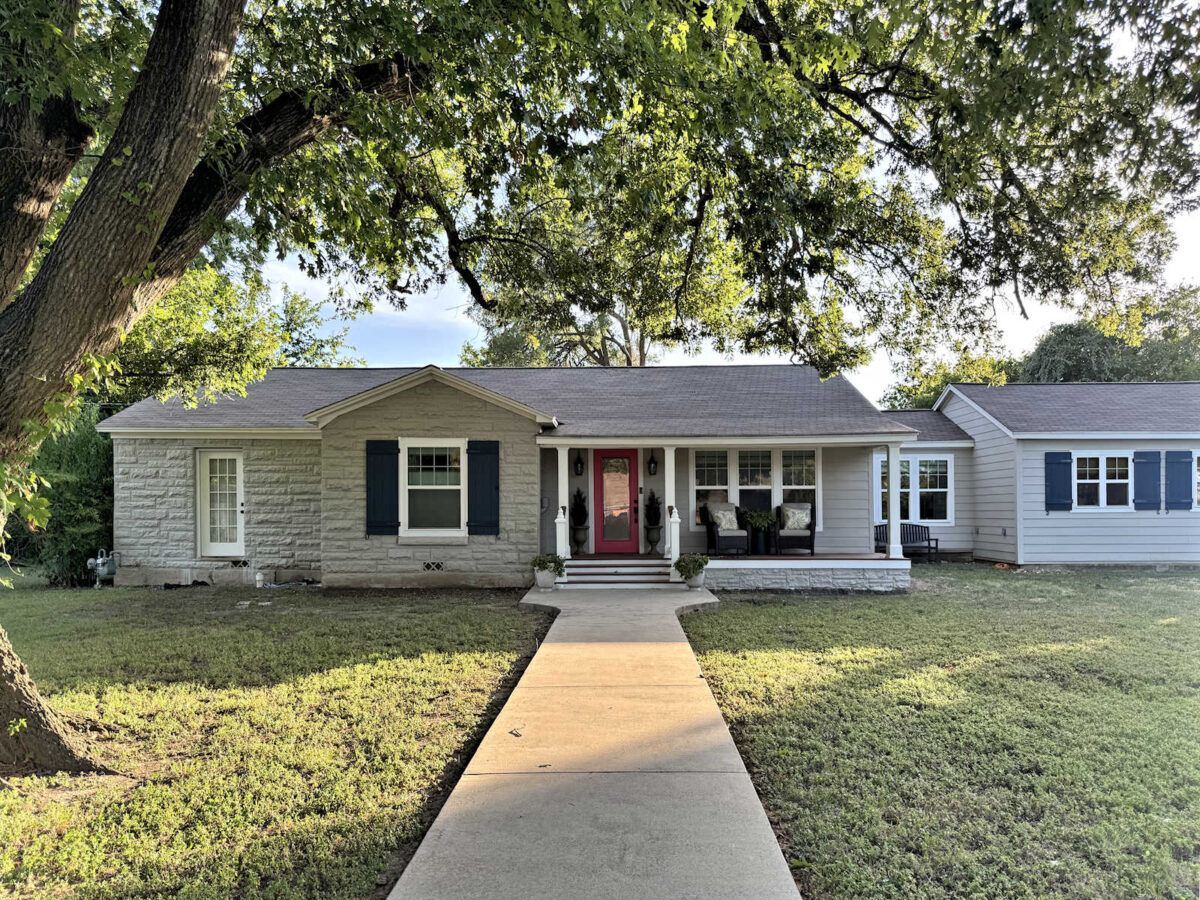
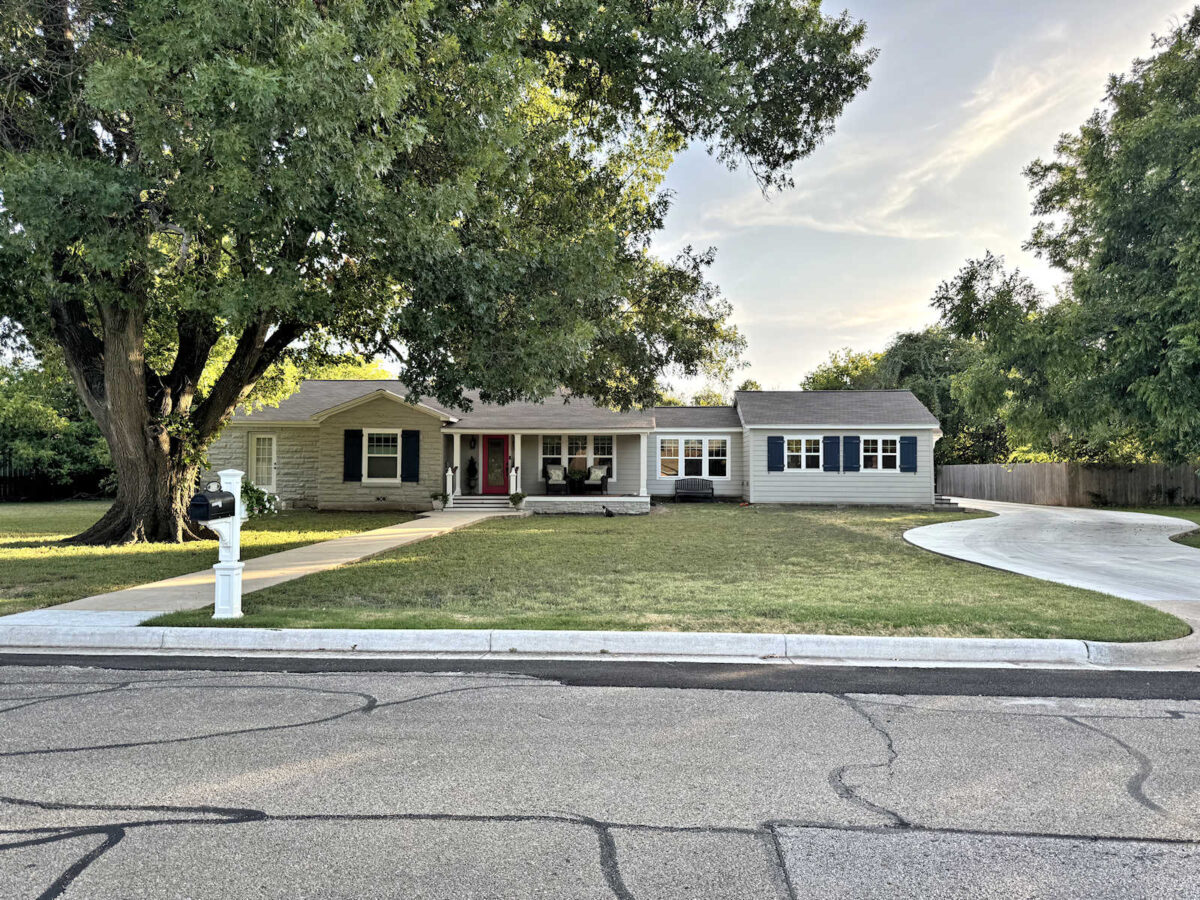
And here’s what it looks like today…
Here’s another one from the day that we bought the house…
This is what it looked like in the early spring of 2016 with a few new windows, a new mailbox, and a few yellow paint samples, but everything else still pretty much the same.
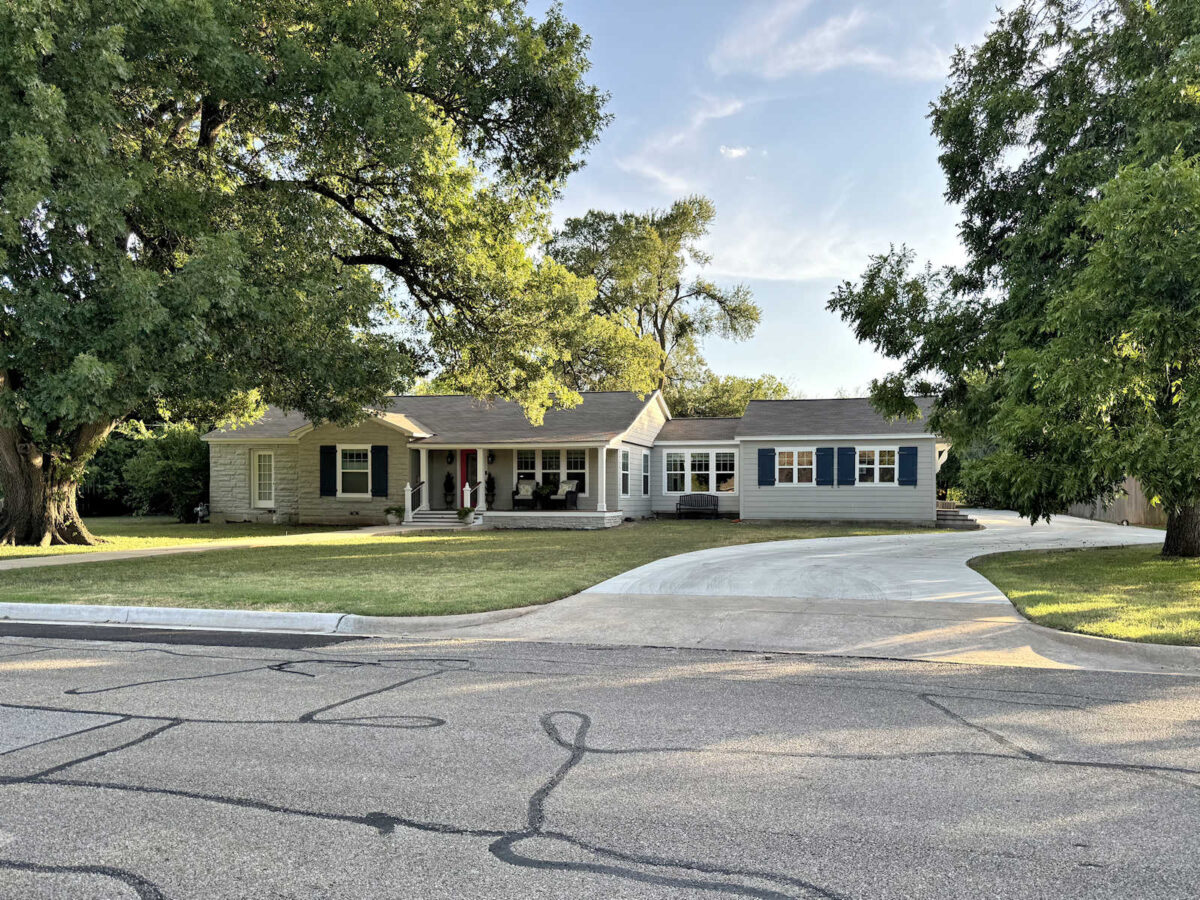
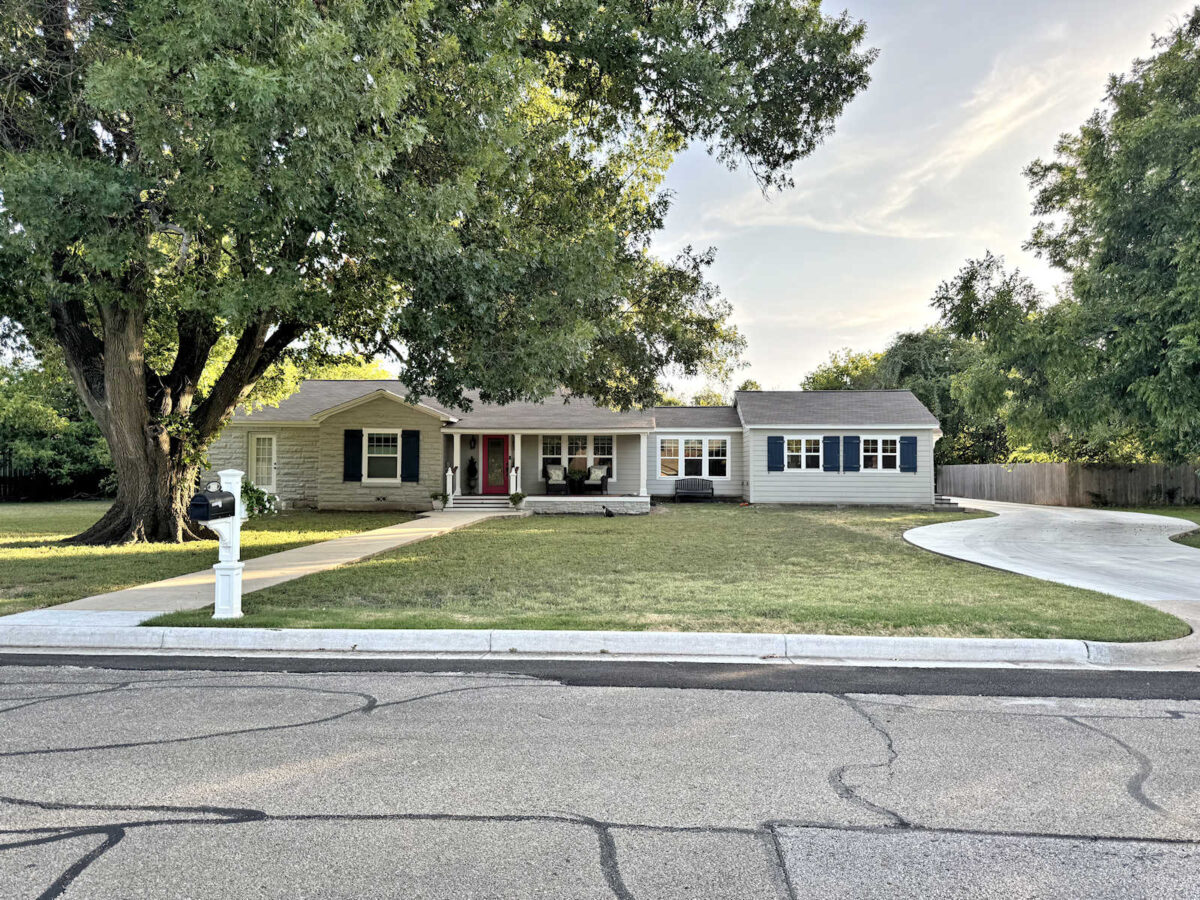
And here’s that same view today…
Obviously, I still have a lot to do on the front of our house and in our front yard, but this little house has come a long way!
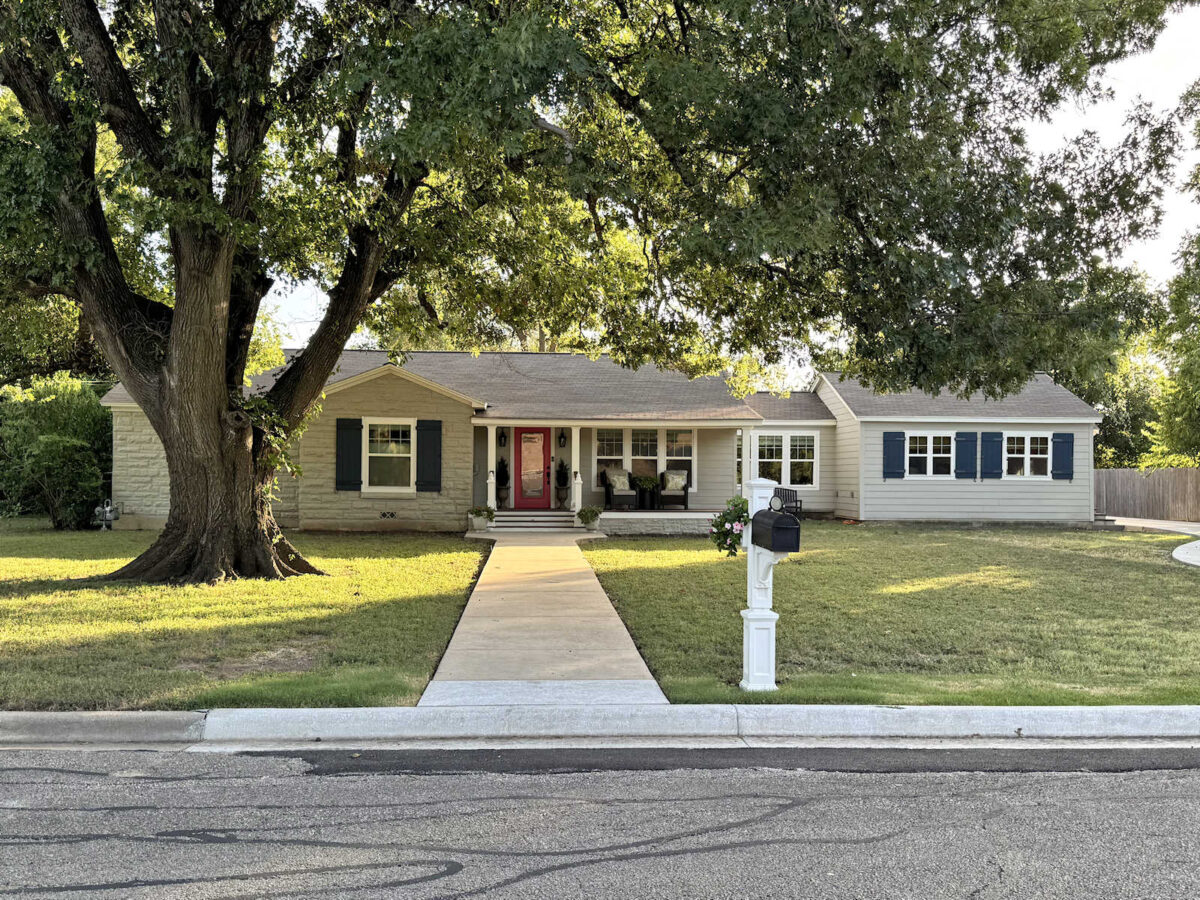
About four months ago, the city started working on our street, tearing out old crumbling curbs and pouring new curbs. I’m really thankful that we no longer have crumbling curbs, but I sure do wish they had replaced all of them because now the curbs are two different colors. I tried pressure washing all of them, and when they were wet, they were all the same color. But then they dried two different colors again. Oh, well. That’s out of my control
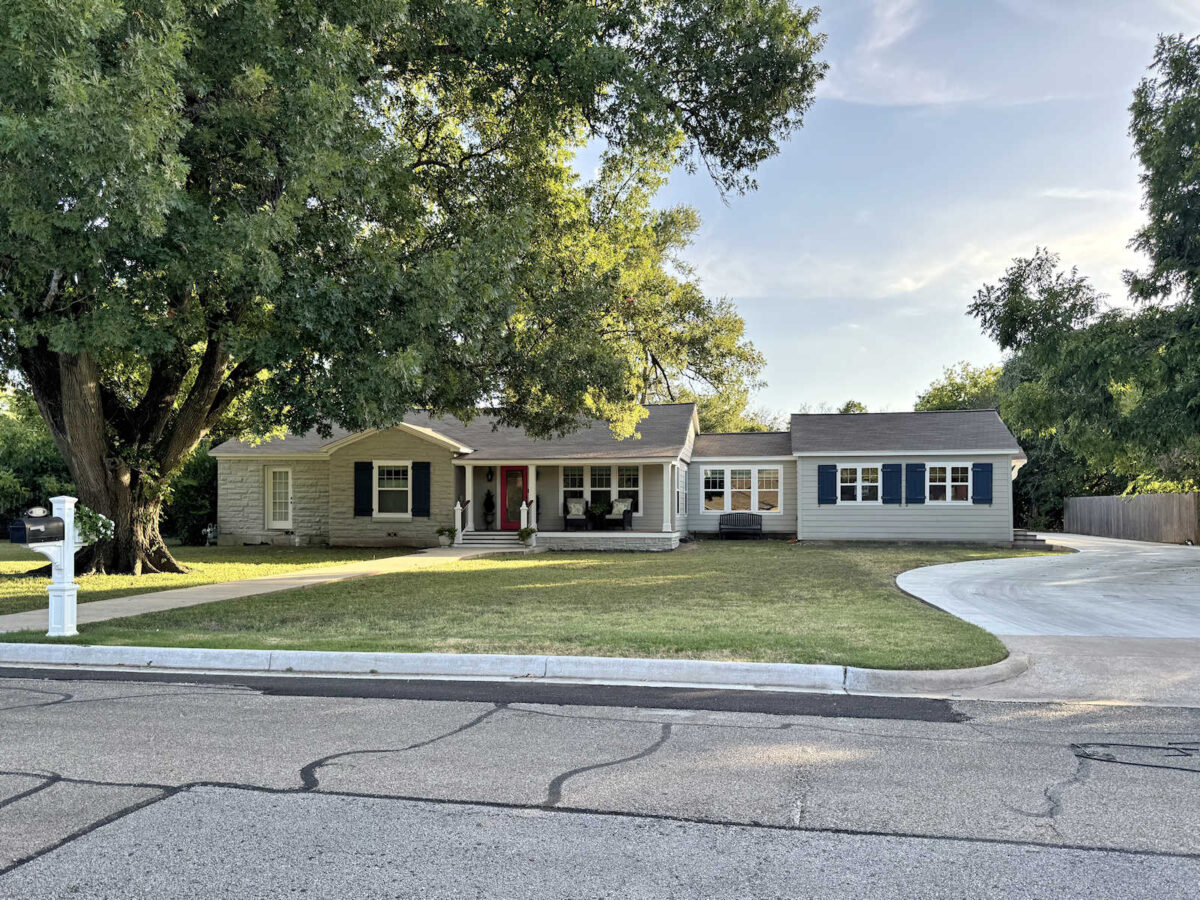
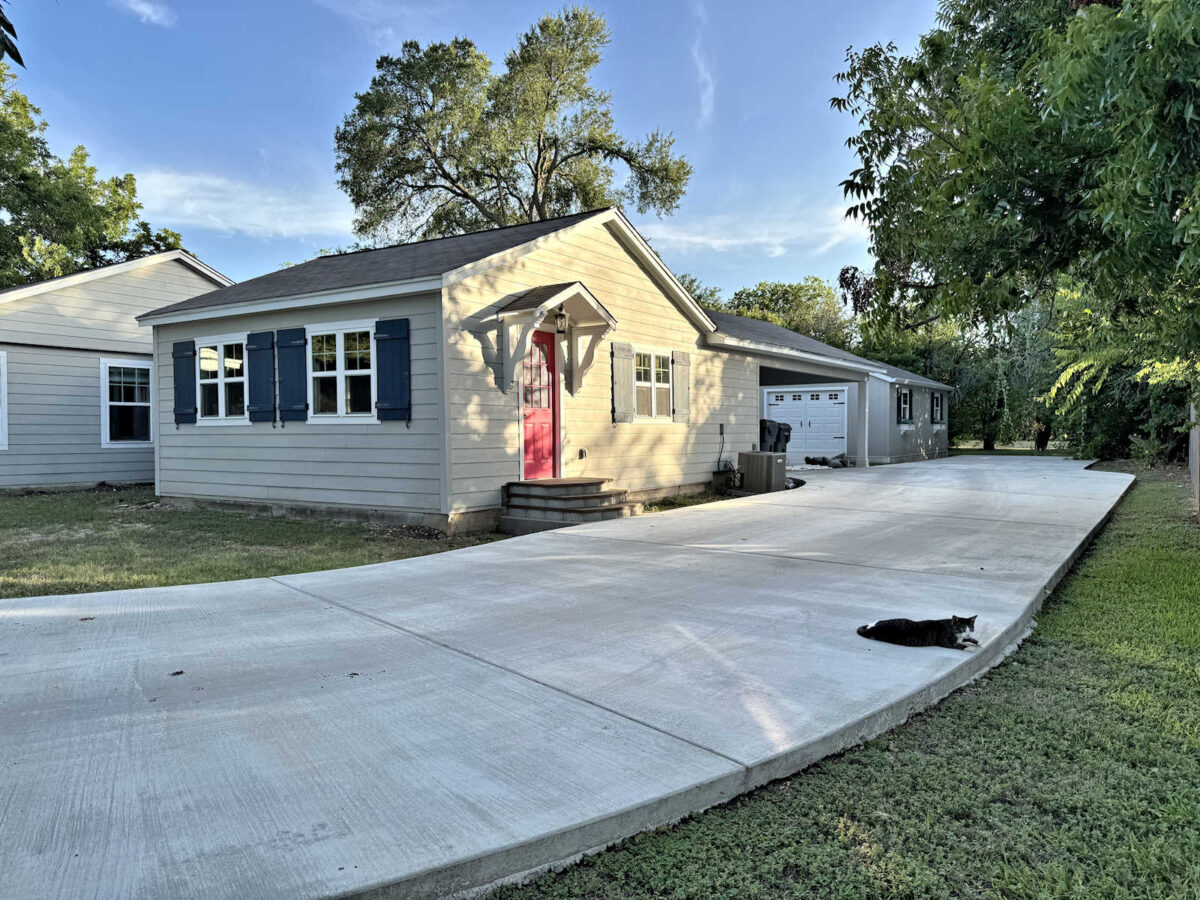
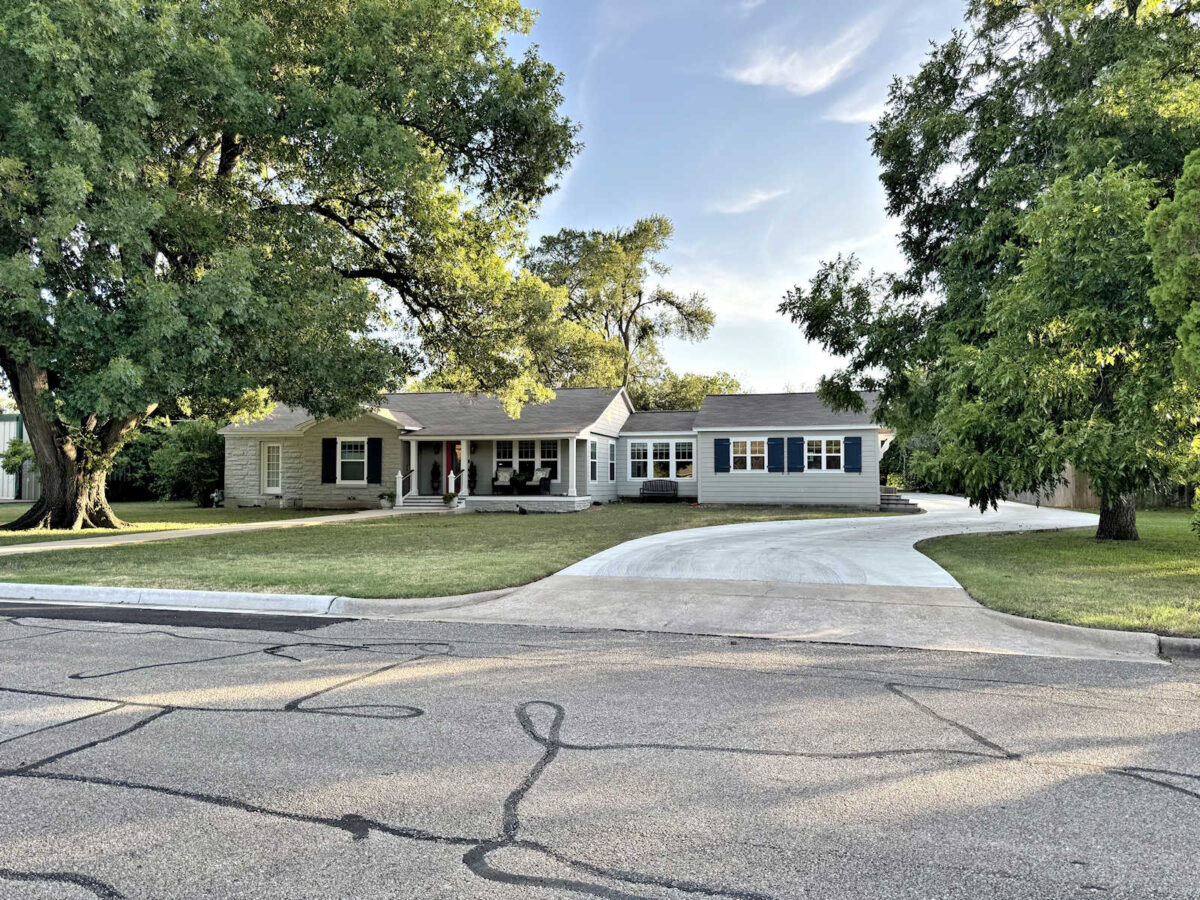
I think the two changes that made the biggest difference are (1) converting the garage into my studio, and (2) pouring a new driveway that goes to the back of the house.
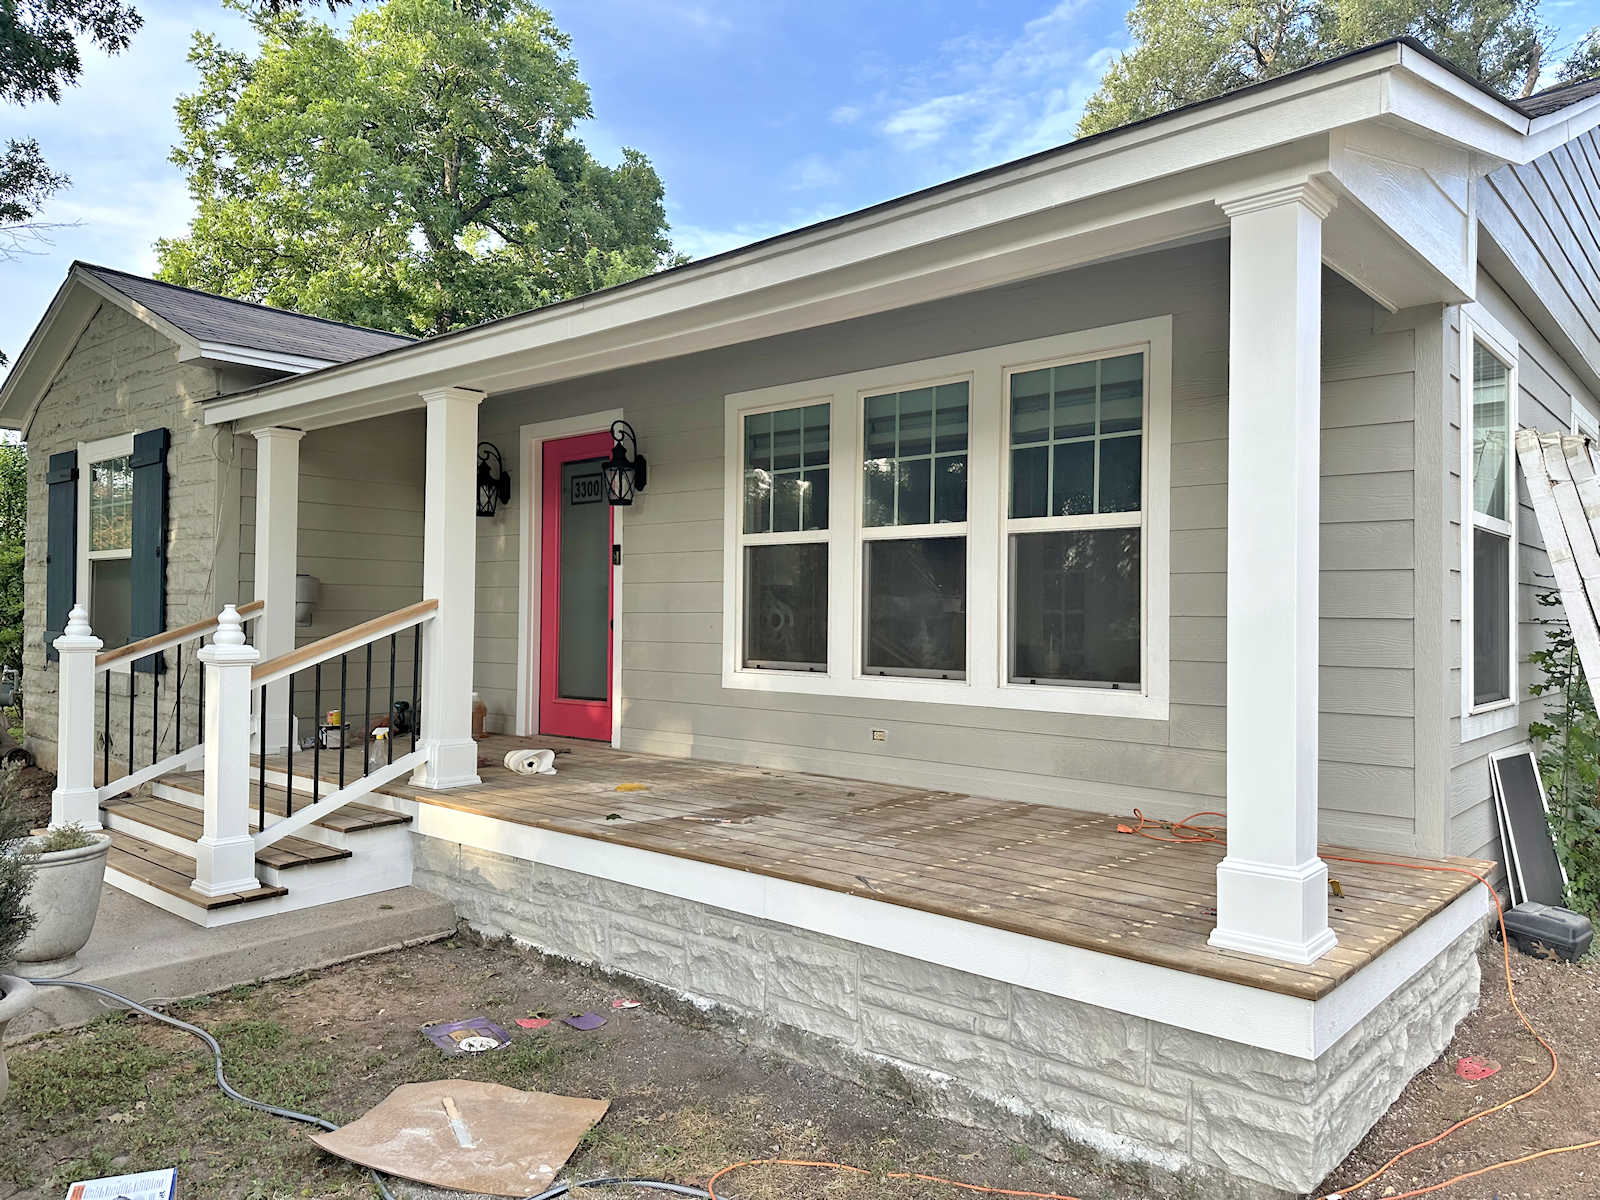
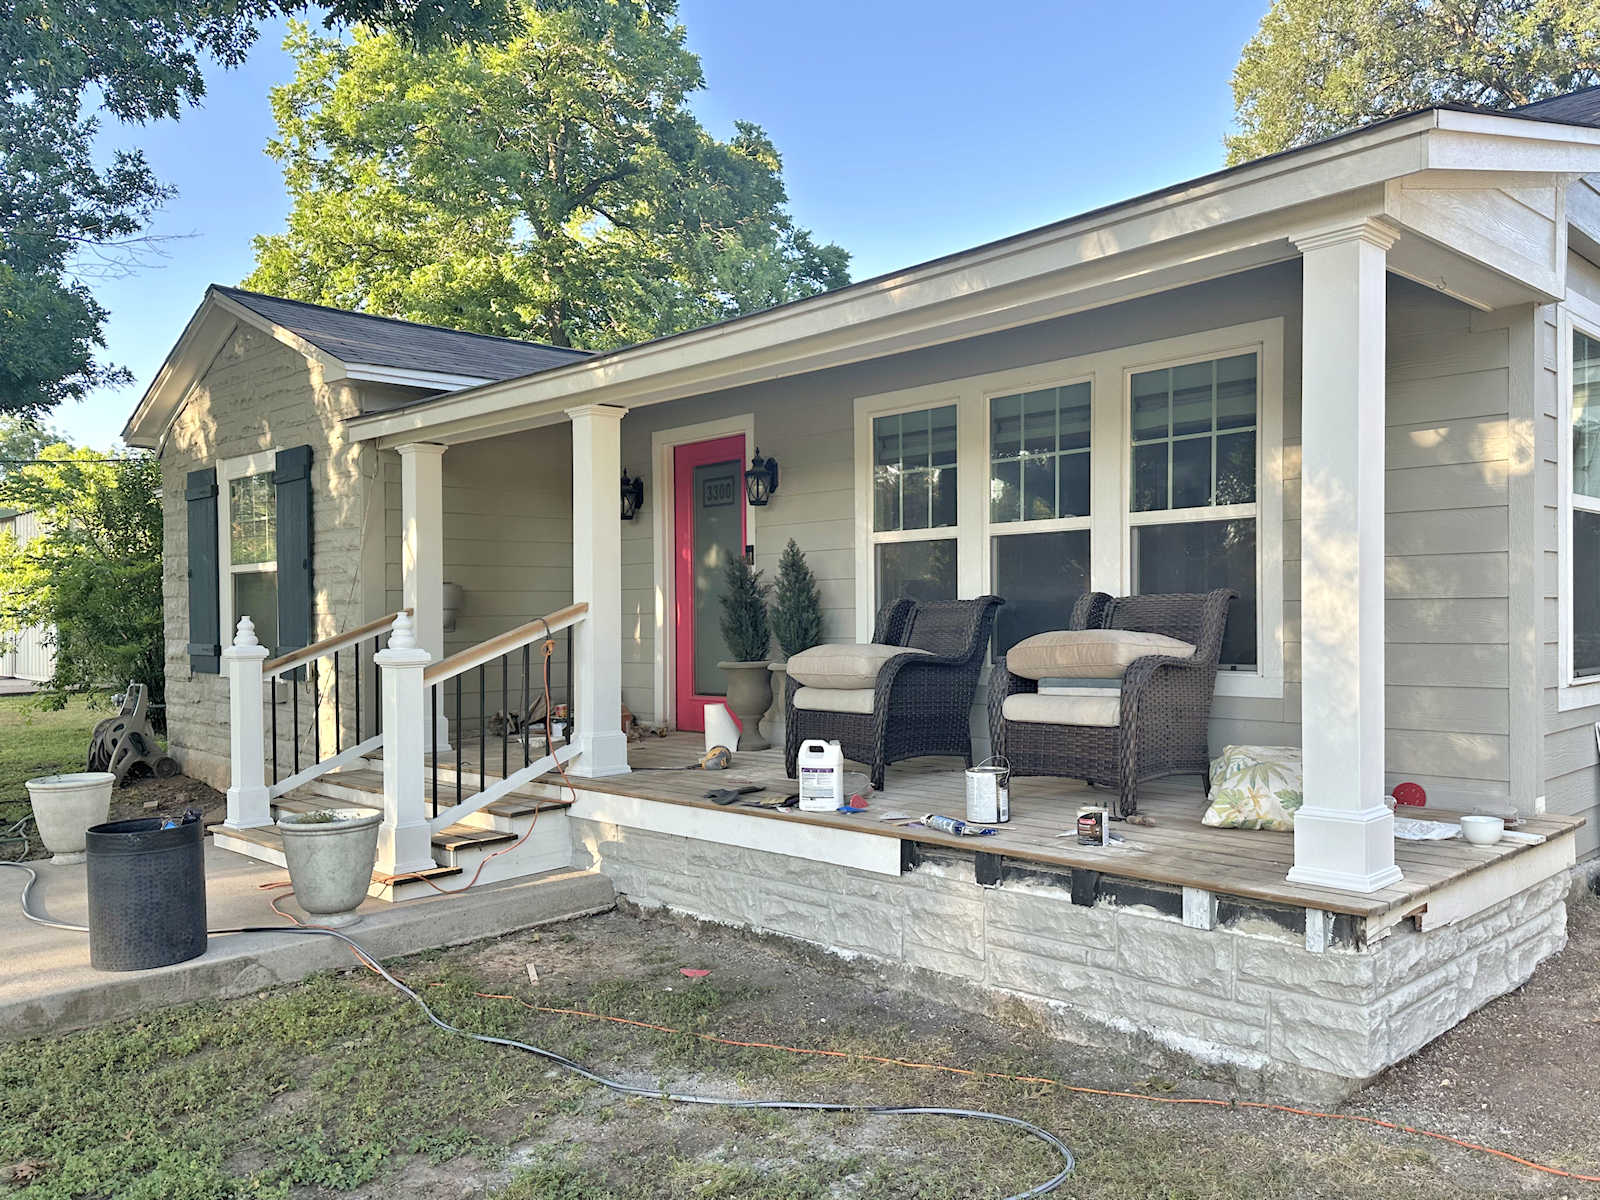
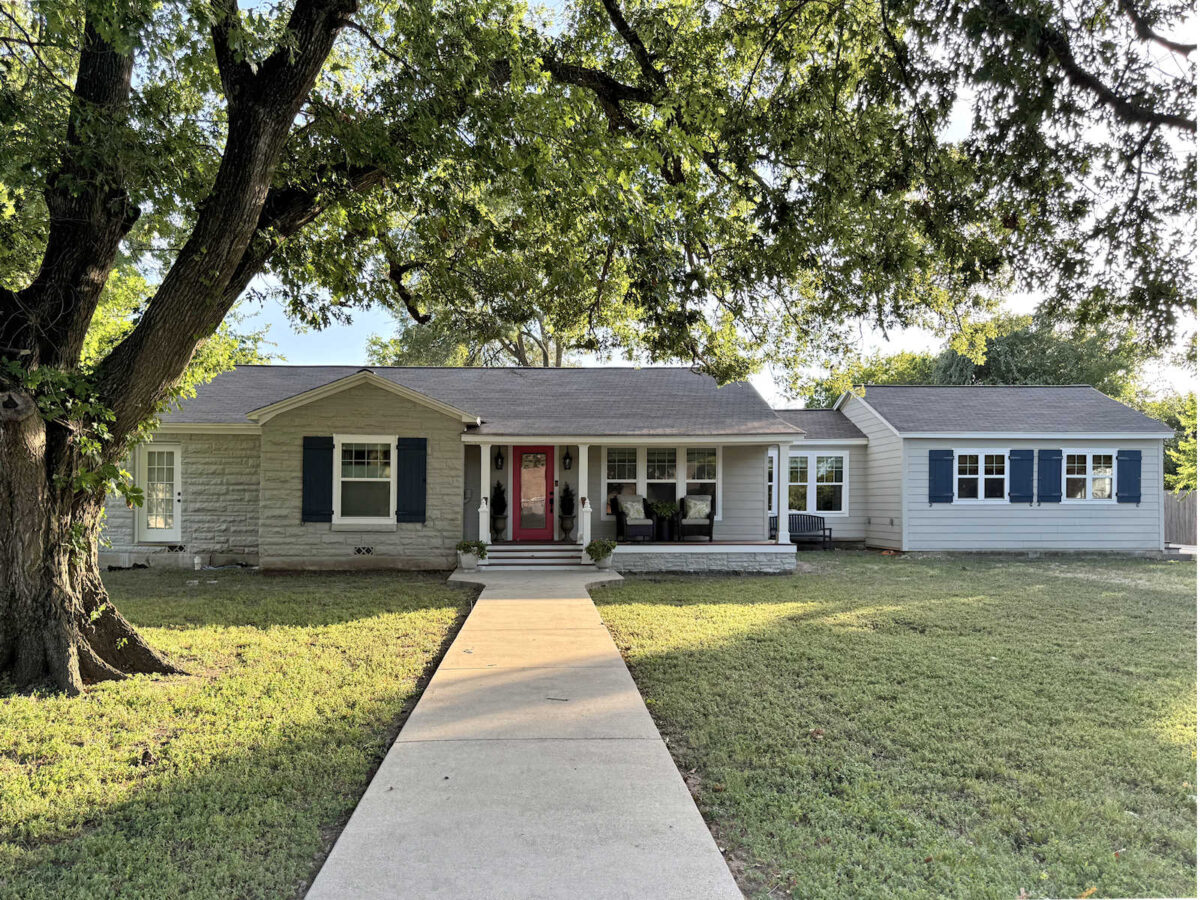
And then completely redoing the front porch has made all the difference as well. It used to be a concrete porch with narrow concrete steps leading to a narrow sidewalk.
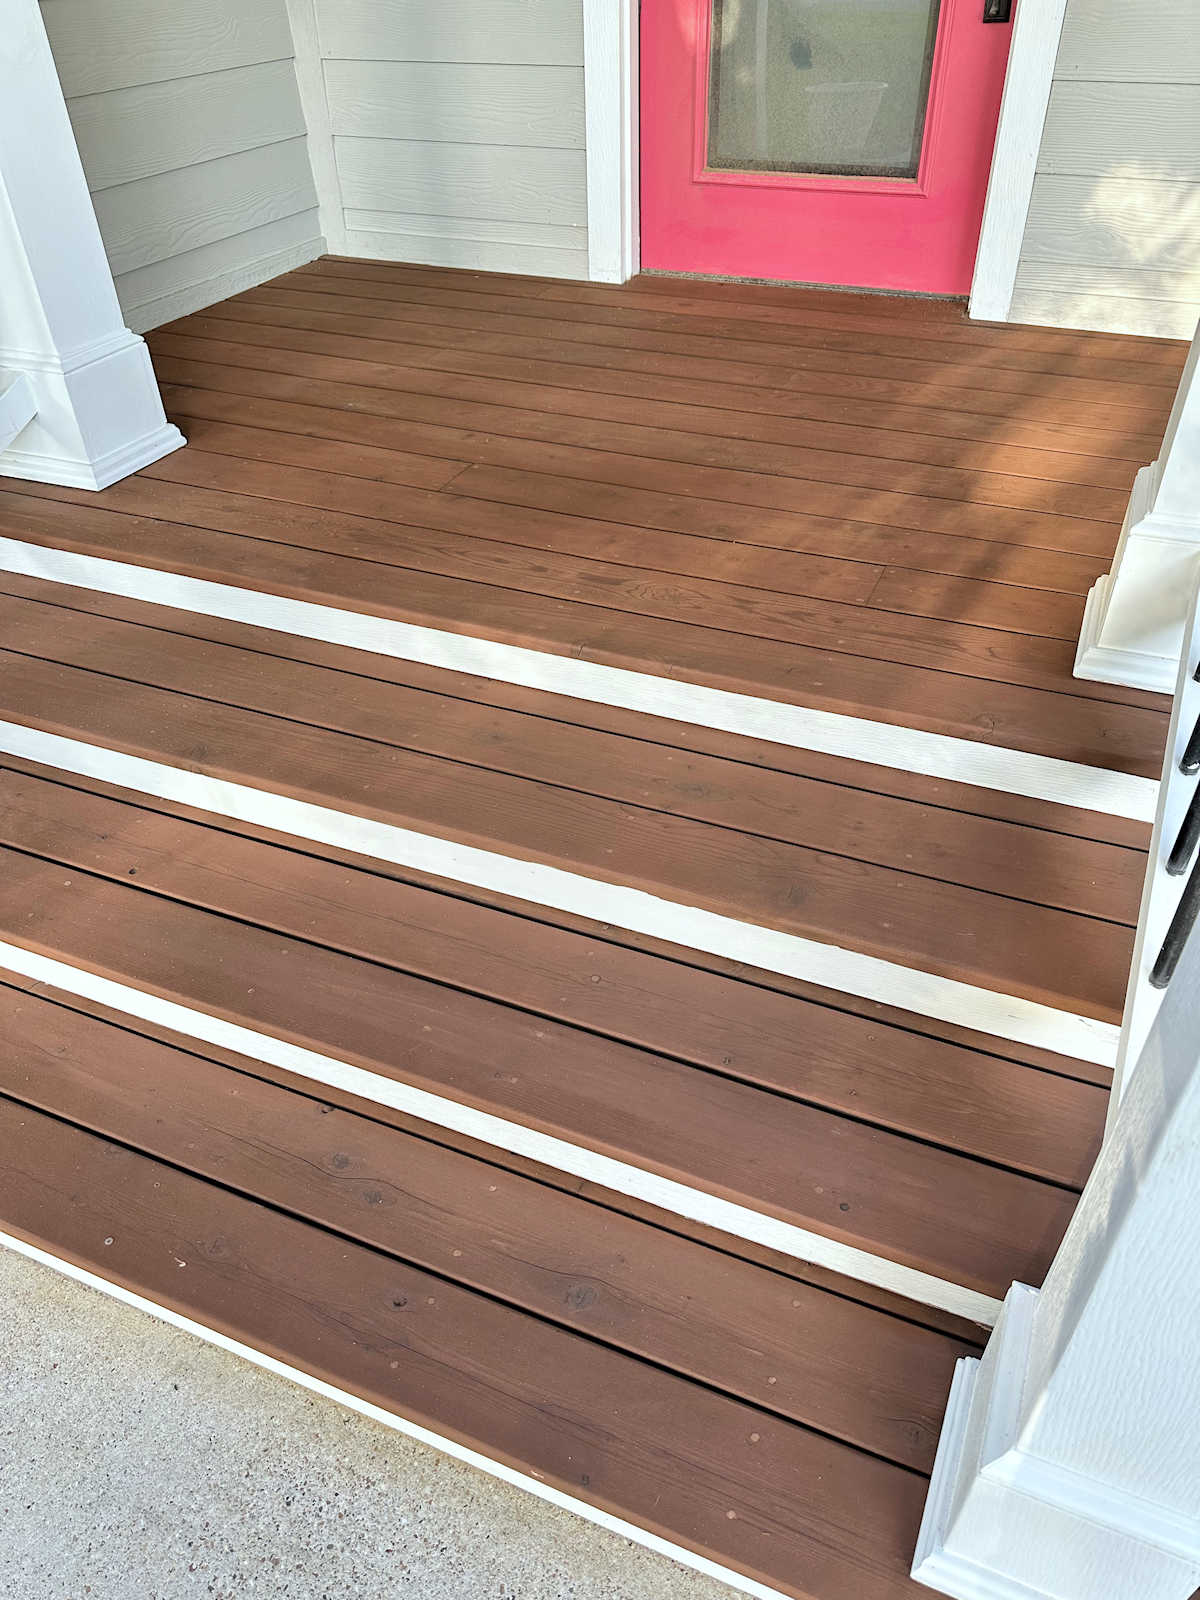
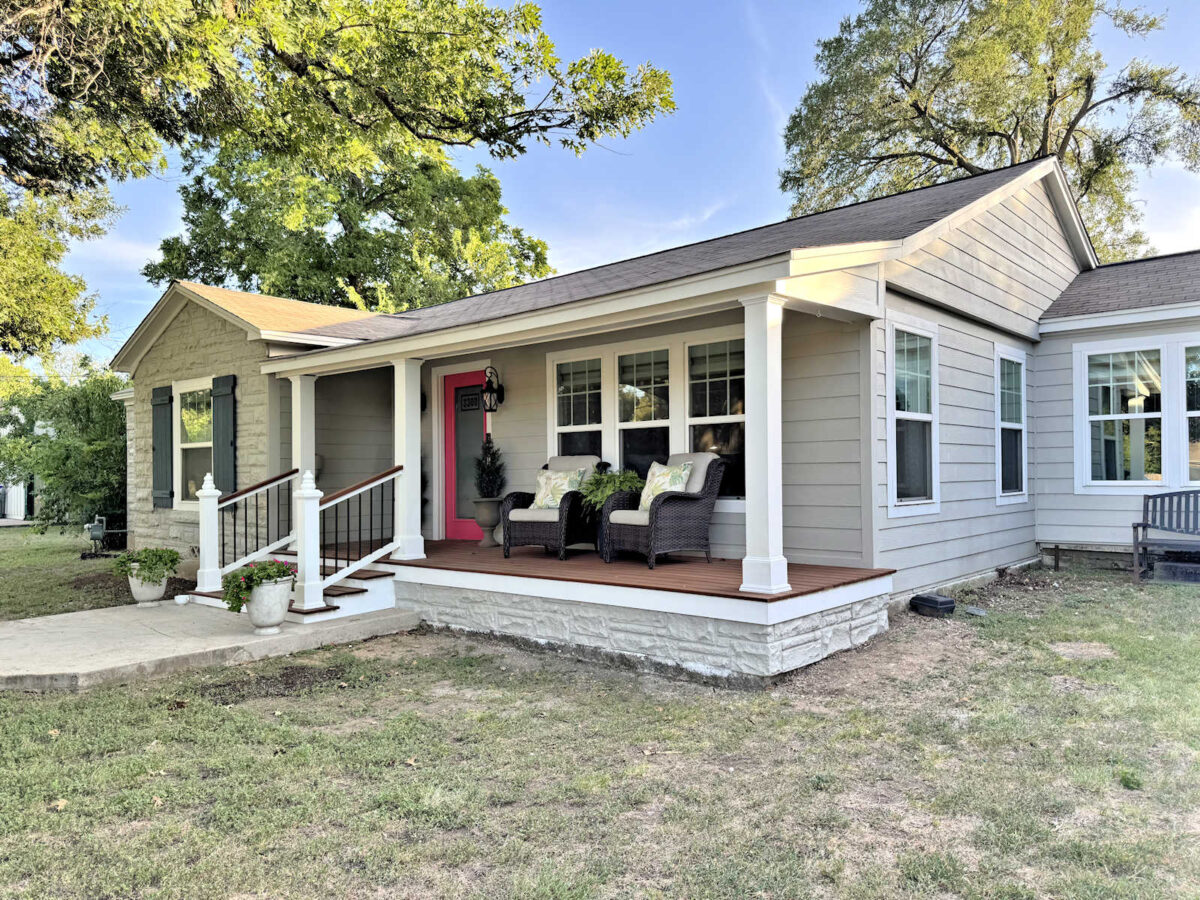
And now I have a wood porch (which I built over the concrete porch), beefier white columns, wide front steps with handrails, and a much wider sidewalk.
I love the changes that I’ve made, but of course, I have so many more plans. When I get back to the outside projects (hopefully later this year when it cools down), my first priority will be adding steps to the new bedroom door over on the far left side of the house. And then I’d love to get started on landscaping. I have such grand plans for that little area in front of the breakfast room windows to the right of the front porch.
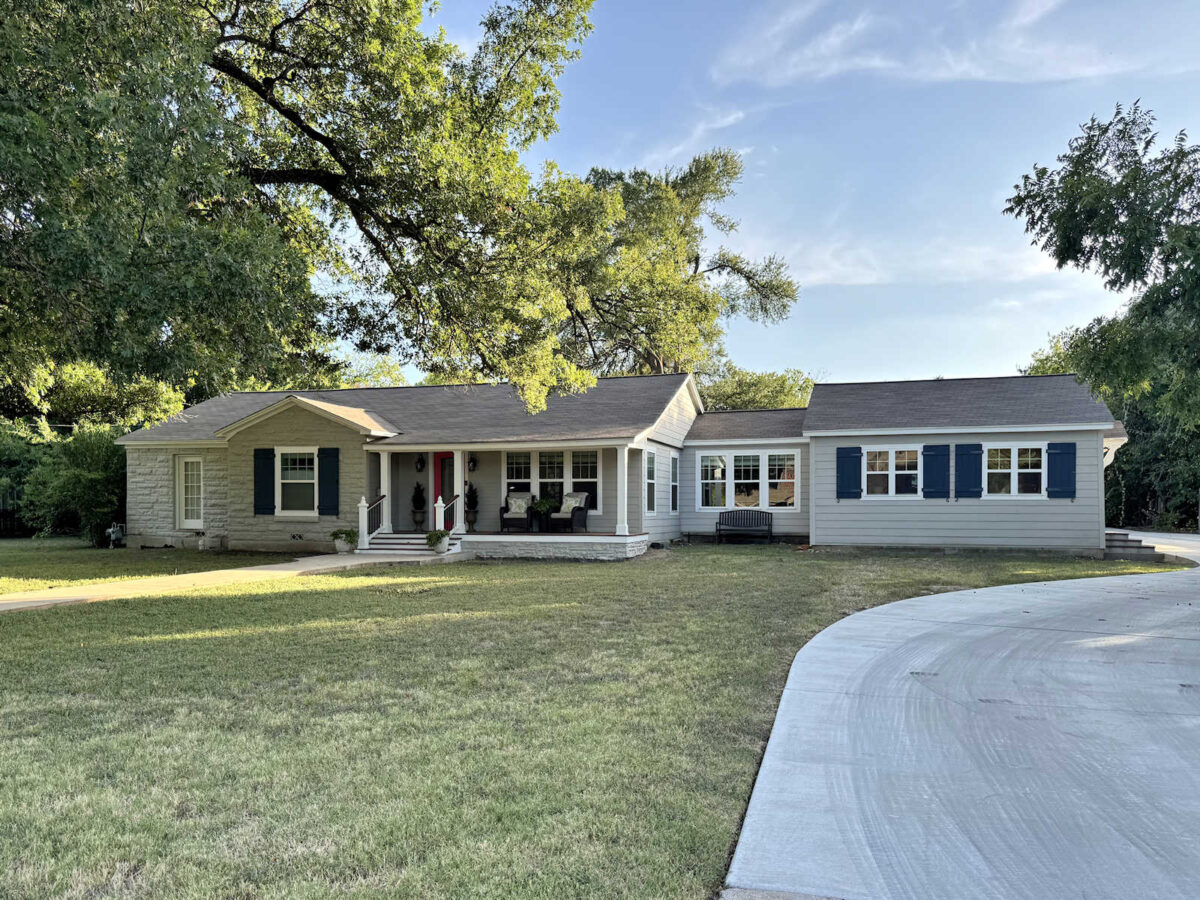
I took these pictures yesterday at about 7:00pm with the sun going down behind our house, so that made the front porch look pretty dark. In person, it doesn’t look dark like that. There’s quite a difference between seeing the house in a small photo on a computer or phone screen and seeing it in person.
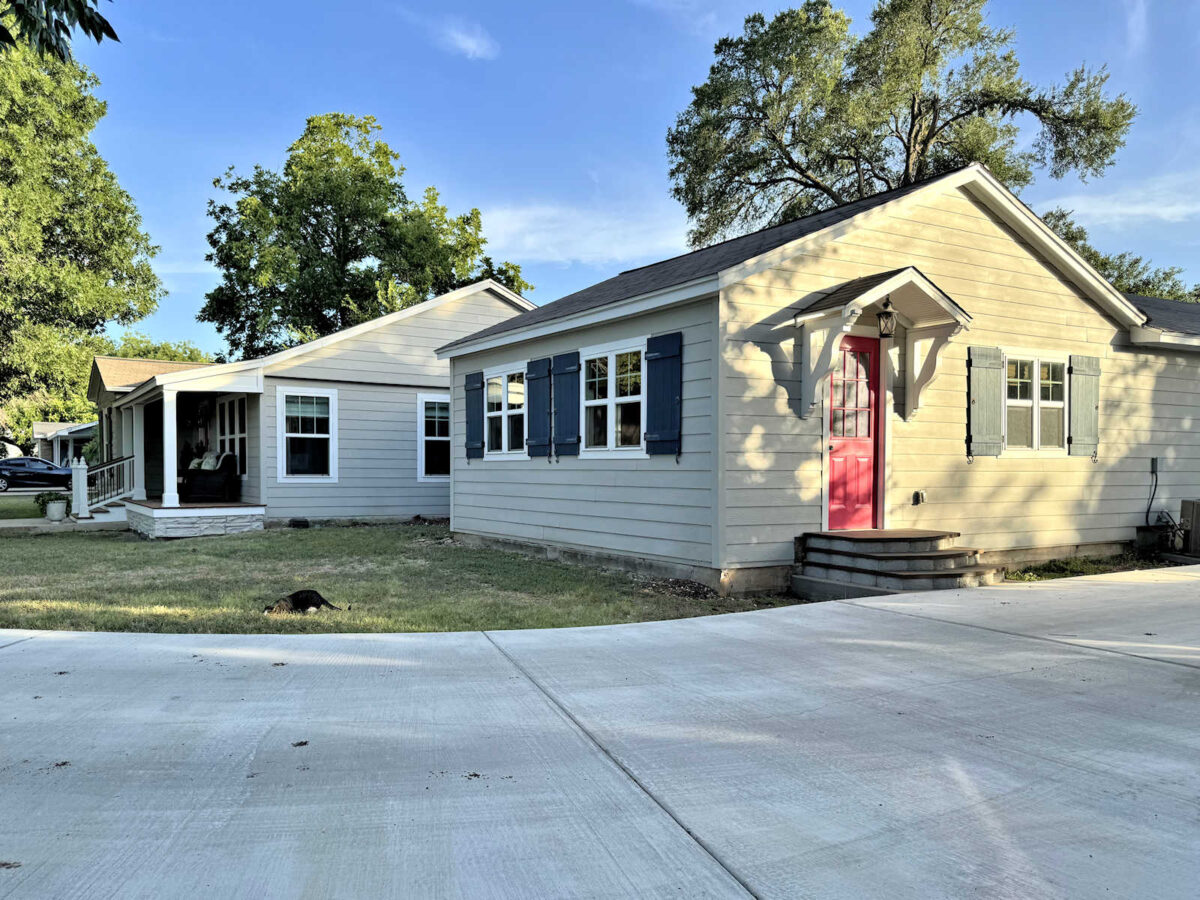
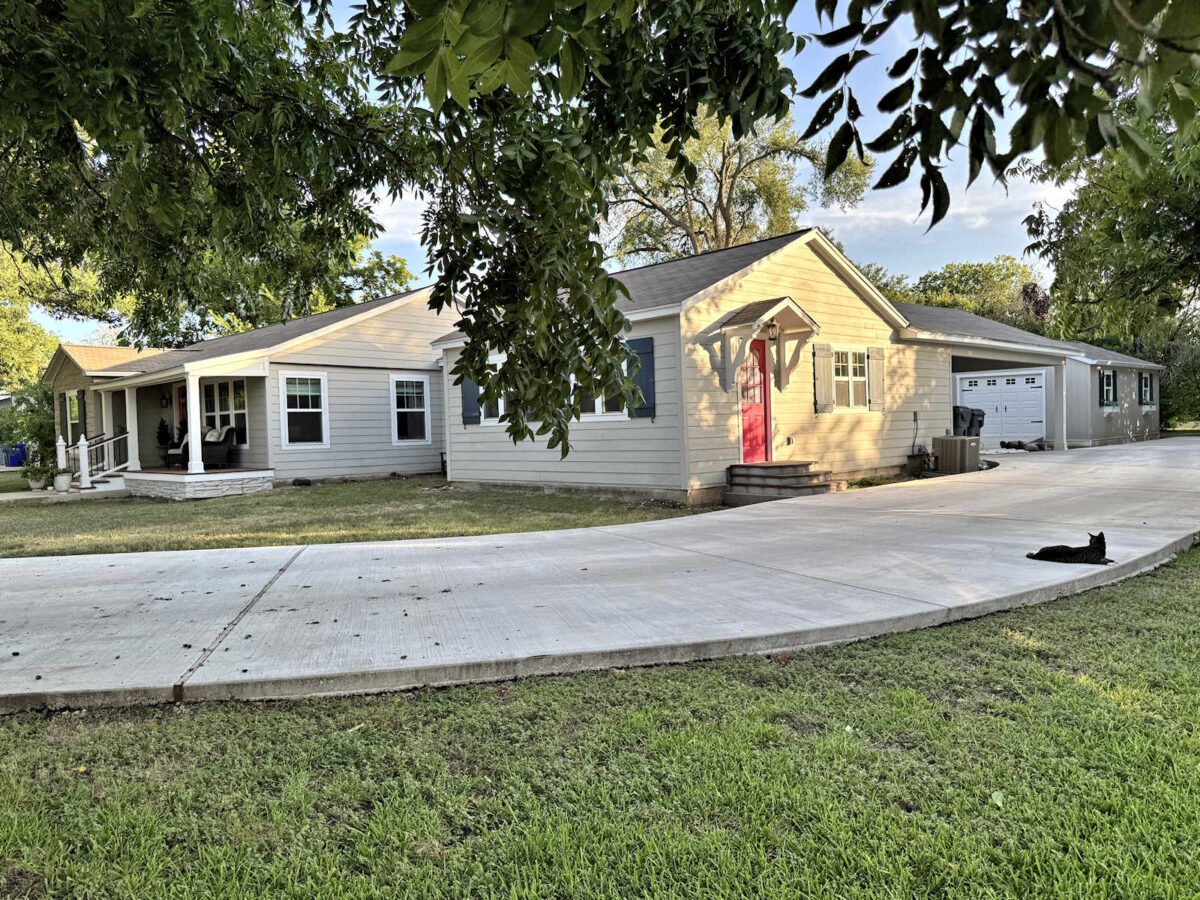
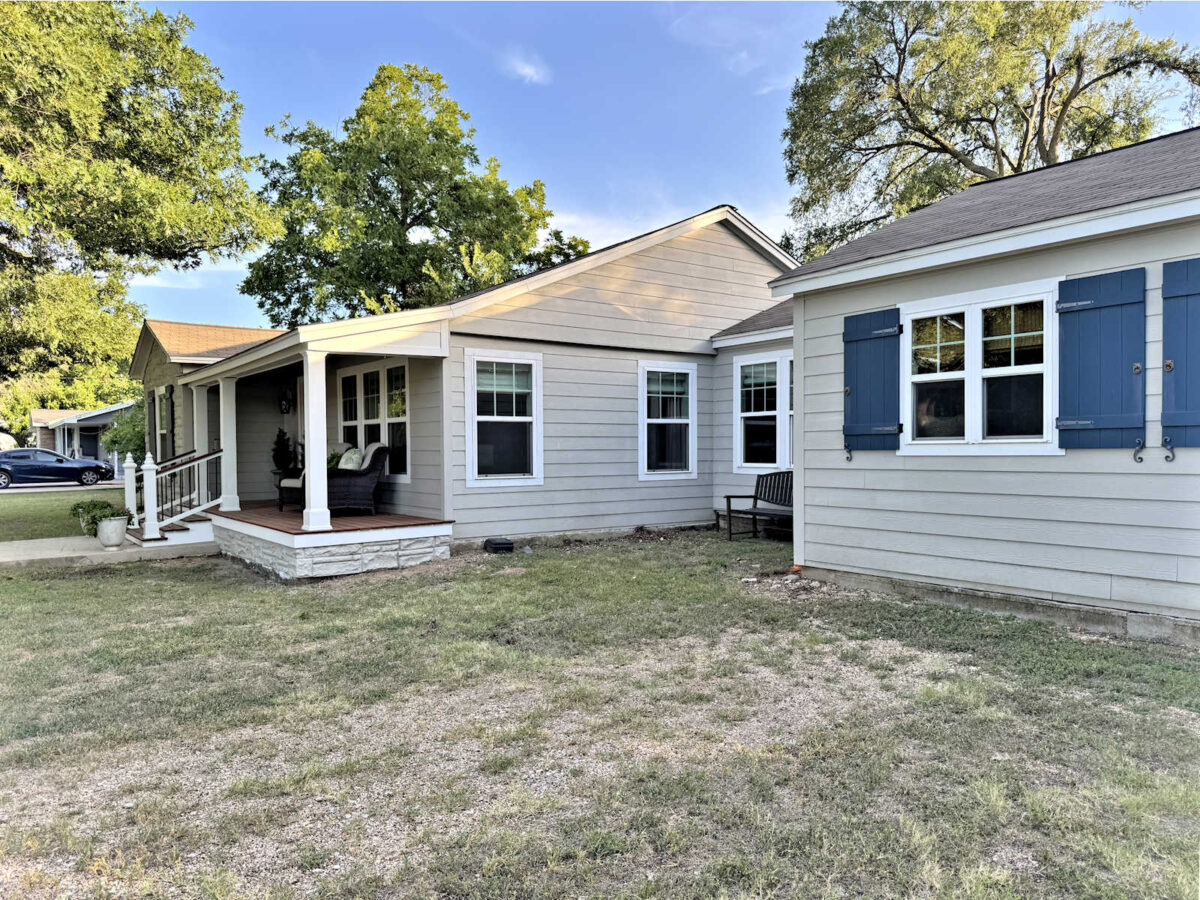
I think several people were confused about where the steps that I built a couple of months ago were located. Those steps are on the side of my studio (i.e., the original garage), so they’re on the right end of the house by the driveway. You can see below that the driveway goes to the back of the house to the carport that we had built during the garage-to-studio project. And then my workshop sits right behind the carport.
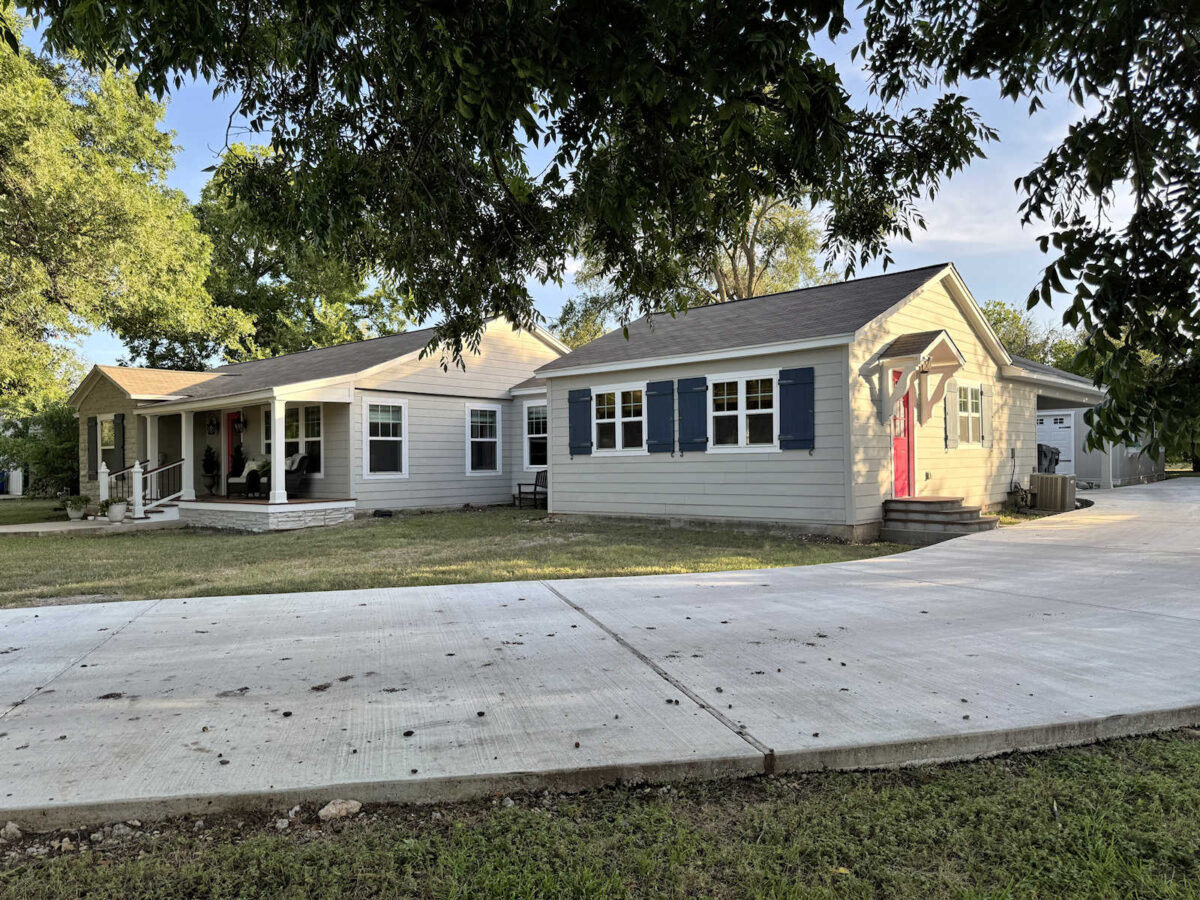
The sun was really bright on this side of the house when I took these pictures, but here’s a better view of the studio, carport, and workshop layout.
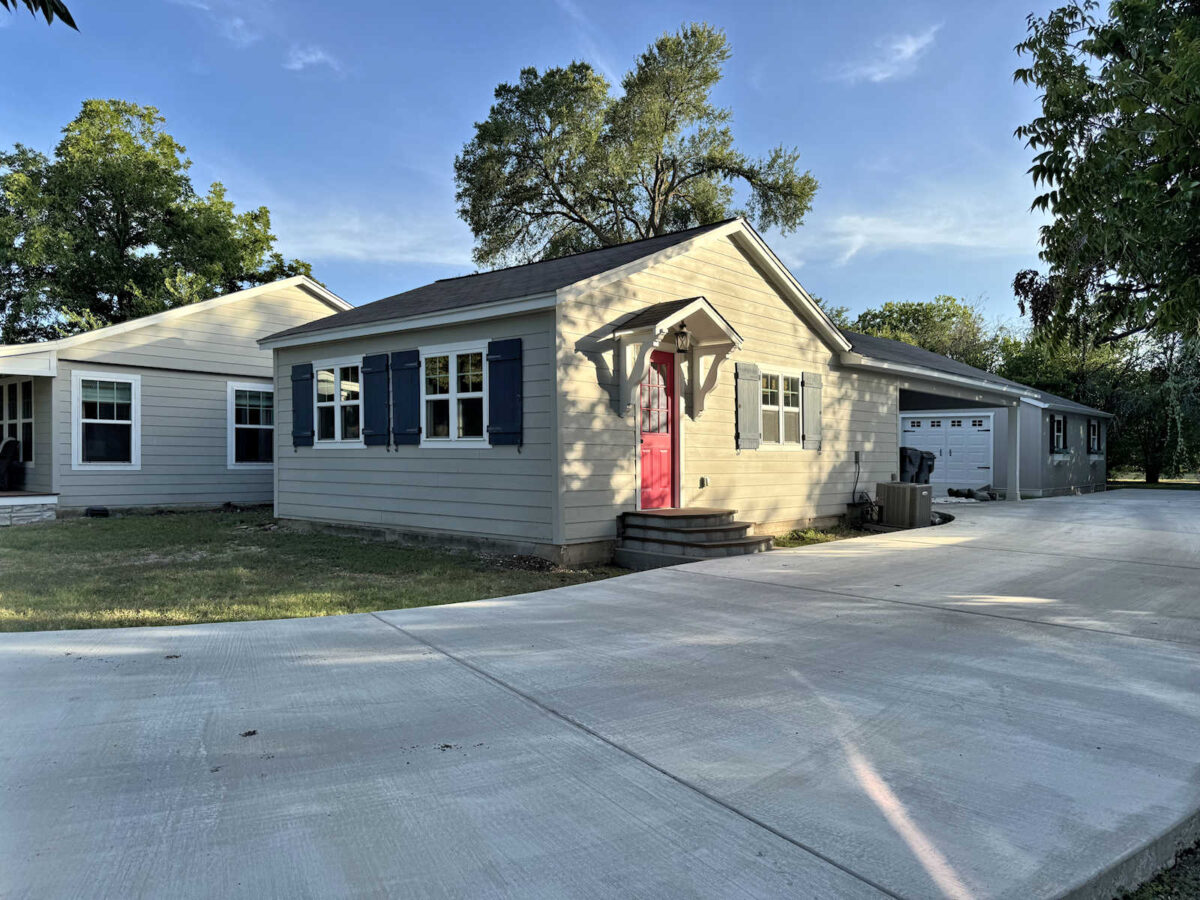
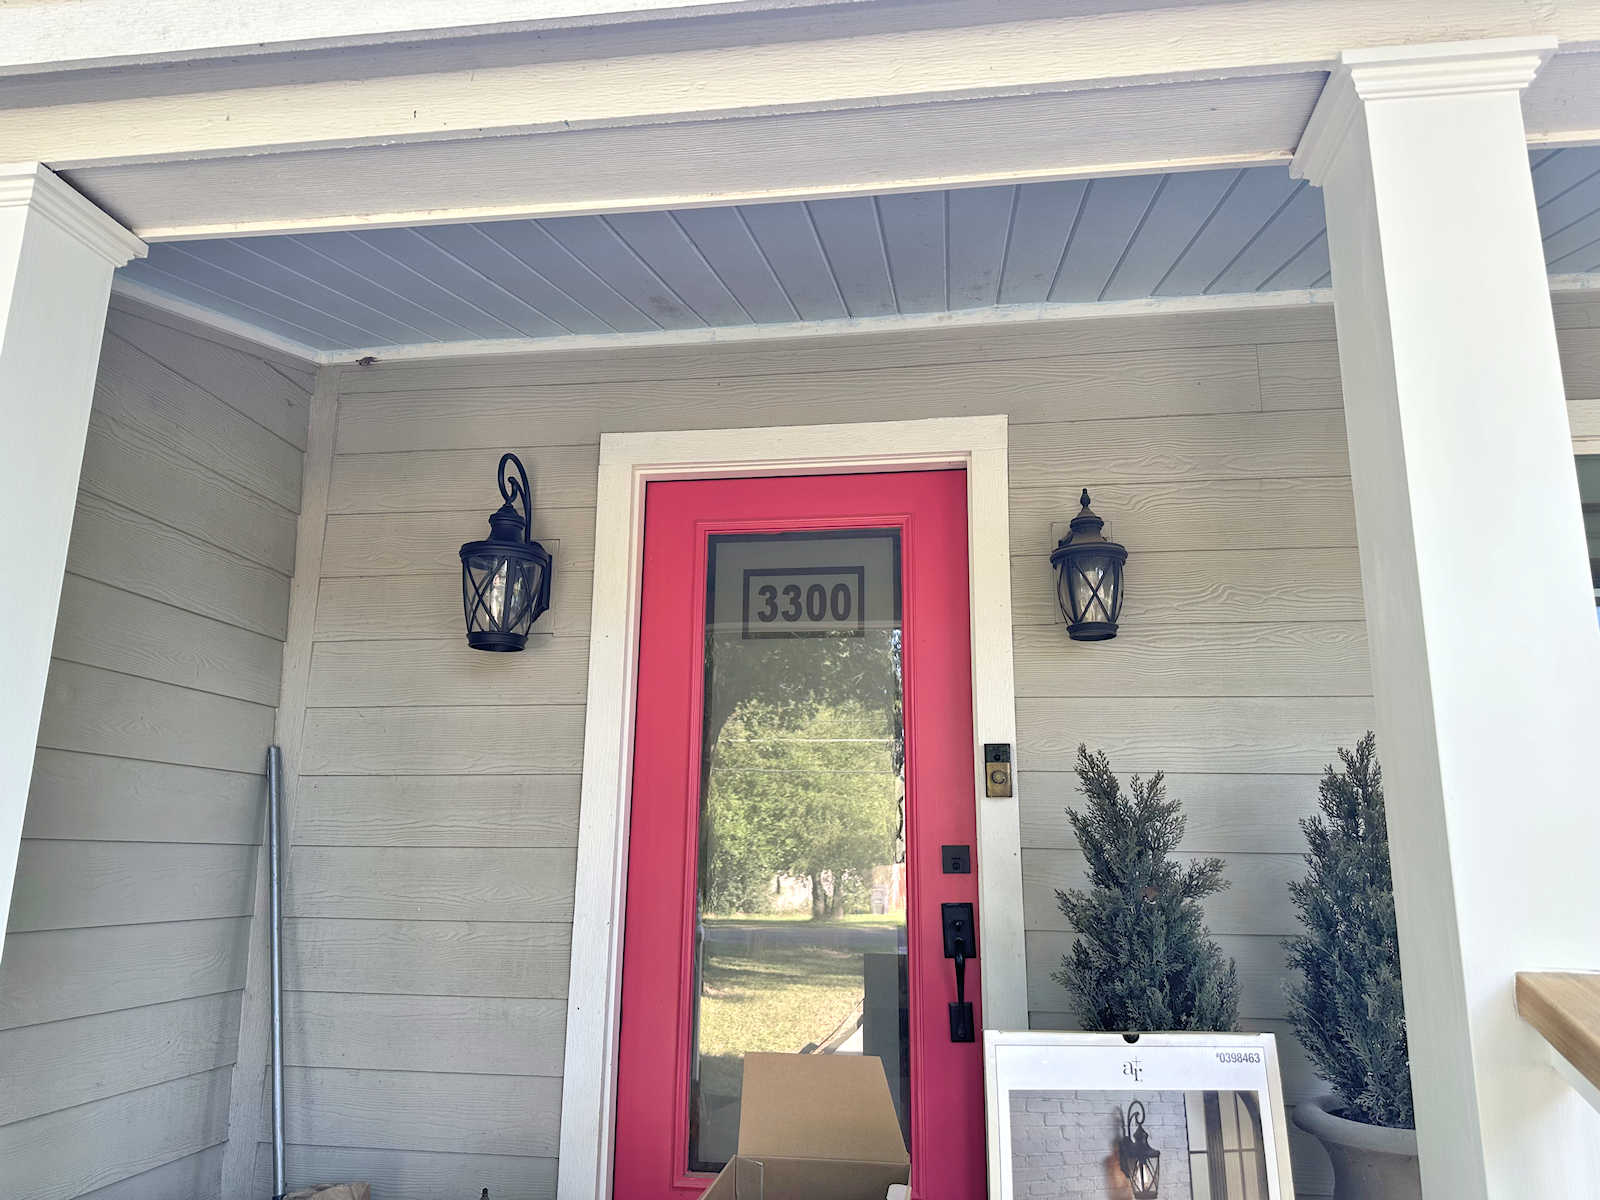
So in reality, you don’t ever see the two pink doors together. My side studio door is pink, but you have to be looking at the house at an angle to see it, and you can’t really see the front door to our house from that angle.
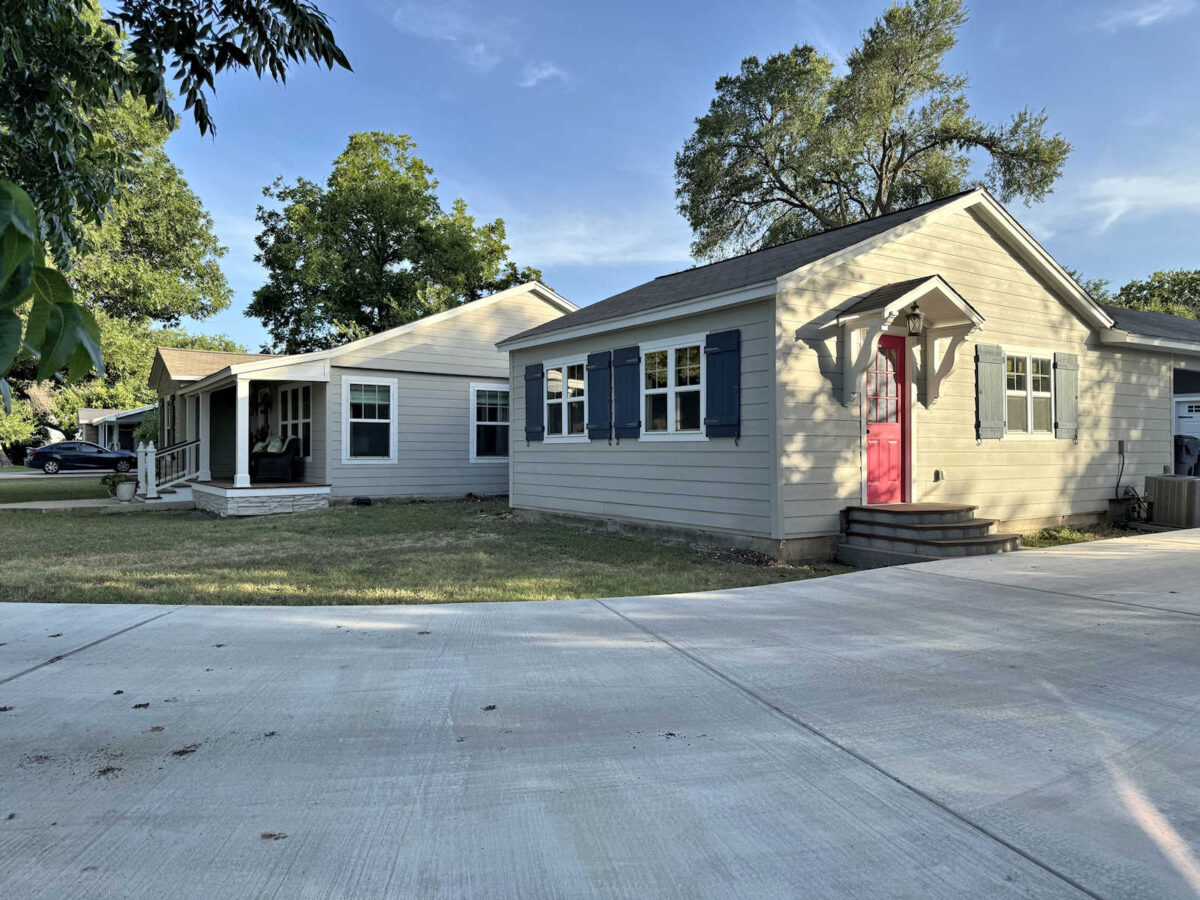
Once you get far enough to see the pink front door, you can no longer see the side studio door.
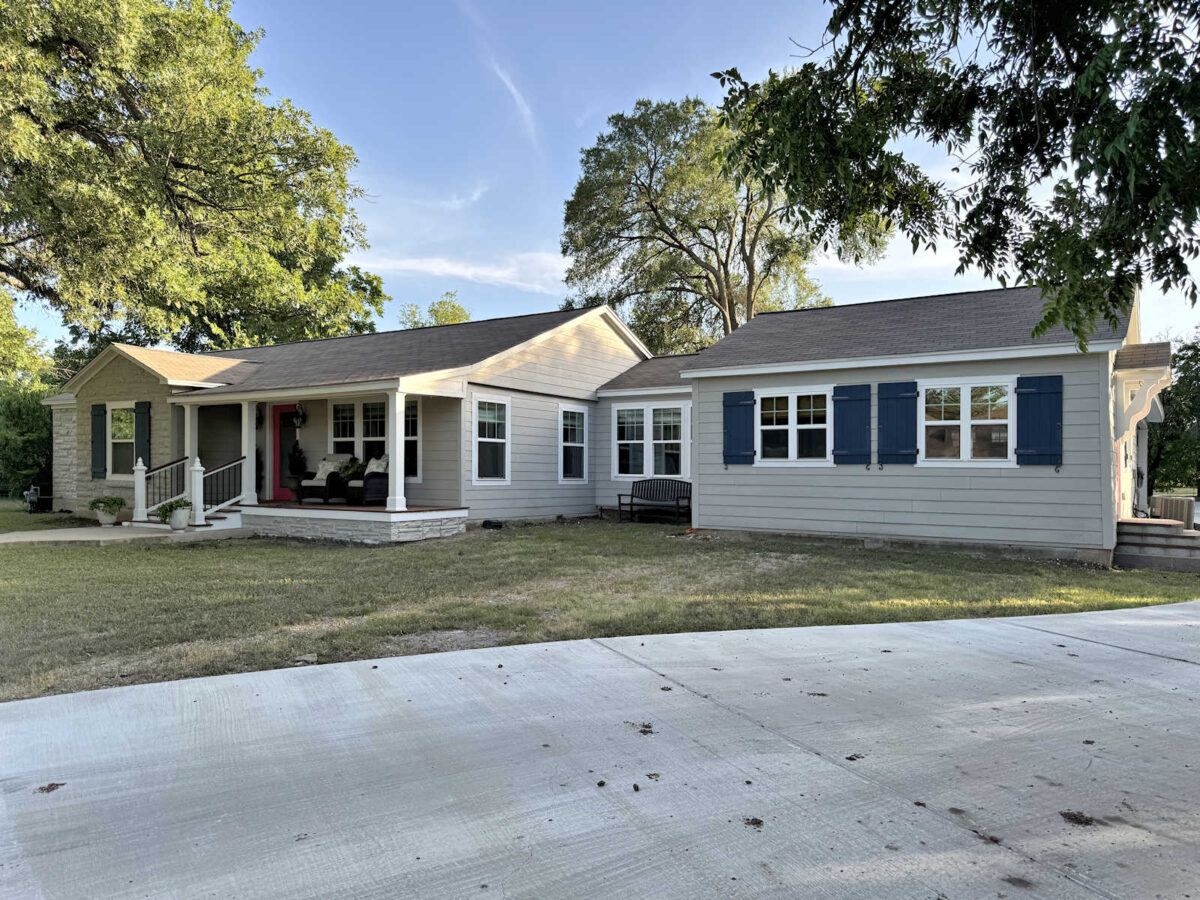
I’m so proud of all of the improvements I’ve made to the front (and side) of our house, but I really can’t wait to address that area in front of the breakfast room windows. It has such potential, but right now, it looks a little sad and forgotten. I envision a pergola above the breakfast room windows built using the same brackets that I used on the side of the studio, but in a smaller size. And of course, I’ve shared in past posts that I’d love to have a fountain or water feature of some kind in that area. And of course, plants. Lots of plants.
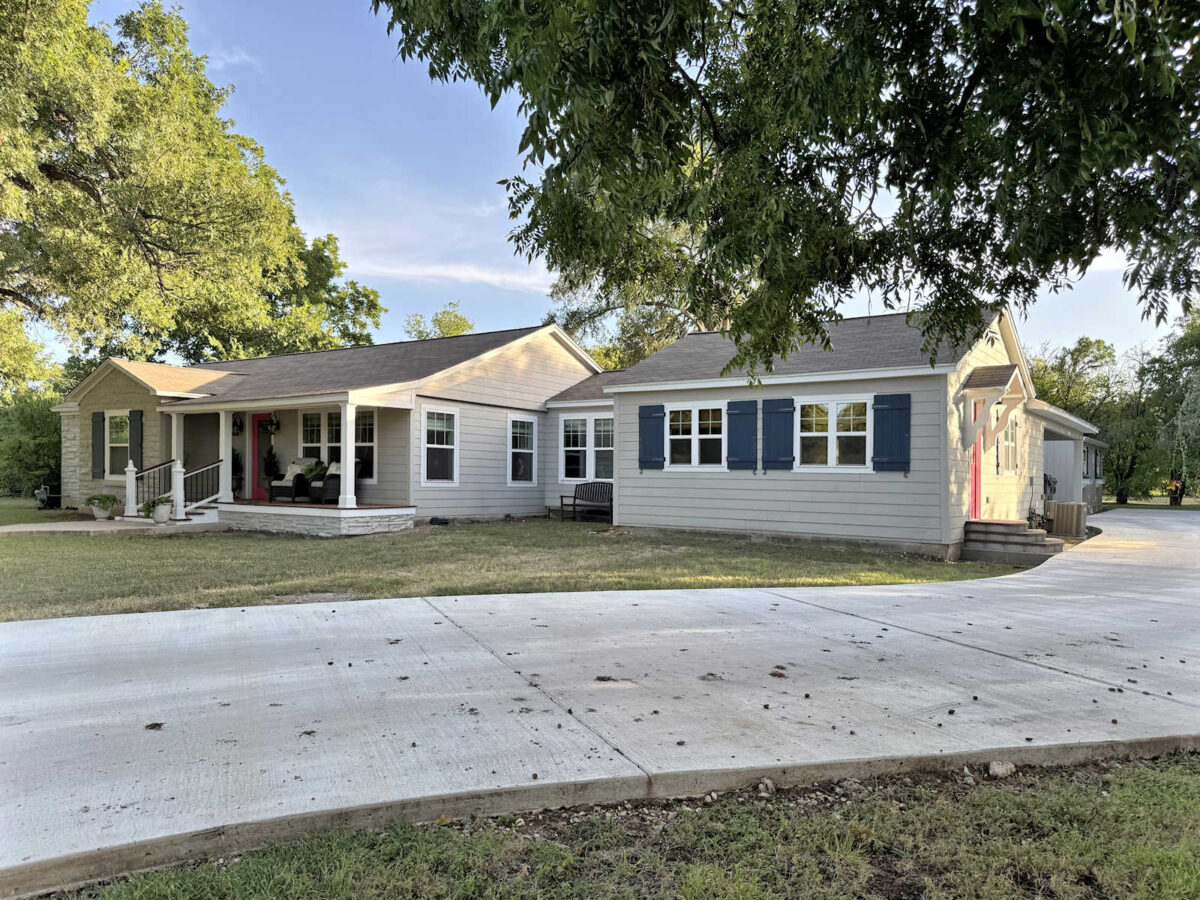
And I still want window boxes under the windows on the studio, and possible under the window to the left of the front steps. Building those window boxes is still on my list of things to do. I have to laugh at the fact that I’ve dreamed of window boxes on those windows for years now, and then I went and built window boxes for my workshop before I built them for the house.
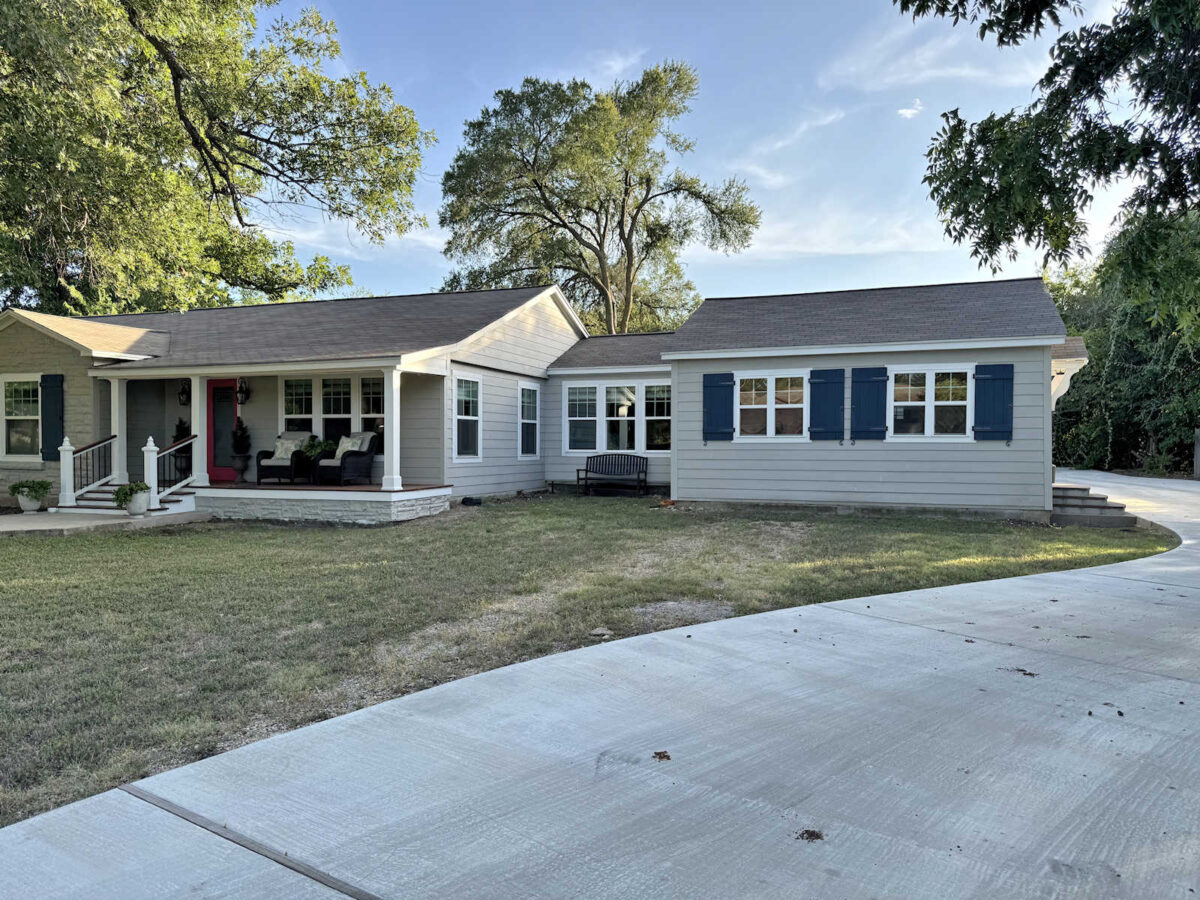
I know it’s hard to see details of the front porch from such a distance in a small photo, but y’all, I am so proud of our front porch. For the first time since we’ve lived here, I feel like the front porch is actually finished. It had upgrades through the years, but it never had a finished skirting until now. And the fact that the skirting matches the stone on the left side of the house is so exciting to me.
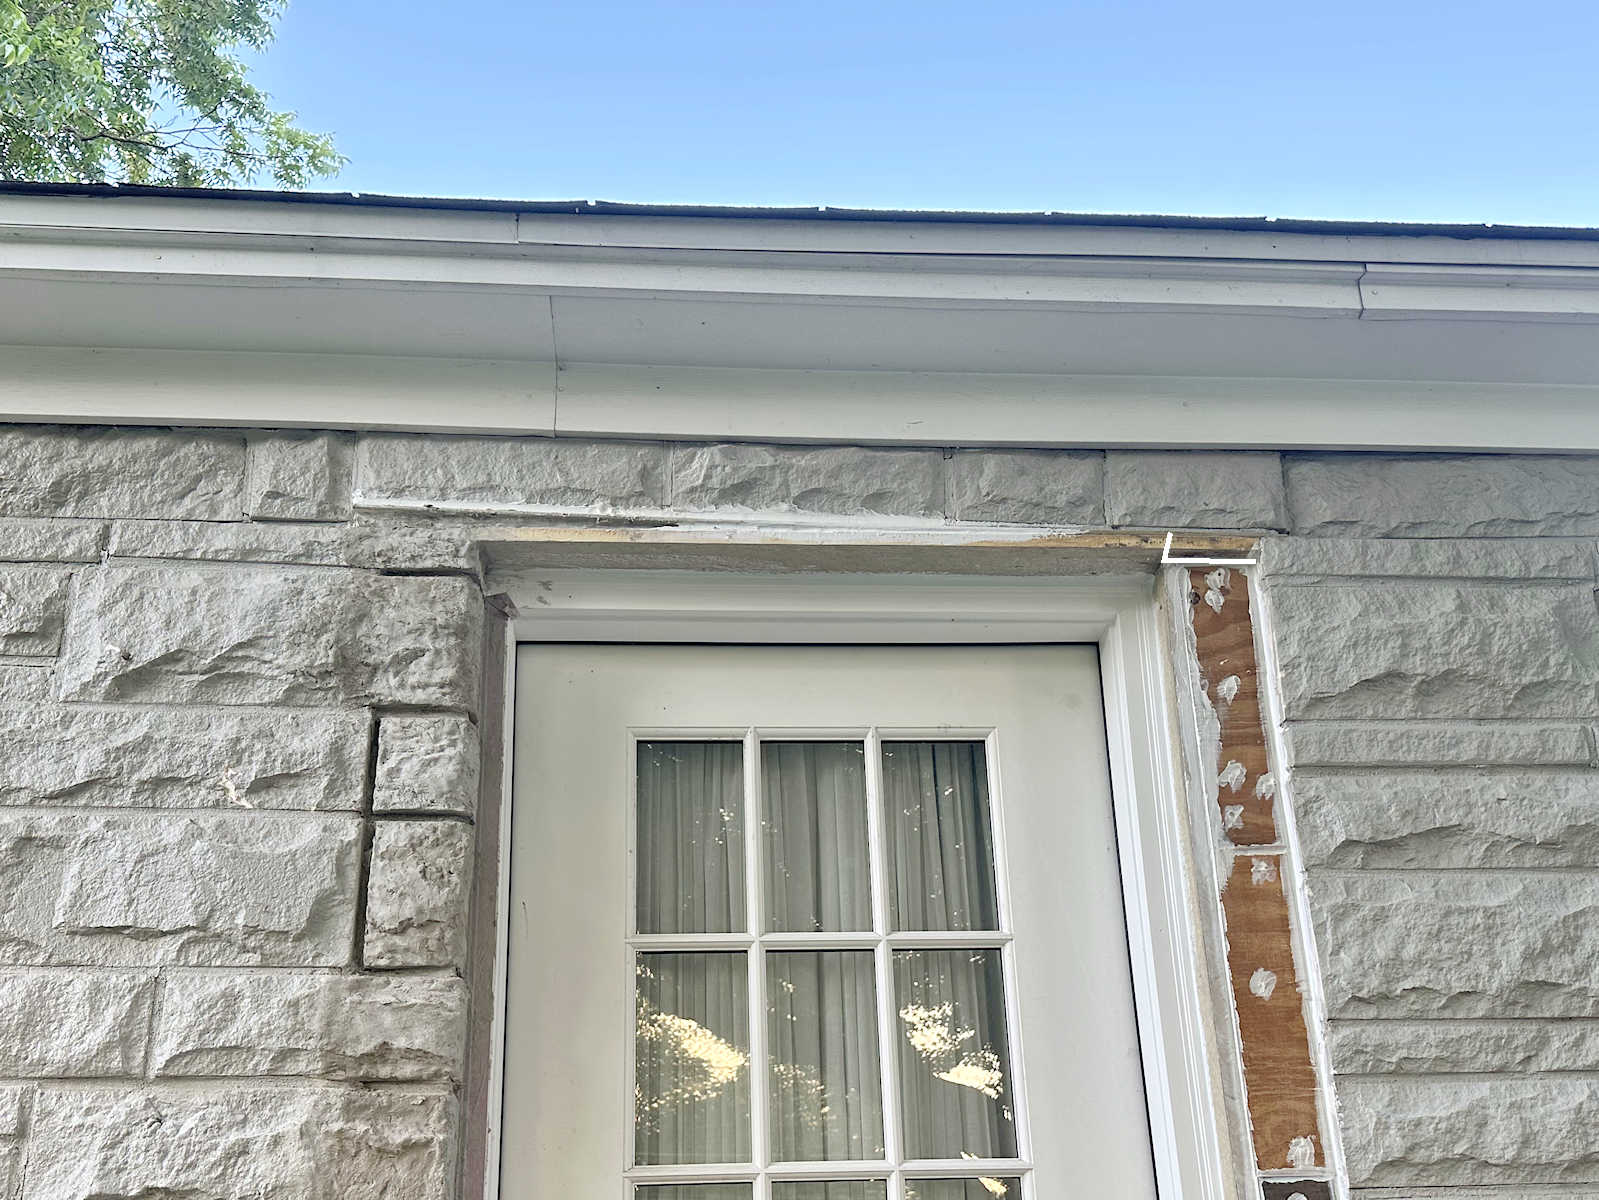
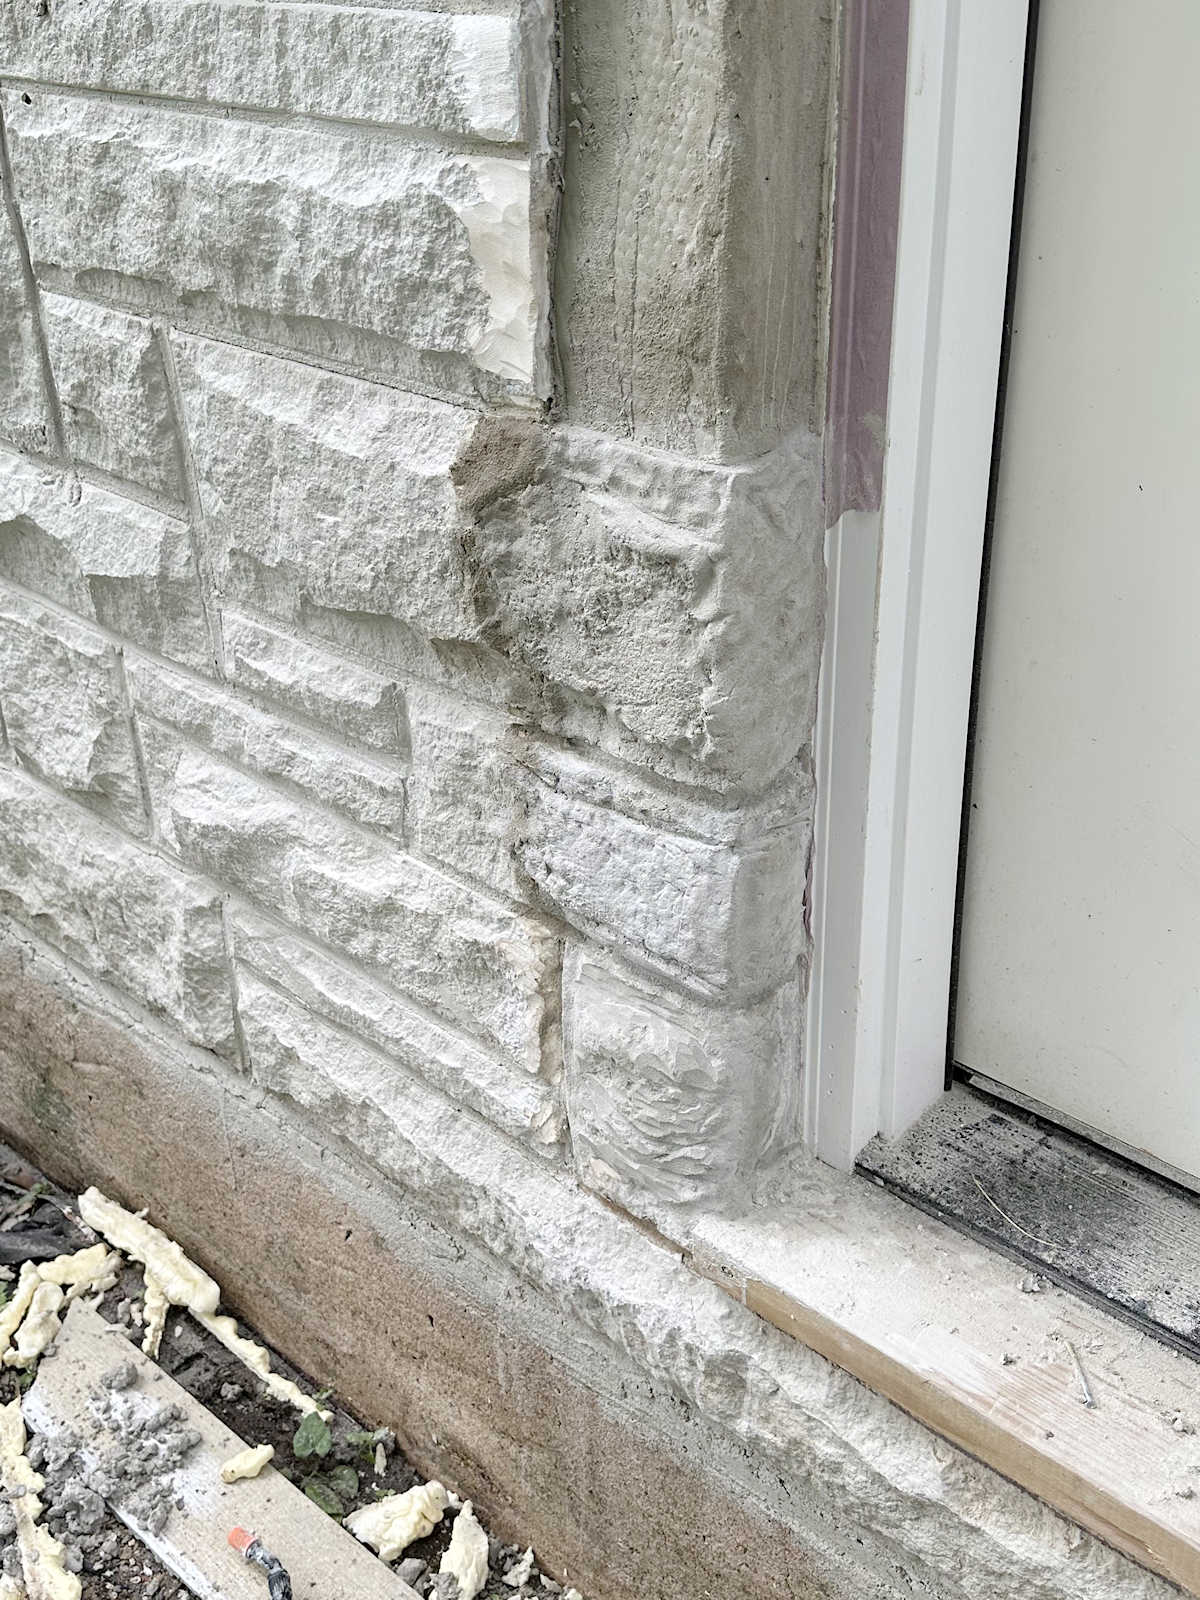
And then there’s the door on the other side of the house. Yes, it’s a bit odd to have two doors on the front of a house, but with that Hardie trim removed and the new faux stone added, I love the way it looks now. I think it’ll be so cute once it’s all finished with steps, plants, and perhaps a little pergola over the door to match the one over the breakfast room windows (if I can figure out how to attach it to stone).
When I look back at these old pictures, I wonder how I ever saw the potential in this…
But I’m so glad I did! I get exhausted just thinking back over all of the effort that went into these projects, but they were so worth the effort.
Okay, I feel like I took about a thousand pictures, and I have a hard time narrowing down the ones I want to share, so I’m just going to post the rest of these without any commentary. Enjoy! (Side note: As I was editing these pictures, I realized that I could turn a lot of these pictures into a children’s book called “Where’s Tiger?” He seems to make an appearance in most of them. 😀 )

Addicted 2 Decorating is where I share my DIY and decorating journey as I remodel and decorate the 1948 fixer upper that my husband, Matt, and I bought in 2013. Matt has M.S. and is unable to do physical work, so I do the majority of the work on the house by myself. You can learn more about me here.