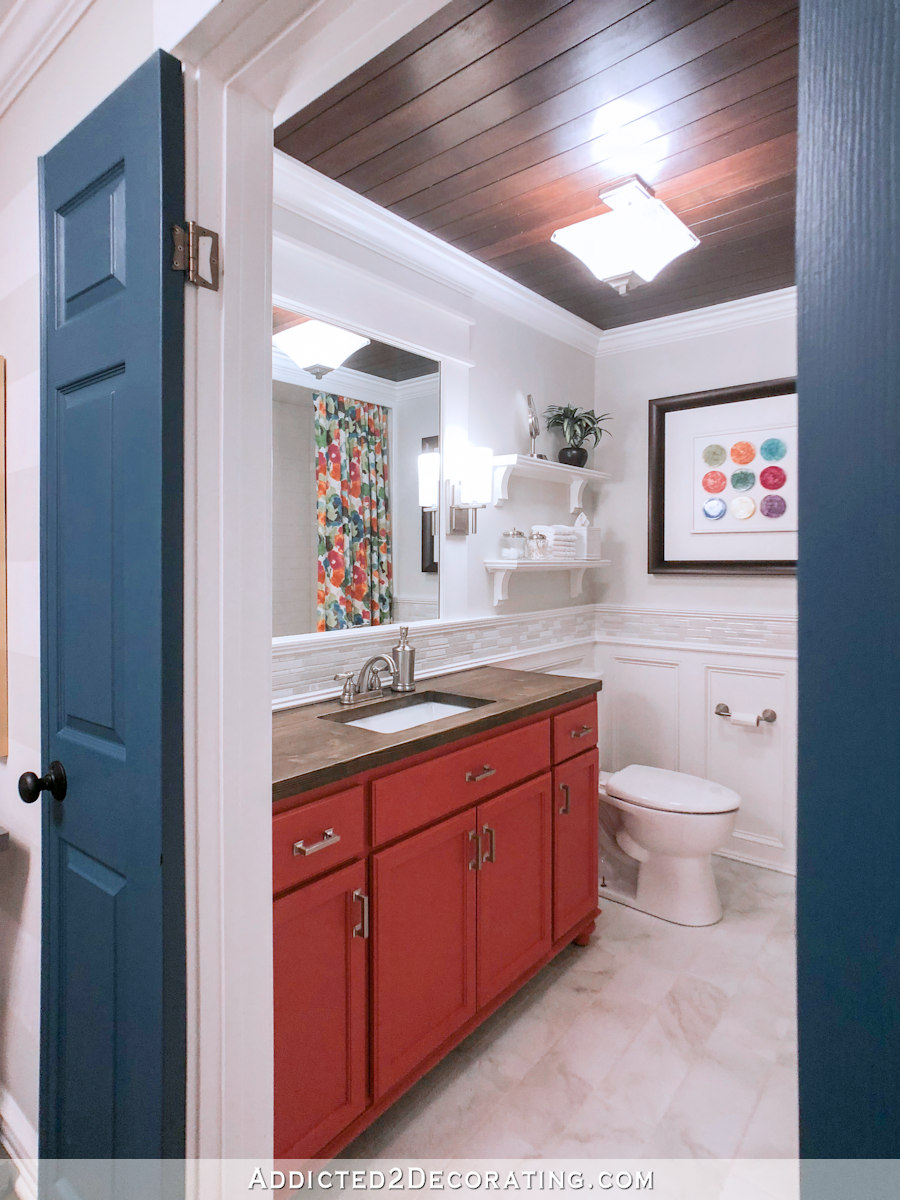
Bathroom-To-Storage Room Demolition Progress – Addicted 2 Decorating®

I think I told y’all that last week was a strange one, complete with not one, but two funerals, along with a few other things that came up each day and derailed my normal schedule. So by the end of the week, I had gotten shockingly little accomplished on this room. It was fine, though. Sometimes other things in life are more important than projects. Over the last couple of years, I’ve tried to rebalance my life and live more by the mantra of “people over projects“. But last week was an unusually people-focused week with almost no project-focused time.
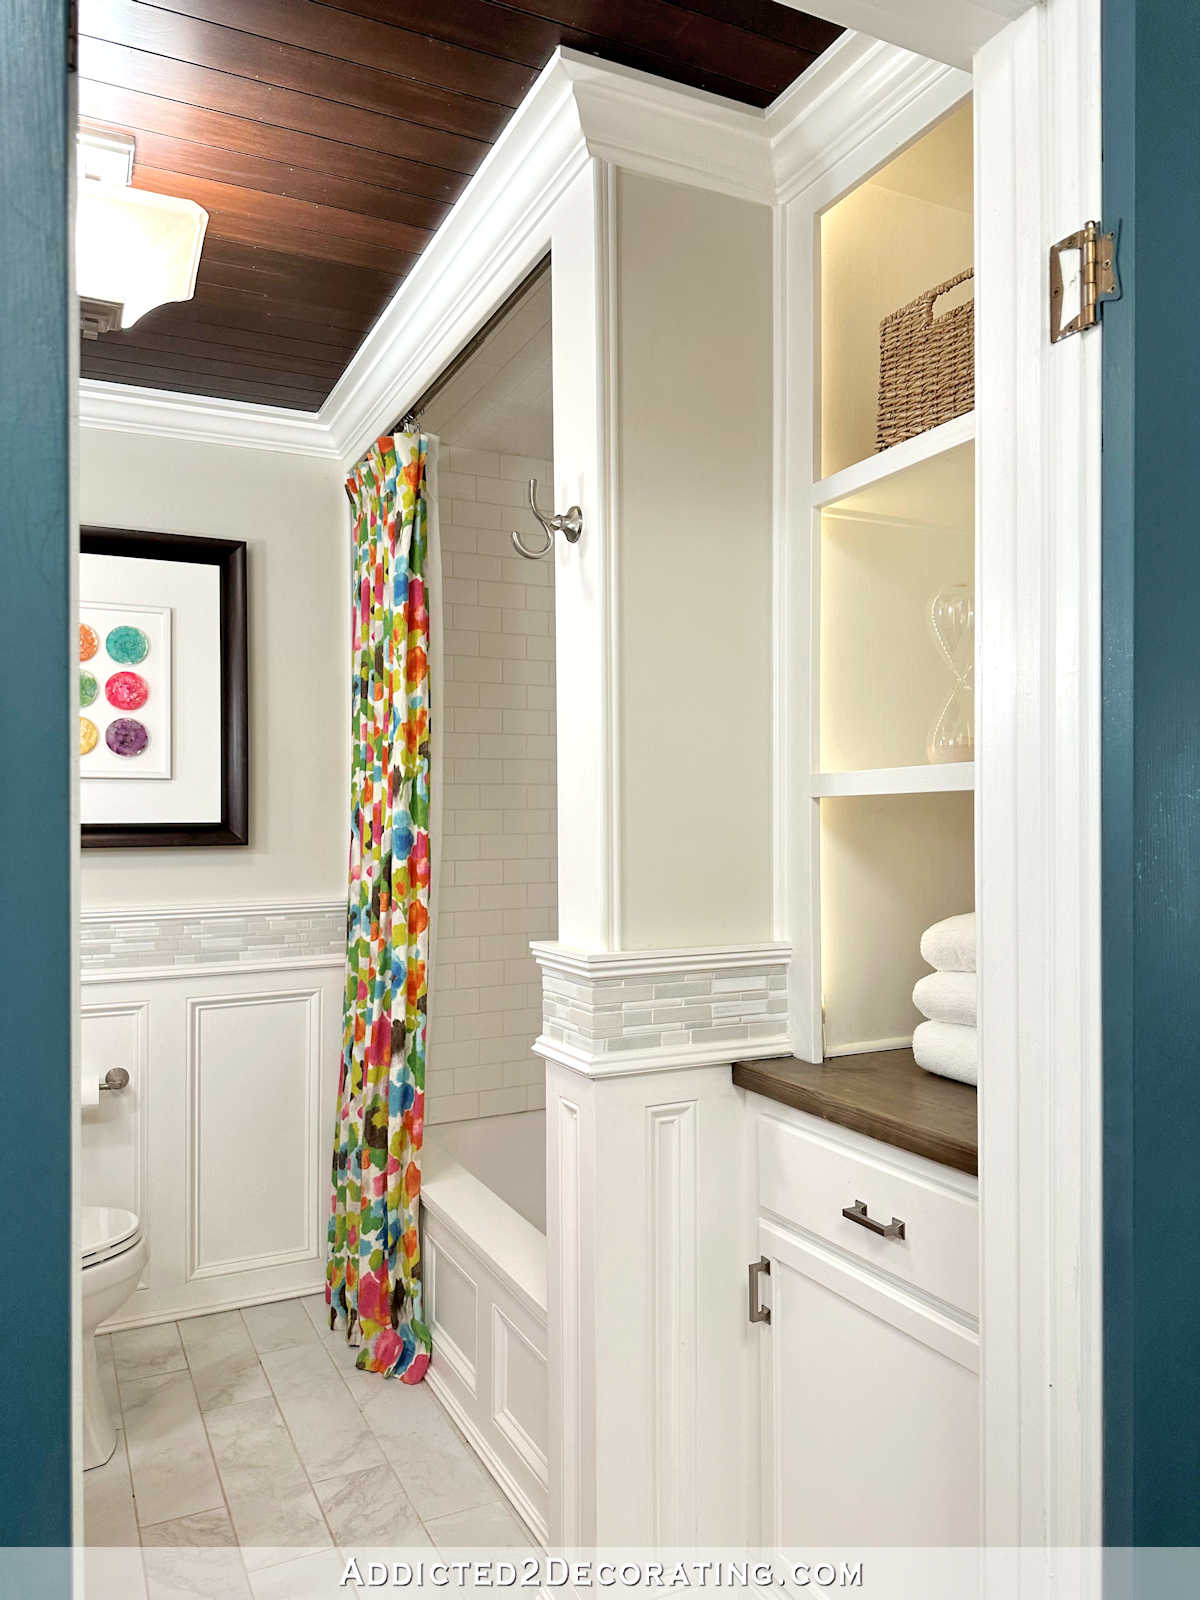
It’s looking like this week is back to my normal schedule, so yesterday, I had quite a bit of time to focus on this room and get some demolition done. And my main goal was to get started on removing the tile around the bathtub and remove the short wall that previously separated the bathtub area from the cabinet/shelf area on this wall.
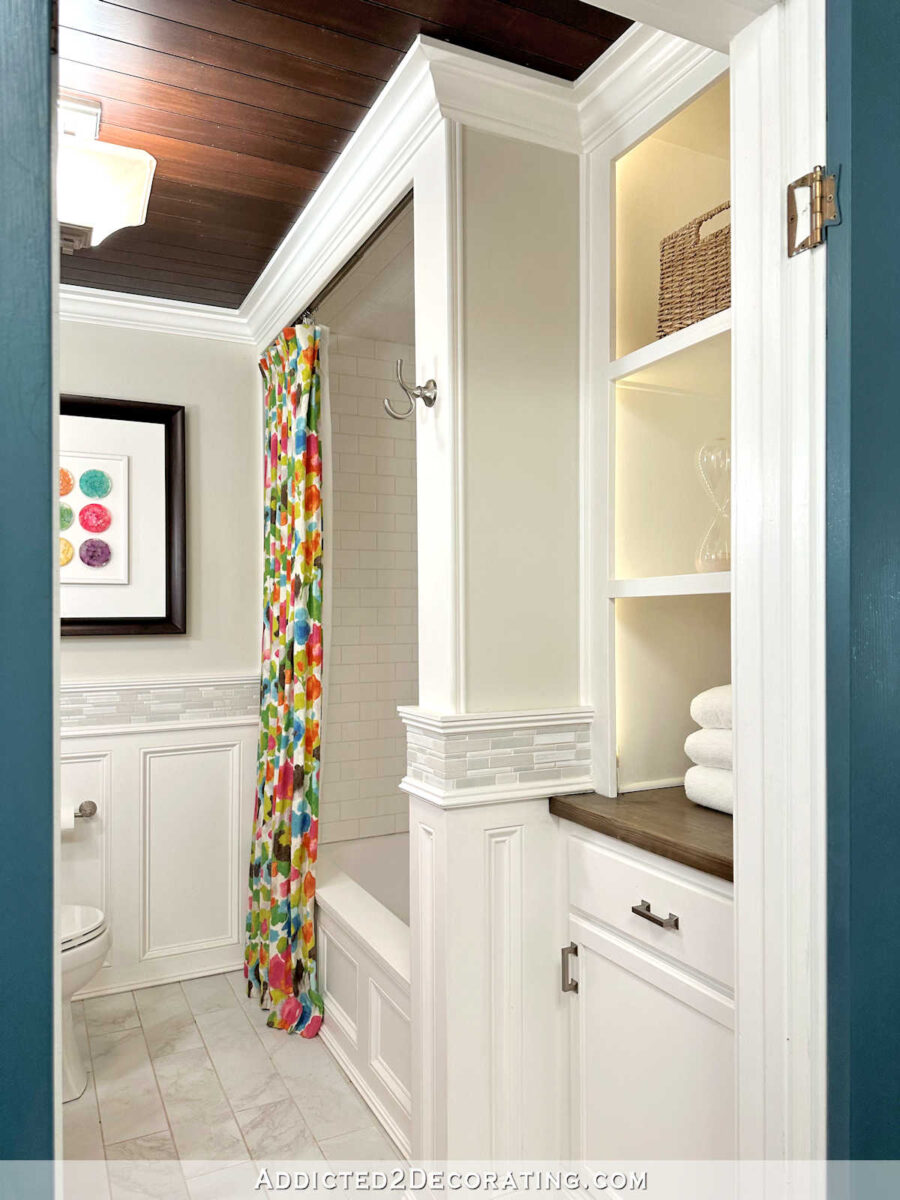
I had previously removed the cabinet and shelves in the corner, but that wall was still taking up a lot of visual space.
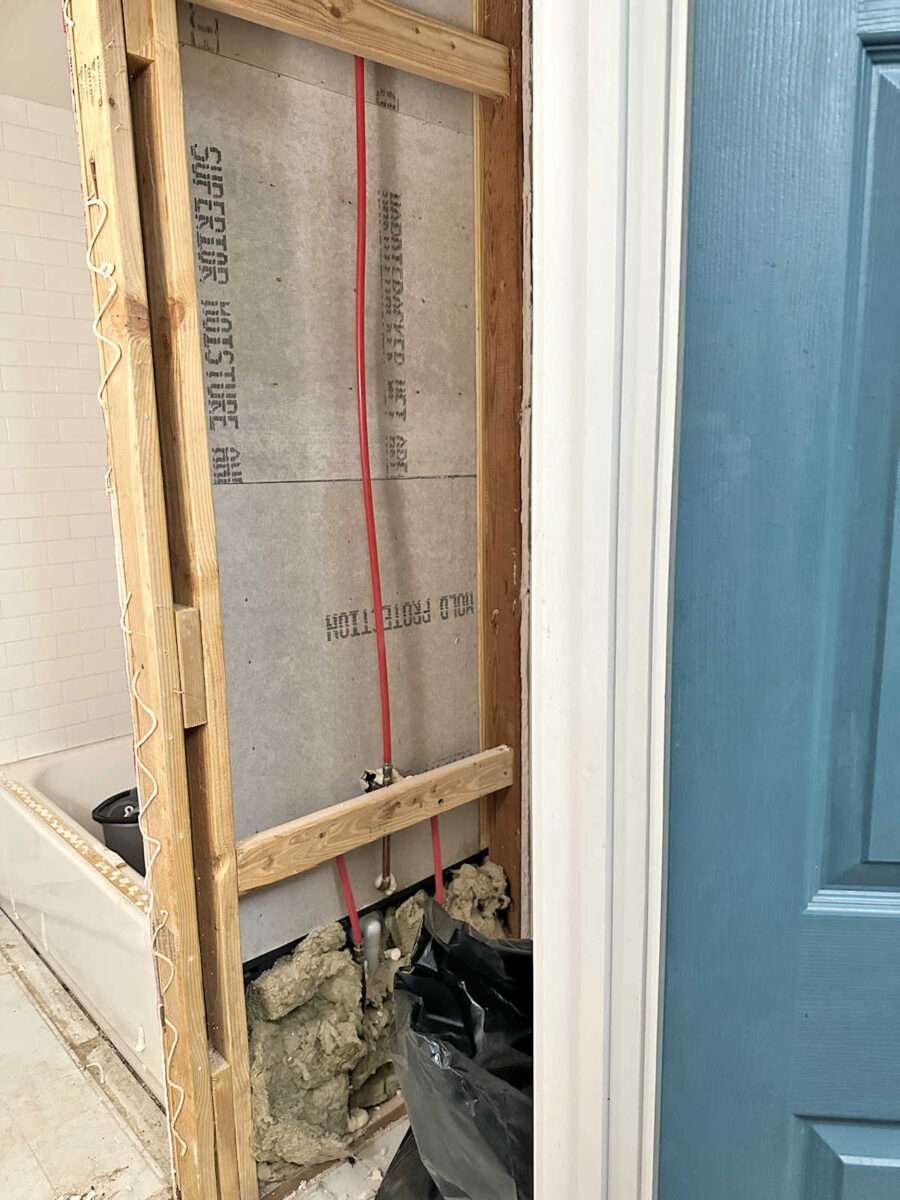
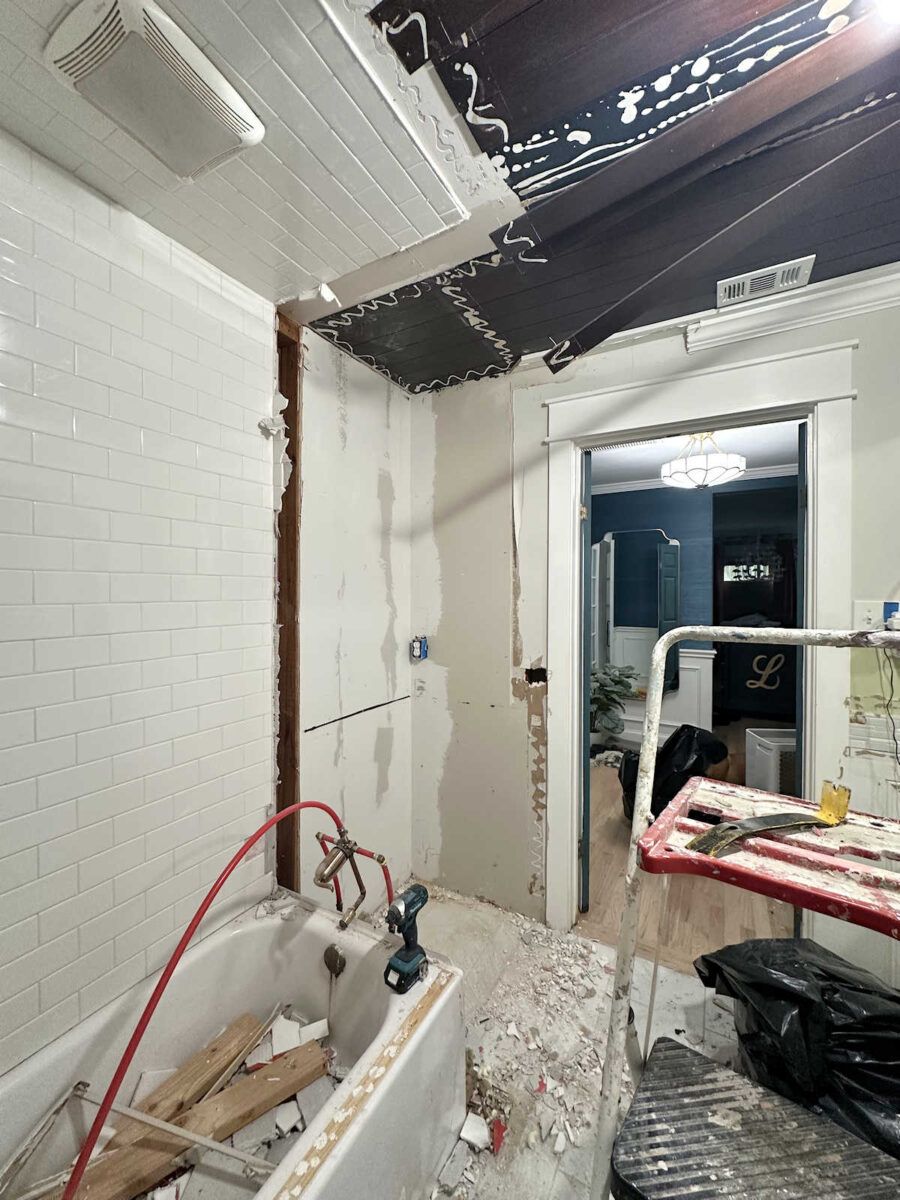
So I was anxious to see just how much removing that wall would open up the space visually. I had to remove a lot of trim and some of the plywood from the ceiling to get it done. And then it took a lot of patience to get all of the tile off of that wall so that I could remove the concrete board from the wall framing, but I got it done. And just take a look at how much it opened up this space!
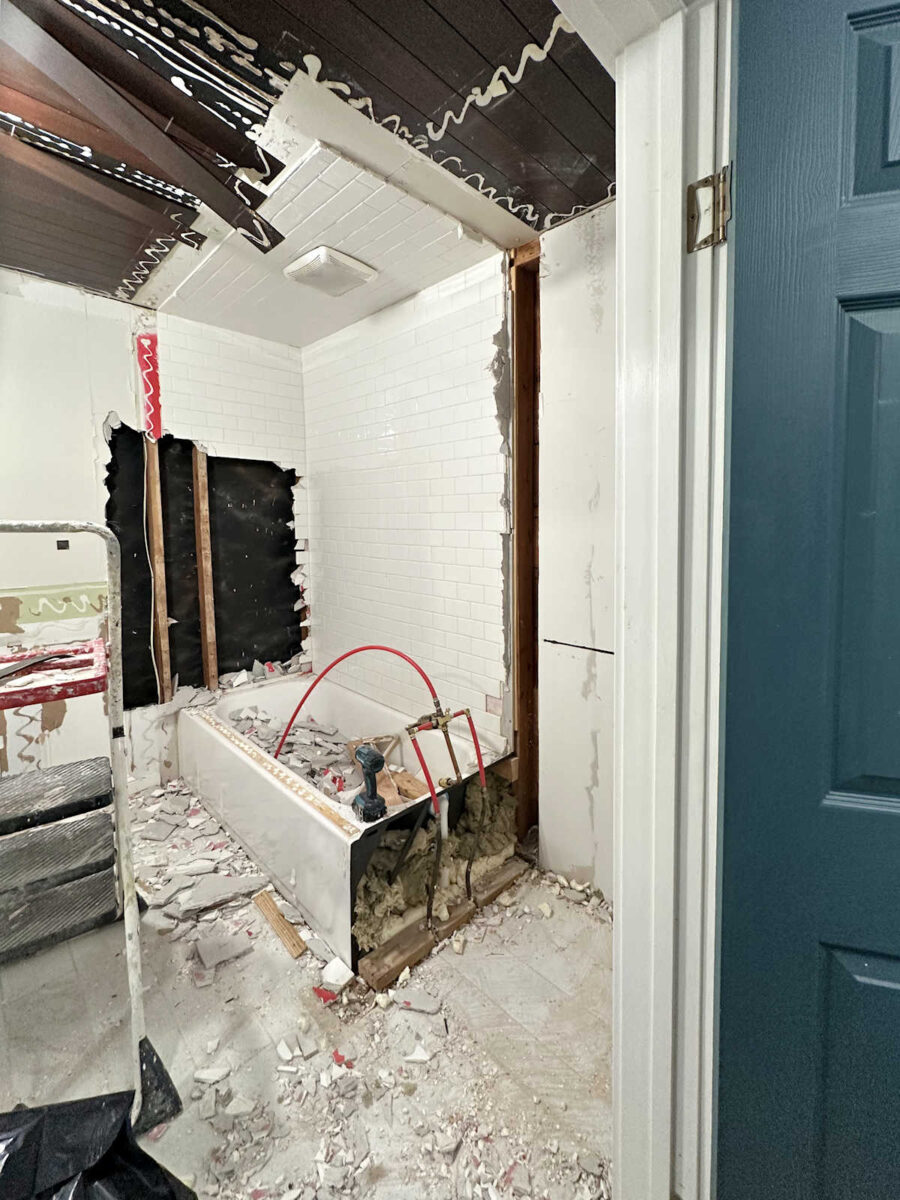
I was really hoping that I could get the bathtub out as well, but I didn’t quite get that far. The bathtub has a lip around the top that fits underneath the tile, so I still have a little bit of tile that has to come off before I can get the tub out. Once I get that bottom row of tiles off of the main wall, I’m pretty sure it’s just a few screws and two drains holding that tub in place. This room is going to look so much bigger once that tub is out of here.
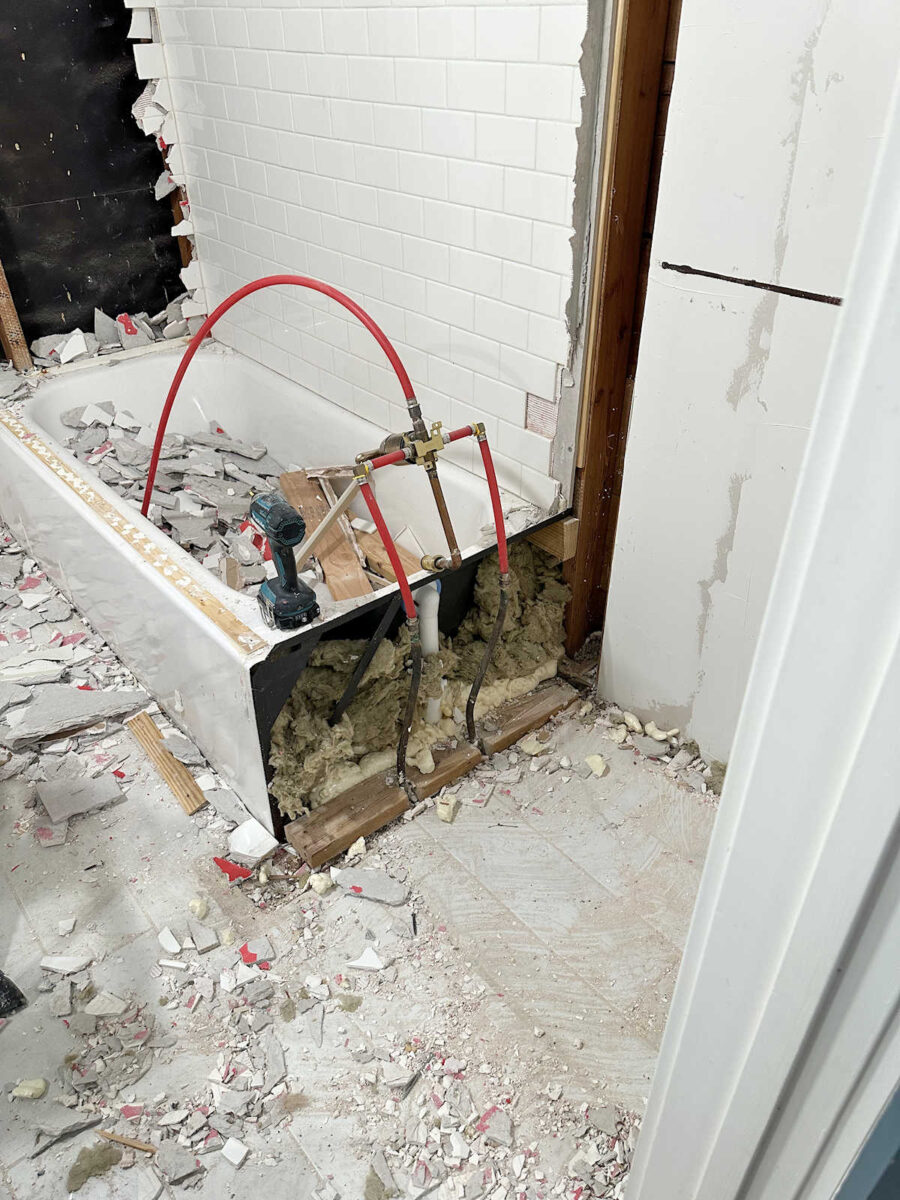
As I was working yesterday, I was weighing my options for the drywall. I can either take all of this drywall down and install all new, or I can try to salvage this drywall, fill in where there won’t be any drywall (i.e., the area around the tub that have concrete board instead of drywall), and do a whole lot of mudding and sanding.
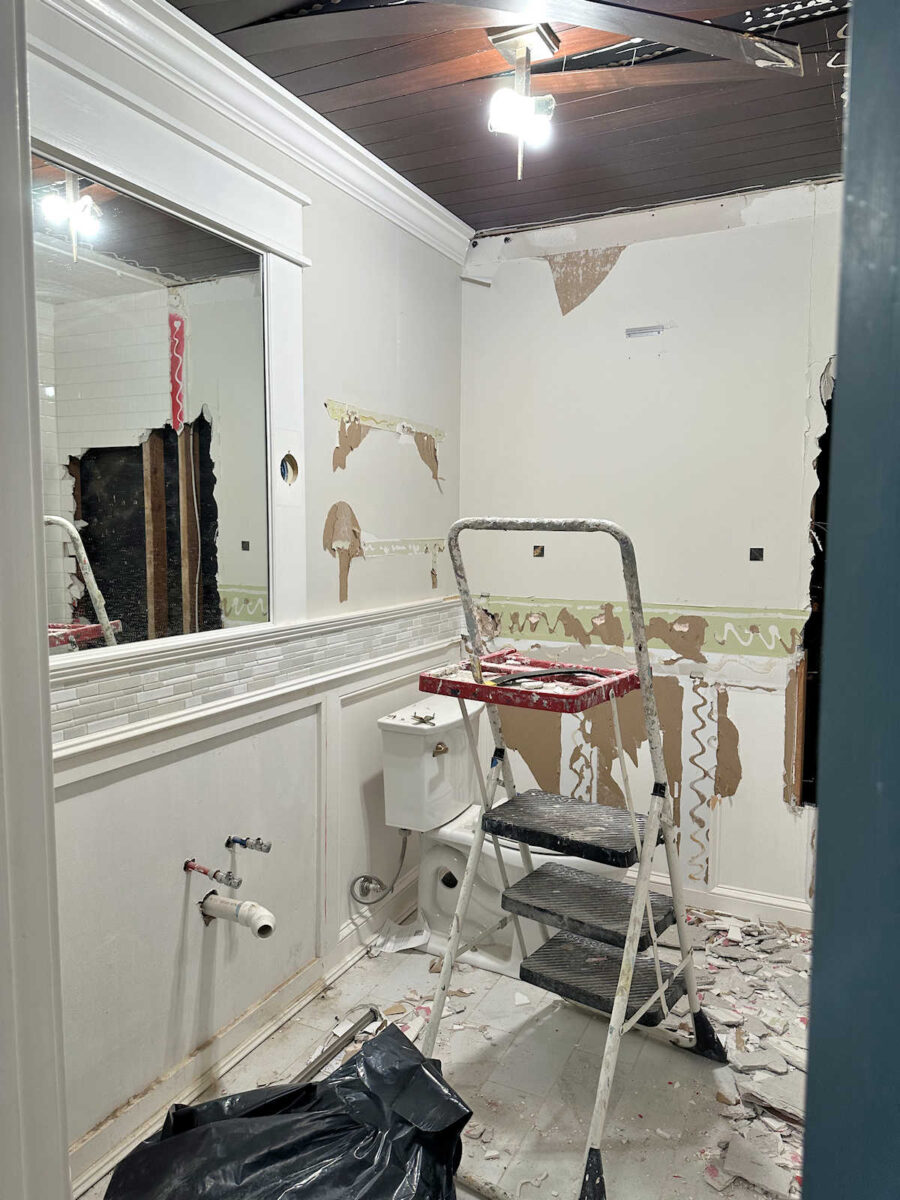
I hate doing drywall in any form, whether it’s installing new drywall or patching old drywall, so both of those options sound equally terrible to me. 😀 This whole process would be so much easier had I not used construction adhesive on everything! But as I’ve mentioned before, I used to use construction adhesive on every single piece of trim I installed. Back then, not a single piece of trim was ever attached to my walls without construction adhesive. I’ve learned my lesson since then, and I haven’t used construction adhesive to install trim in several years. But I’m still paying the price for my decisions before I swore off construction adhesive.
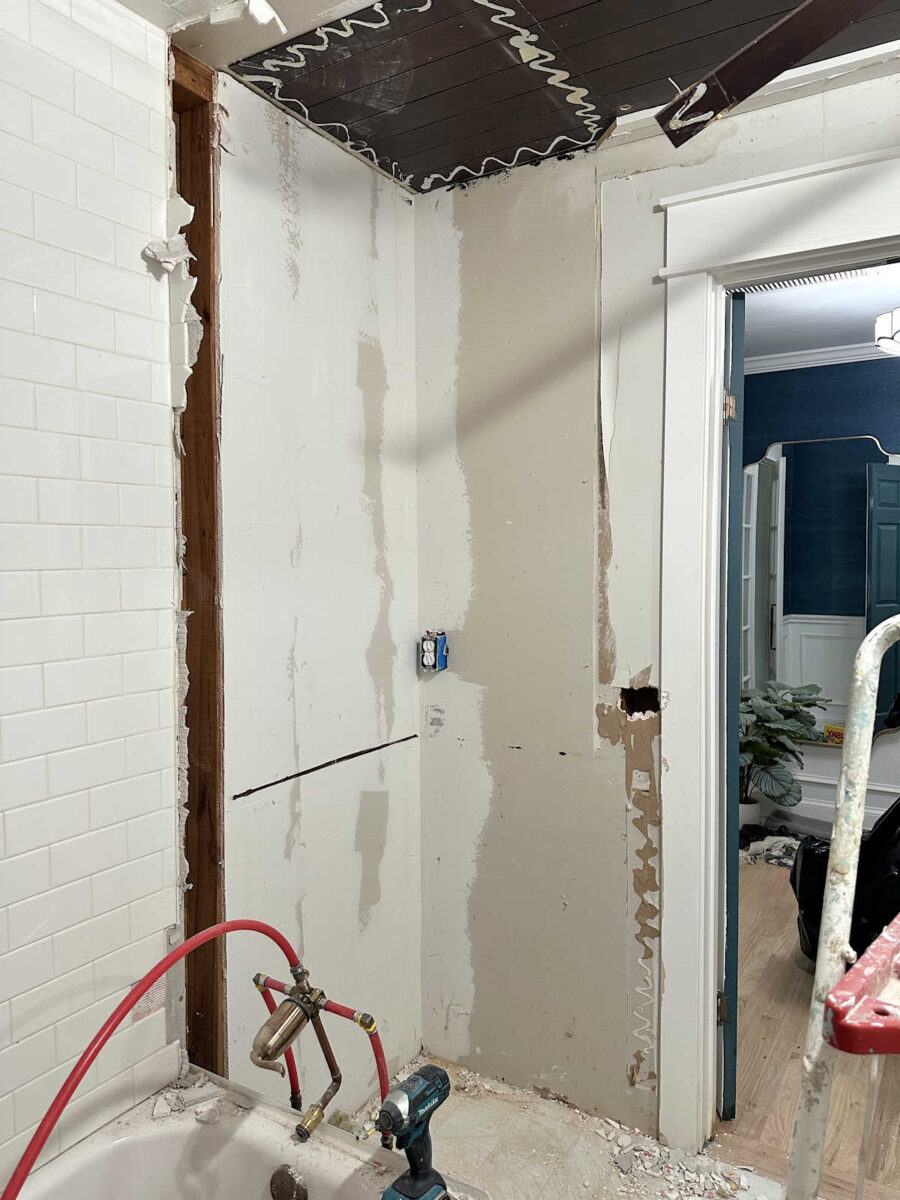
And as you can see below, it’s not just the walls. I used construction adhesive to attach every single strip of plywood to the ceiling as well. Talk about overkill. So either way, I have a drywall problem on my hands. And once I start chipping off that tile above the tub area, it’s going to get even worse. I’m pretty sure that ceiling tile is attached to drywall and not concrete board because, if I remember correctly (which is questionable because it was a very long time ago), I hadn’t originally intended to tile the ceiling in the tub area. I think that was something I decided to do after the walls were tiled.
But anyway, it’s coming along. I realized that in yesterday’s post, I didn’t even address storage on this wall. I only discussed the storage on the opposite wall where the vanity used to be.
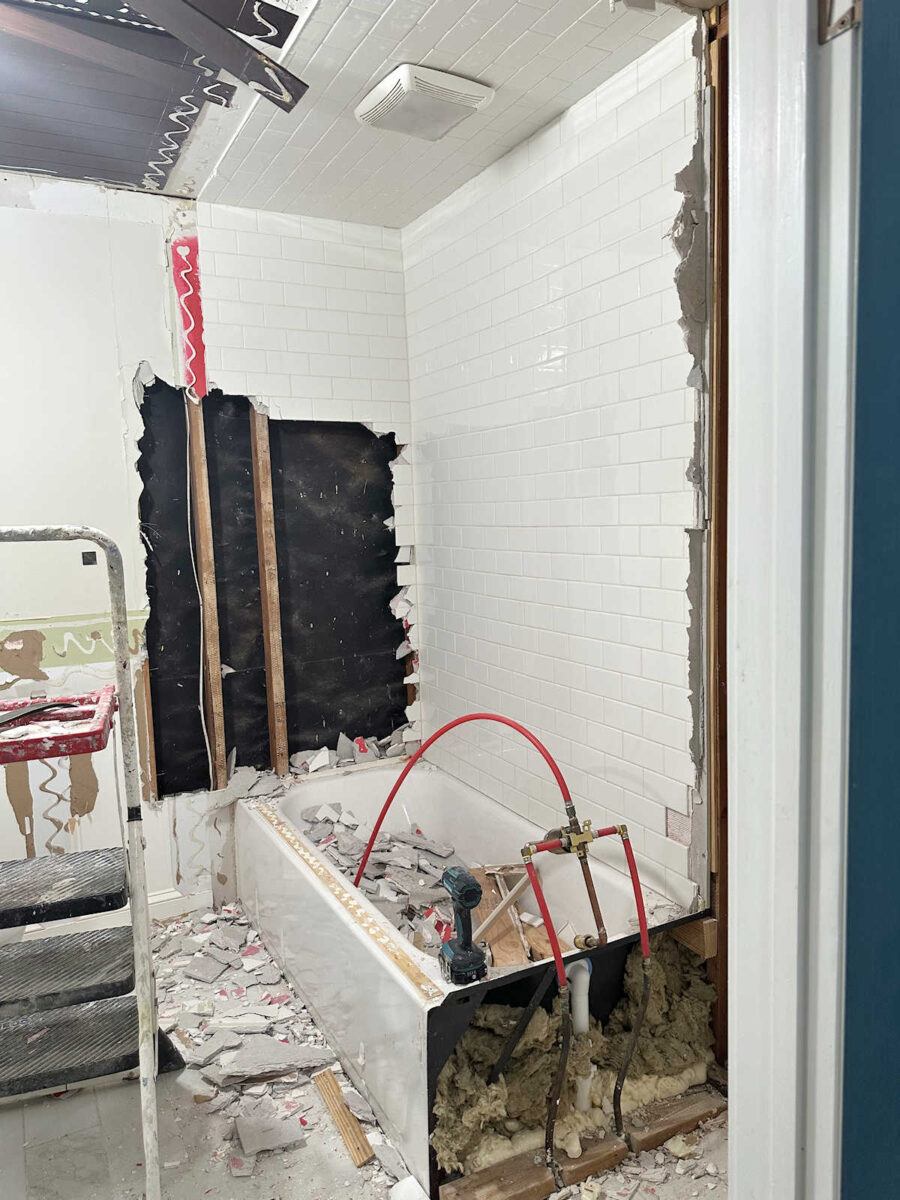
The floor space on this wall needs to be left open for Matt’s equipment and the sink that I bought for the corner just inside the door, but I had planned on building storage to on the top portion of the wall.
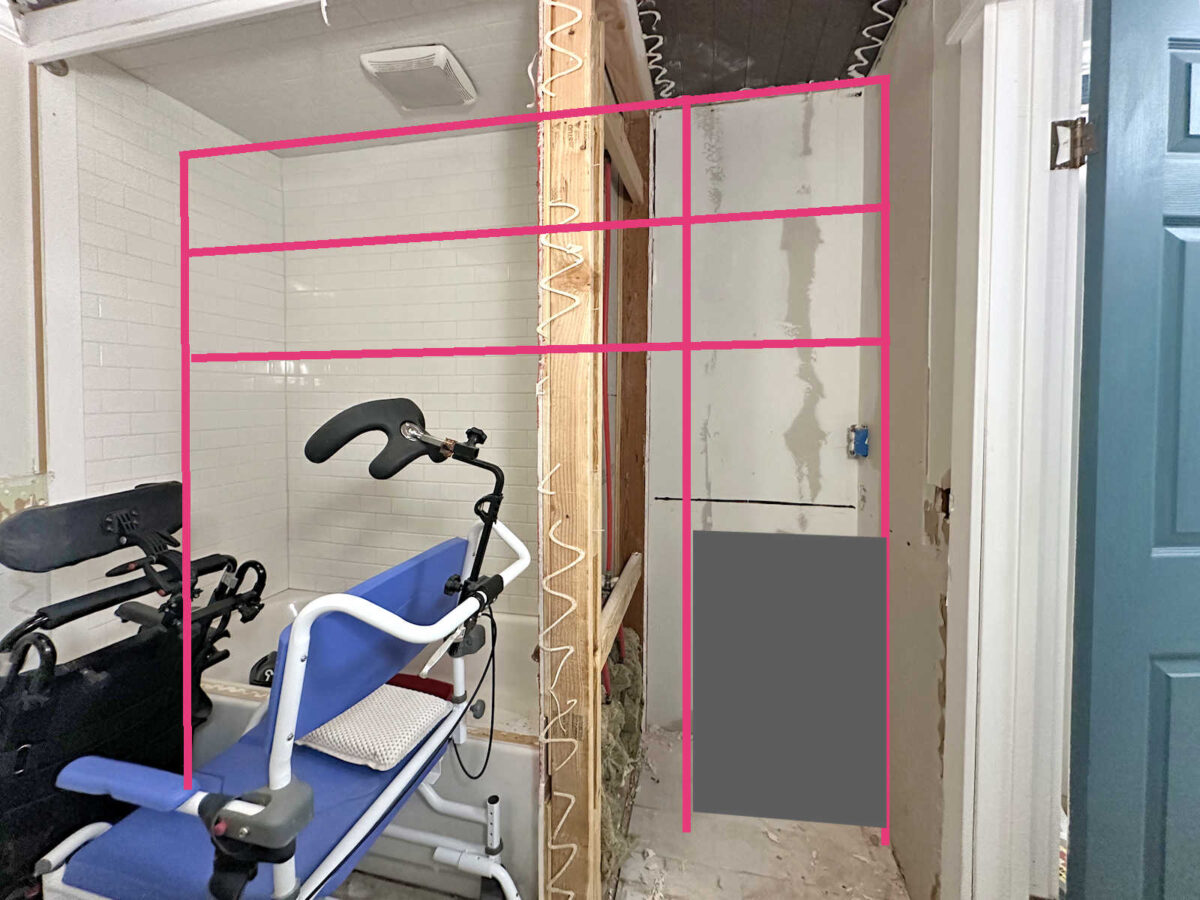
I’ve actually decided not to put any storage on the bathtub wall right now. I’ll have plenty of storage on the vanity wall for now, and I’ll see how that goes. I may find that the IKEA Pax wardrobes provide all of the storage area that I need in here, so I can keep the bathtub wall open. That’s the plan for now. If I ever find that I need additional storage, I can always come back and add upper cabinets to the bathtub wall. But that doesn’t have to be done right now.
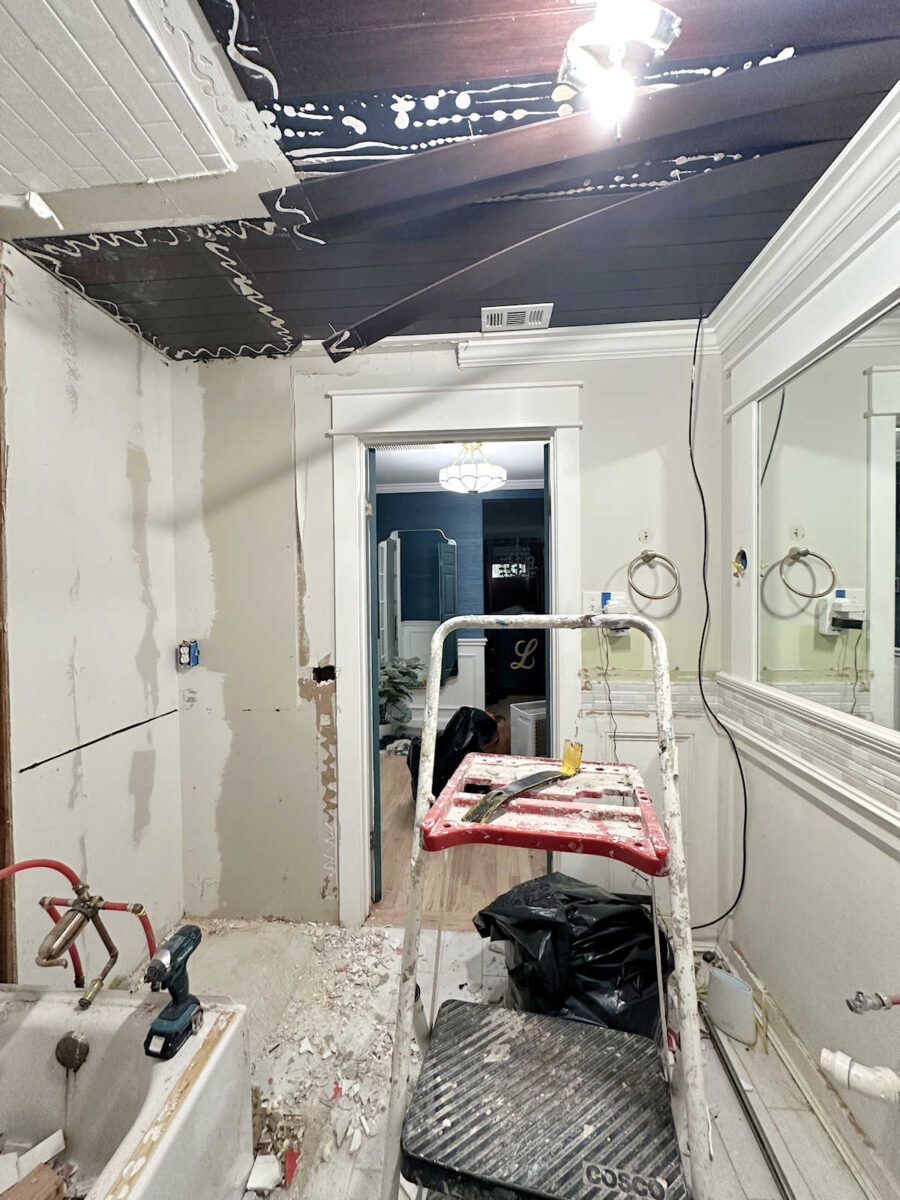
So today, I’ll continue on with the demolition and see just how far I can get.
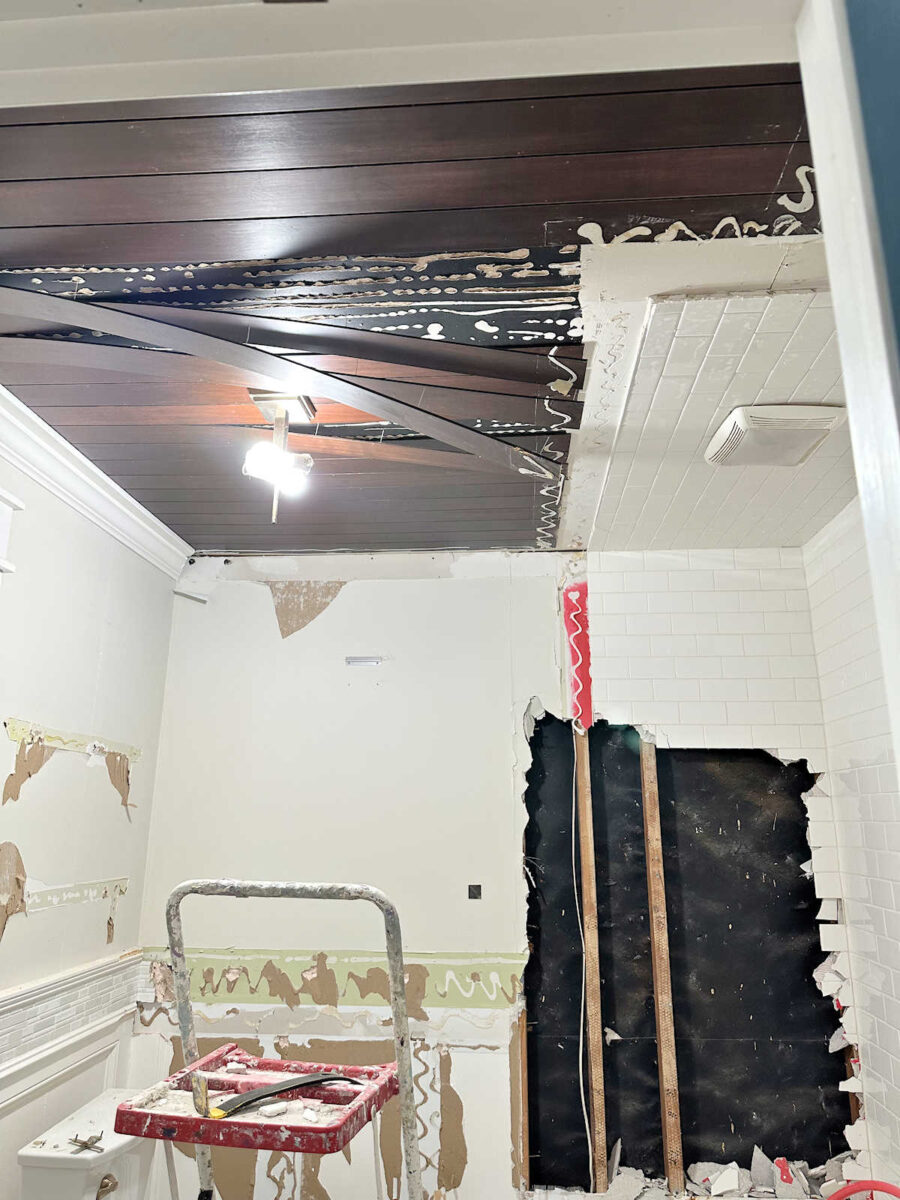
I’ve also decided to remove the tile floor and put down hardwood floors. I happen to have three boxes of hardwood flooring left over from when we had new flooring installed in the bedroom suite, so I won’t even have to spend more money on new flooring. And that way, it’ll be consistent with the rest of the bedroom suite. So the demolition will also include removing the tile and the concrete board from the floor. I’m really hoping I can get that off without damaging the plywood subfloor underneath!
There are two reasons I decided to go that direction. First, it just seemed easier than trying to find a tile to fill in under the tub area where there is no tile. Second, this room is where the scuttle hole will be to access the crawl space under the house. Cutting a scuttle hole seems so much easier to do (and to have it look nice) in a hardwood floor than it does in a tile floor. And if I can get the tile and concrete board off without damaging the plywood subfloor, the subfloor pieces can be removed so that the plumber can have easy access whole rerouting the plumbing for my sink, and then the plywood can be reattached before I install the new flooring. All around, going with wood instead of tile seemed like a better idea to me.

Addicted 2 Decorating is where I share my DIY and decorating journey as I remodel and decorate the 1948 fixer upper that my husband, Matt, and I bought in 2013. Matt has M.S. and is unable to do physical work, so I do the majority of the work on the house by myself. You can learn more about me here.