I Finally Have A Cohesive Plan (Front Porch, Studio Door Steps, and Bedroom Door Steps)
")
I have really been struggling lately to come up with a cohesive plan for all of steps that I need to build (and have already built) that will show on the front of our house. As you know, I built the steps to our front porch a few years back, and I built those out of pressure treated wood, PVC boards, and cedar porch boards.
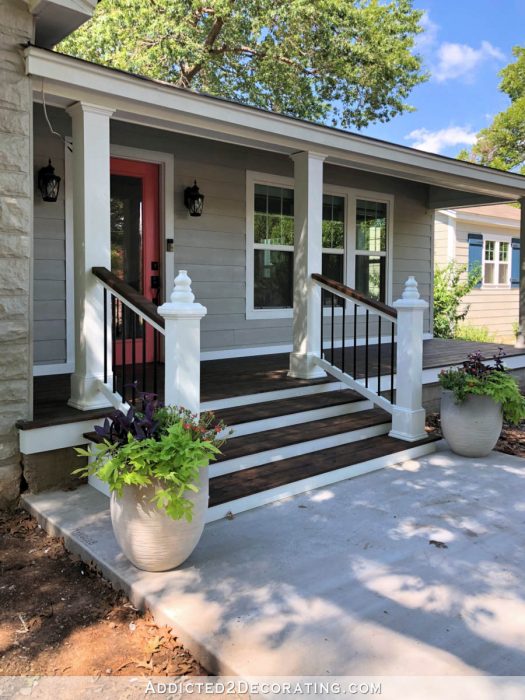
And while the porch, steps, and fascia boards were all done back then (with some repairs currently underway), I’ve really struggled with how to cover up the rest of the concrete on the front porch, i.e., the part that would be considered the skirting of the porch.
I tried AirStone, which kind of matched the Austin stone that’s already on our house, but I never finished it. And since it was on there for so long without being sealed, it started to crumble. Then just a few days ago, I tried covering it with PVC boards, but I had trouble with that as well. And then I was on to the idea of covering it with mortar mix and doing my own faux stone or brick look with the mortar mix.
But before jumping into that project, I’ve spent some time trying to imagine how the front porch with the stone or brick skirting would tie in with the steps that I still need to build for my studio side door and our new bedroom door since all three areas are visible from the front of our house. They all need to coordinate somehow.
Until two days ago, my plan was to build wood steps on those other two areas that match the steps leading to our front porch — white PVC board risers with stained wood porch boards. But as I shared, that plan brought up other issues. Right now, the front porch is cedar. It’s real wood that has to be sealed regularly. So if I went with the same design for the other two areas, my options were (1) continue on using cedar porch boards that will require regular sealing, or (2) change course now and use composite porch boards for the two new areas and make a plan to replace the front porch cedar boards with composite so that all three areas match.
This has been such a struggle for me. I just simply don’t want two more areas of cedar steps that will require regular maintenance, but I also didn’t want to spend the time or money replacing the front porch. Not now. And hopefully not ever. I really want to spend that time and money on other projects, and doing a quick resealing of the front porch every two years or so really is actually pretty doable. I just don’t want more of it in two other areas.
So I’ve been racking my brain trying to come up with another plan for the other two areas that will coordinate with the front porch without having to look like the front porch. That’s why I’ve been spending so much time every evening on YouTube trying to find some inspiration.
And two days ago, I came across exactly that. I found this channel called Michael Builds, and I watched a few of his videos just because he’s highly entertaining and very talented. And as I was scrolling through his videos, this one caught my eye where he builds “quick and easy concrete steps”.

Right off the bat, I absolutely loved the way those steps looked. And concrete steps would be so much better and longer lasting than wood steps. So I watched that video about three times all the way through over the last two days and decided that’s exactly what I want for the other two areas.
But of course, there’s one major problem. He actually builds molds and pours the steps himself, and when they’re dry, the takes them out of the molds and moved them into place. That’s a great project for a strong man. I, however, am not a strong man who can move large concrete steps into place by myself. Plus, my steps need to be much larger (wider and much deeper) than the ones he poured.
I spent quite a while trying to decide if I wanted to tackle pouring my own very large concrete steps, and wondering if I could round up enough strong men to move my steps into place for me. But then I wondered if, instead of pouring solid concrete steps, I could instead use concrete pavers. I can’t lift a solid concrete step by myself, but I can certainly work with concrete pavers.
So after doing a whole lot of calculations and figuring and drawing out my idea, I headed to Home Depot to see what they had. For my side studio door, I want three steps from the driveway to the door, and I want the top step to have a 30″ landing. And if I make each step 5.5 inches high, it will be the perfect height. And I found just what I needed.
After spending all of that time yesterday calculating and figuring and drawing and shopping, I didn’t really have much time to do any actual work before it got too dark to work and too late to make a lot of noise. But I did have about an hour-and-a-half to do a preliminary layout of my idea to see if this will actually work. And I think it will!
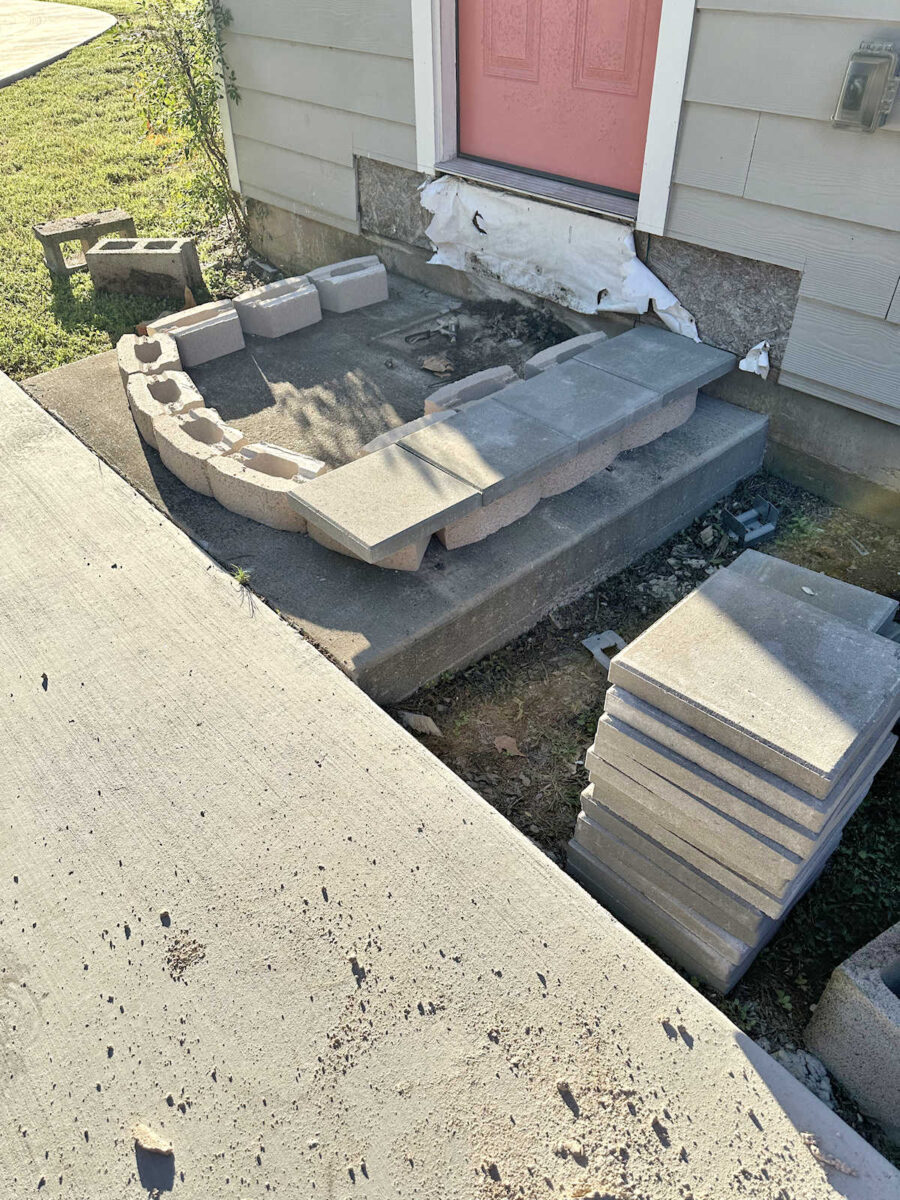
The shape still needs a little bit of tweaking because I want the bottom step to come out far enough so that it ends right where this concrete pad meets the driveway. But the idea is to lay out these retaining wall blocks, which are four inches high, in a shape where they are straight on the sides but rounded in front. And then I’ll add more retaining wall blocks inside that shape to add the structural support for the steps.
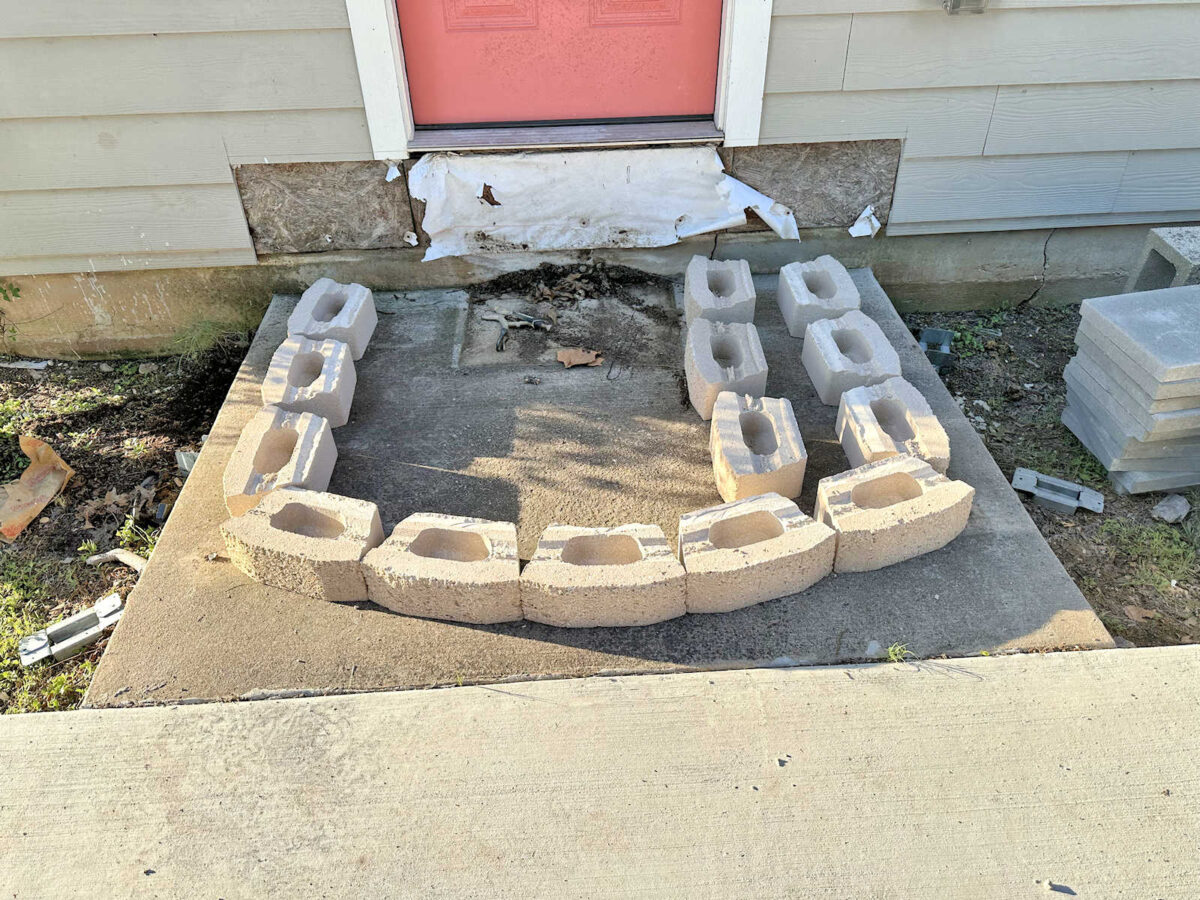
And yes, I still need to figure out what I’m going to do about the exposed OSB before I actually start the official build of these steps. That was cut out when the siding was installed and when the plan was to build wood steps to match the front porch steps. That’s where the steps would have attached to the house. But now that plans have changed, I need to figure out how to cover up that area.
Anyway, to get the corners to meet, I’ll need to cut the two retaining wall blocks on the front on each end, and then that side block can snug up against it.
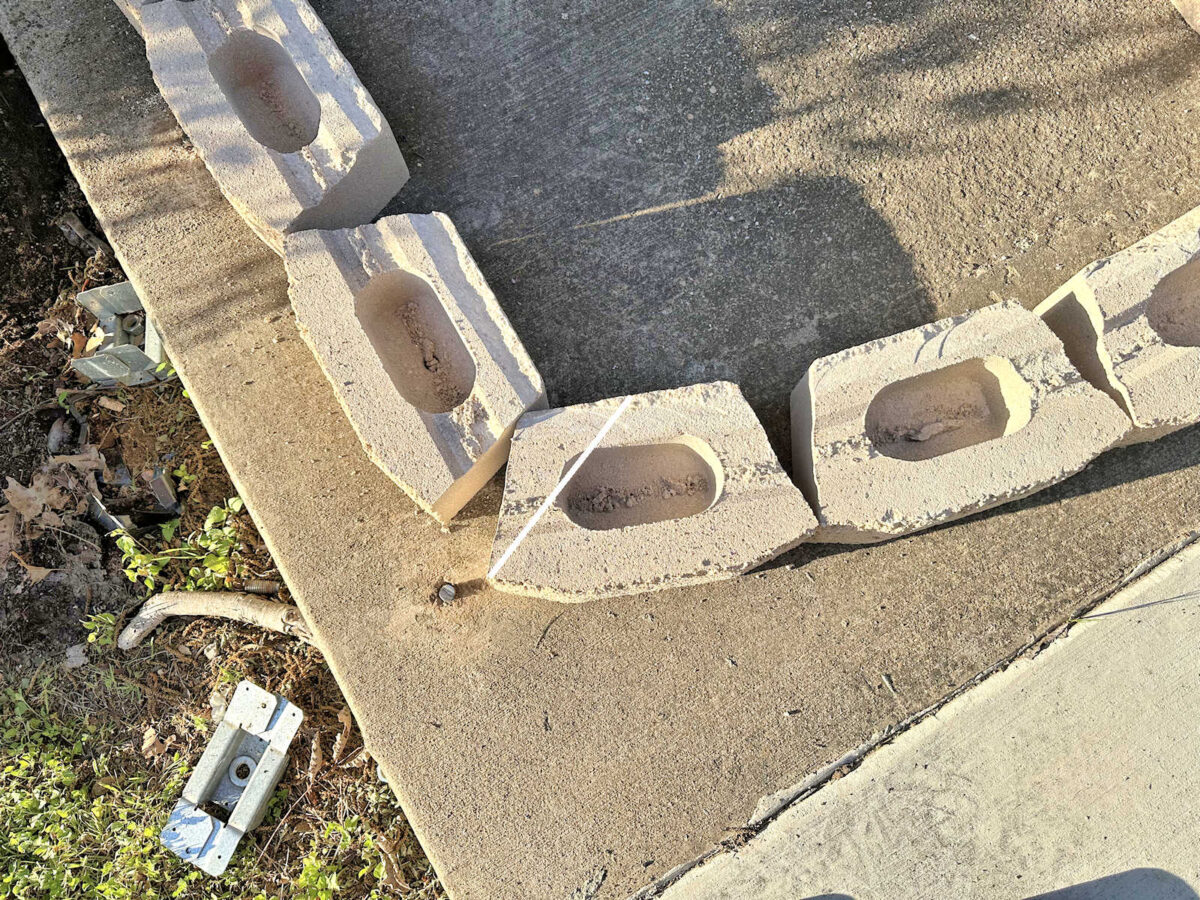
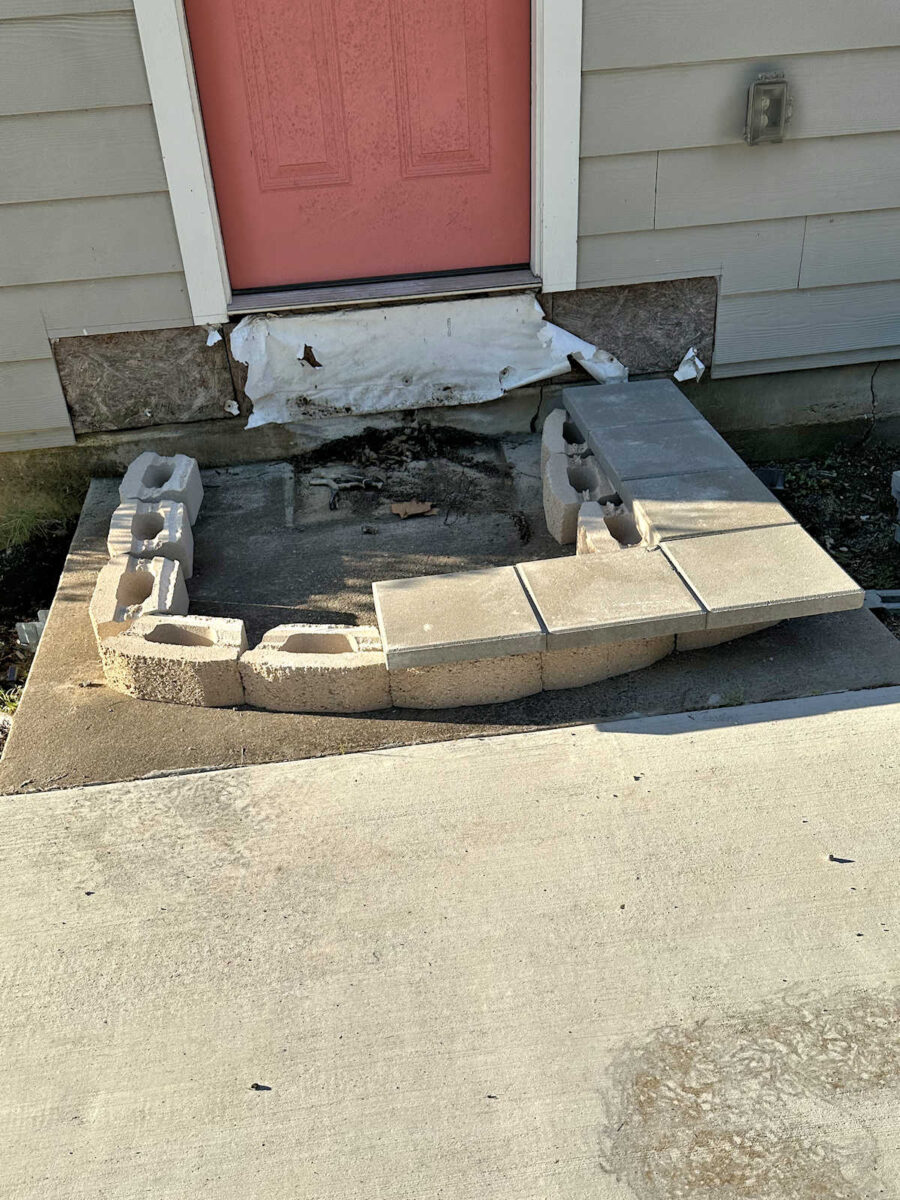
And then once that’s done and all of the blocks are secured into place with masonry adhesive, I’ll add the pavers to form the step. They look unlevel in the photo below because the retaining wall blocks have a lip that needs to be cut off before the pavers can sit flat, and I didn’t have enough time to cut all of those off before it got too dark and too late to work.
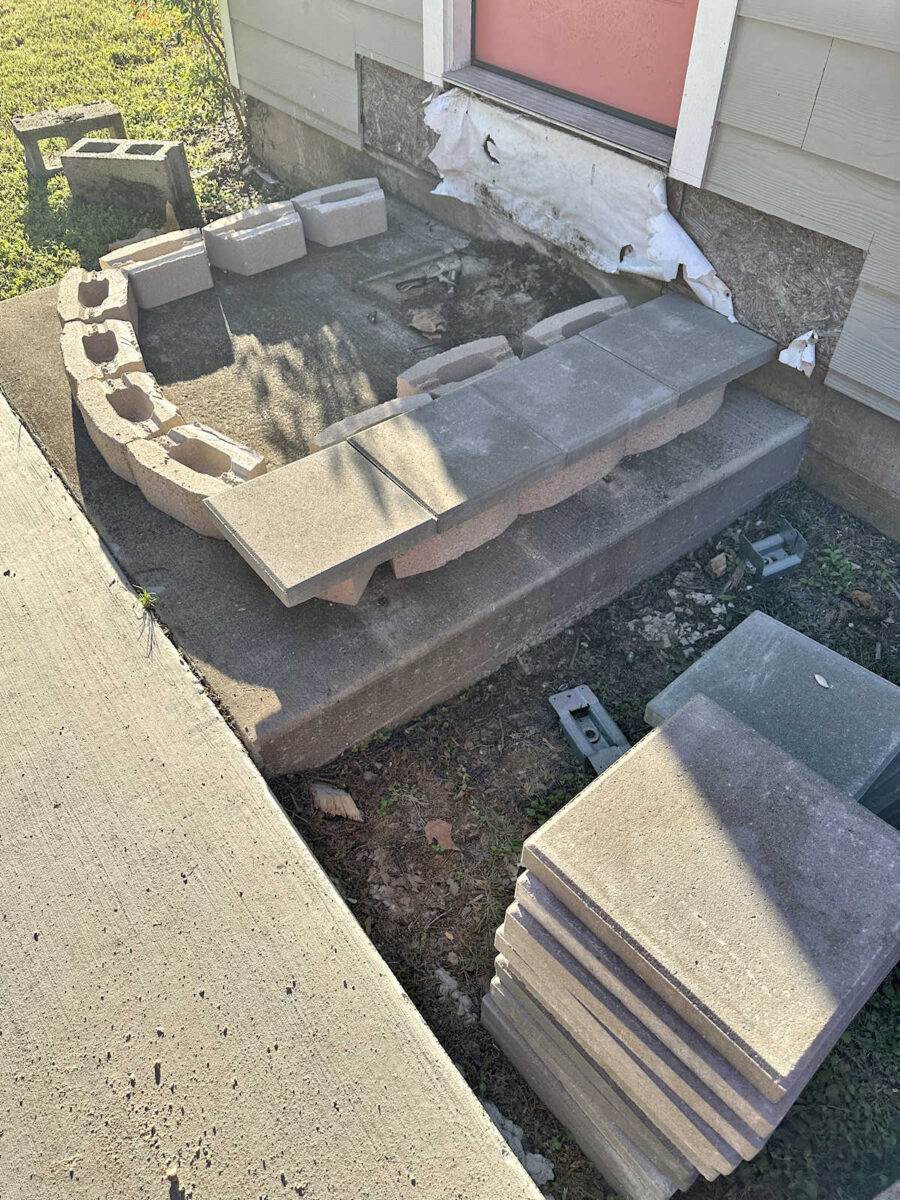
But hopefully, you can see the vision here. Remember, those two corner blocks will actually meet once I cut them to fit against each other. That unsightly gap won’t be there.
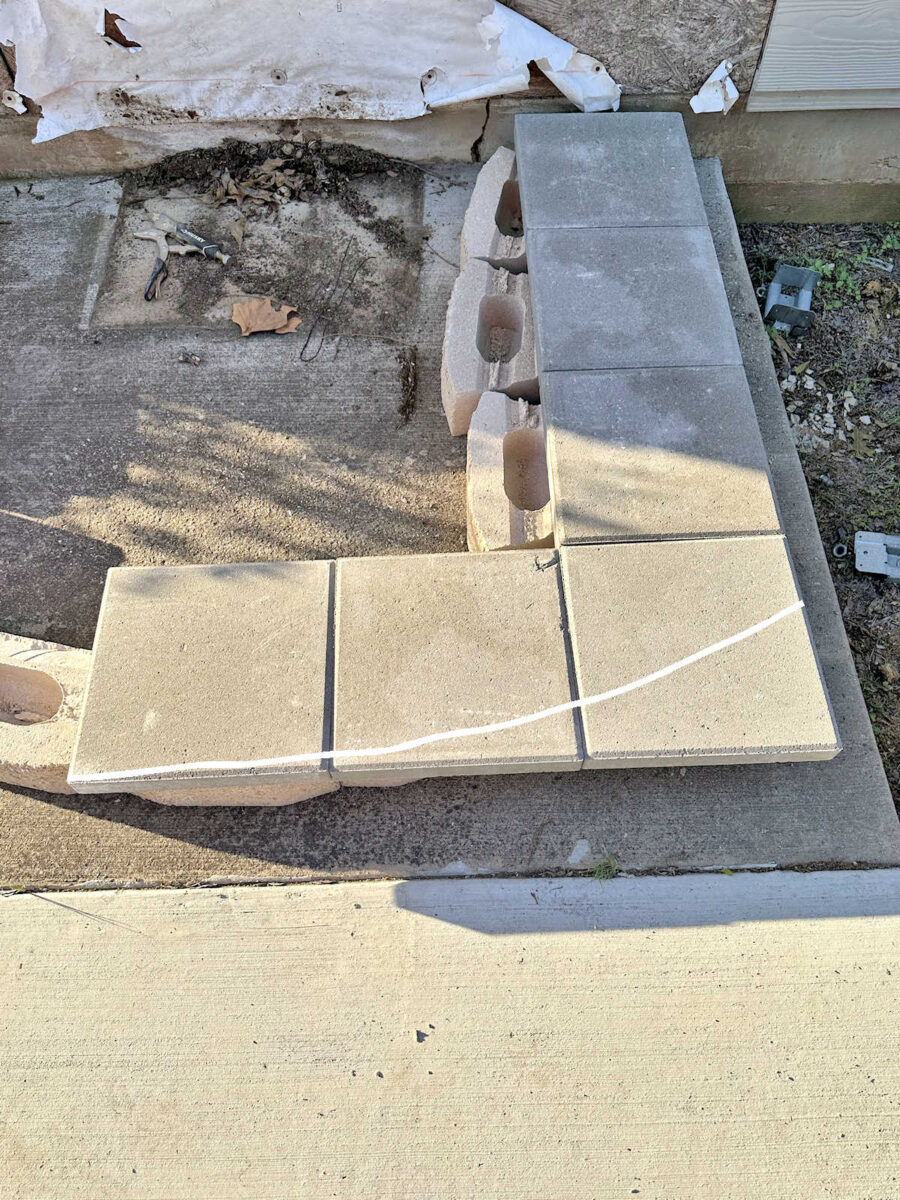
And once I have all of the inside support blocks in place (with that lip cut off of all of them that prevents the pavers from sitting flat right now), I’ll cover the whole thing with the pavers.
And then I’ll come back with my handheld grinder with a masonry disc and cut the curve on the front.
So that’s the plan for this door as well as our new bedroom door. These steps and the bedroom door steps will match. And then it’s just a matter of coordinating these steps with the front porch. I’m still trying to figure out exactly how to do that (I’m thinking through a couple of options), but the end goal will be to have the stone facade skirting match the look of the retaining wall block risers on these steps. That will tie the three areas together so that they will all coordinate. They won’t match, but I’m okay with that as long as they all coordinate and look cohesive. And really, I actually love the idea of the front porch being the only area that has the stained wood porch boards because not only will that keep me from having more wood that needs regular maintenance on these other two areas, but it also keeps the front porch as the main focus of the front of our house.
I’m really so excited to finally have a plan. I think it’s going to be very pretty once all of these areas are done. And maybe I’m a little too confident and optimistic, but I really think these steps won’t be all that difficult to finish. I think it’ll be a lot easier than building wood steps! The hardest part will be getting that initial shape for the bottom step perfect. Once that’s done, I think the other two steps will go very quickly.

Addicted 2 Decorating is where I share my DIY and decorating journey as I remodel and decorate the 1948 fixer upper that my husband, Matt, and I bought in 2013. Matt has M.S. and is unable to do physical work, so I do the majority of the work on the house by myself. You can learn more about me here.


")
")