DIY Easy Storage Shelf (For The Side Of My Fridge)!


Need a little extra storage in your kitchen? Make use of that empty space beside your refrigerator by building an easy DIY storage shelf. It’s perfect for organizing cutting boards, wine bottles, and all those miscellaneous kitchen items that never seem to have a home. Best of all, you can knock this project out in one weekend or less!

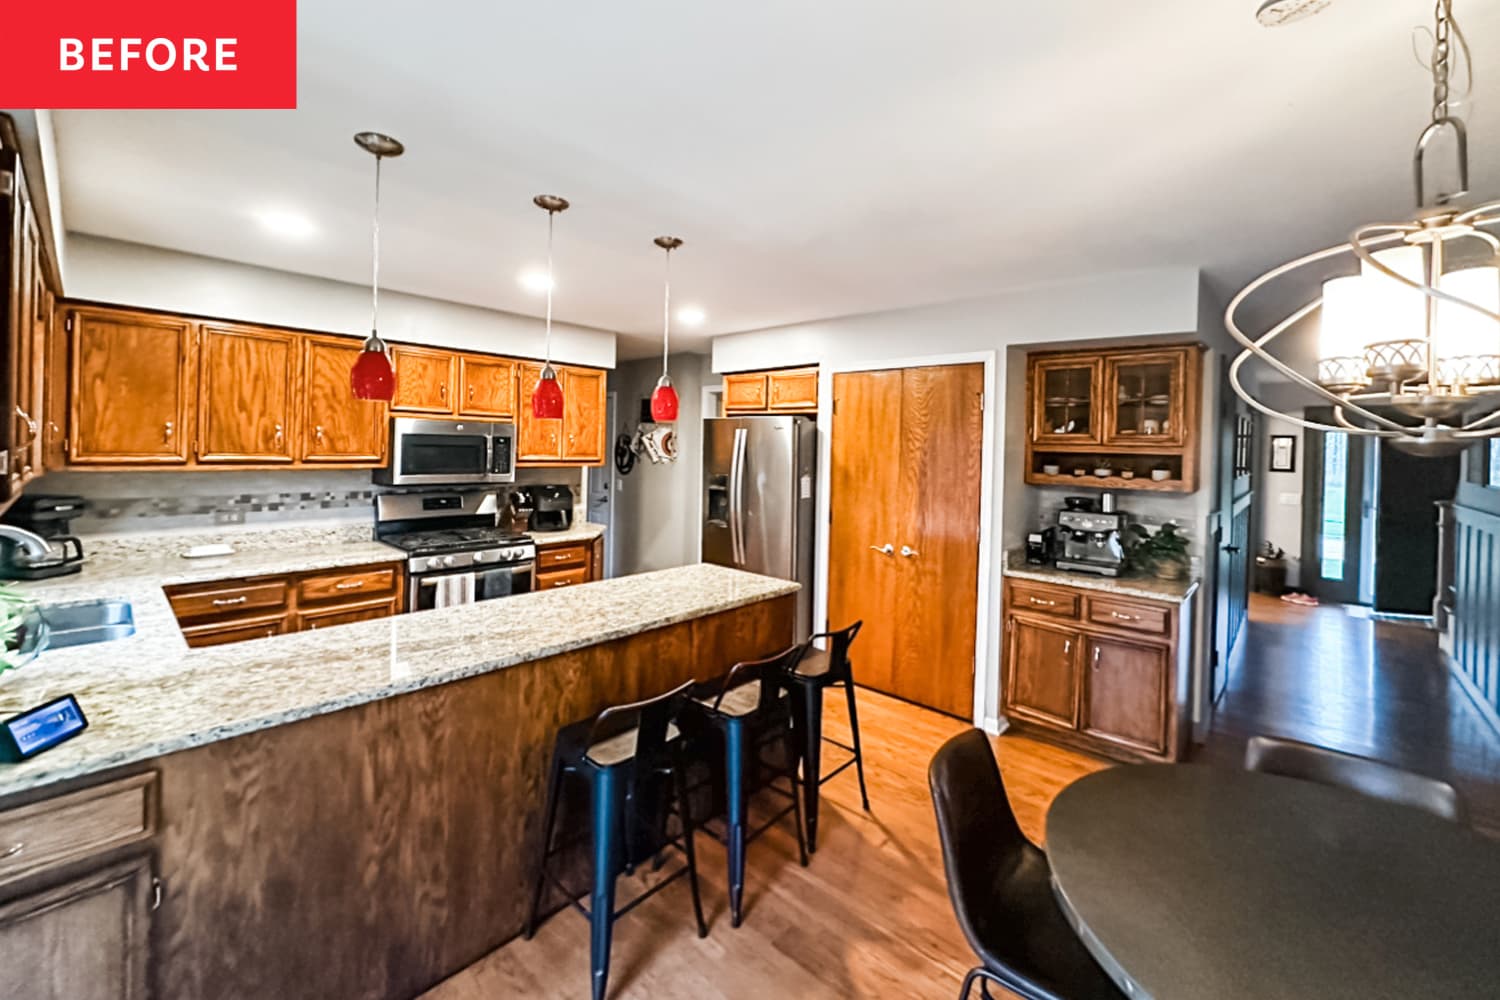
When I renovated our small kitchen (you can check out the full makeover here), I wanted to find a way to use the empty space on the side of my fridge. In a tiny kitchen, every bit of space is valuable, and adding extra storage is a major win. That’s what gave me the idea to create an easy DIY storage shelf for storing cutting boards, wine bottles, and a few other kitchen items that needed a home. Here’s how I made it!
How To Build An Easy Storage Shelf
Want to see this build in action? Check it out on here (+ make sure to subscribe to my channel)!
* This post contains affiliate links, for my full disclosure policy, click here.
Materials + Tools
Tools
Materials
Cut List + Plans
For a full cut list and dimensions for this project, check out my printable plans!
Build The Frame
Step 1: First, I built my shelf frame by attaching the top and bottom pieces to the sides with pocket hole screws and wood glue.

Step 2: Next, I routed a channel along the inner edge of the shelf to fit the 1/4″ plywood panel later in the process.

Add The Shelves
Step 3: Once the frame was finised, I ripped the shelf pieces 1/4″ thinner to account for the back panel. Then, I attached the shelving pieces to the frame with wood glue and pocket hole screws.

Step 4: Next, I added the decorative 1×2 boards with pocket hole screws and wood glue from the backside of the boards.

Add The Back Panel
Step 5: Then it was time to cut and add the back panel to the shelf using brad nails. For this project, and many others, it’s a good idea to pre-stain your board before attaching it.

Add Stain + Finish
Step 6: I finished the shelf with stain and poly to get the look I wanted.

Install Shelf
Step 7: The last step was to install the shelf on the side of the fridge. If you’re also planning to build this same shelf you’ll want to attach it to the side panel if you install it on the side of the fridge. If you’re leaving it freestanding make sure you attach it to the wall to avoid tipping.

And, after just a few days of work we had an easy storage shelf for the kitchen!
Here’s what the space looked like before:

And here’s what it looks like now!
Want to save this project for later? Make sure to Pin It!