Guest Cottage: Painting Patterns Over The Old Painted Wood Flooring

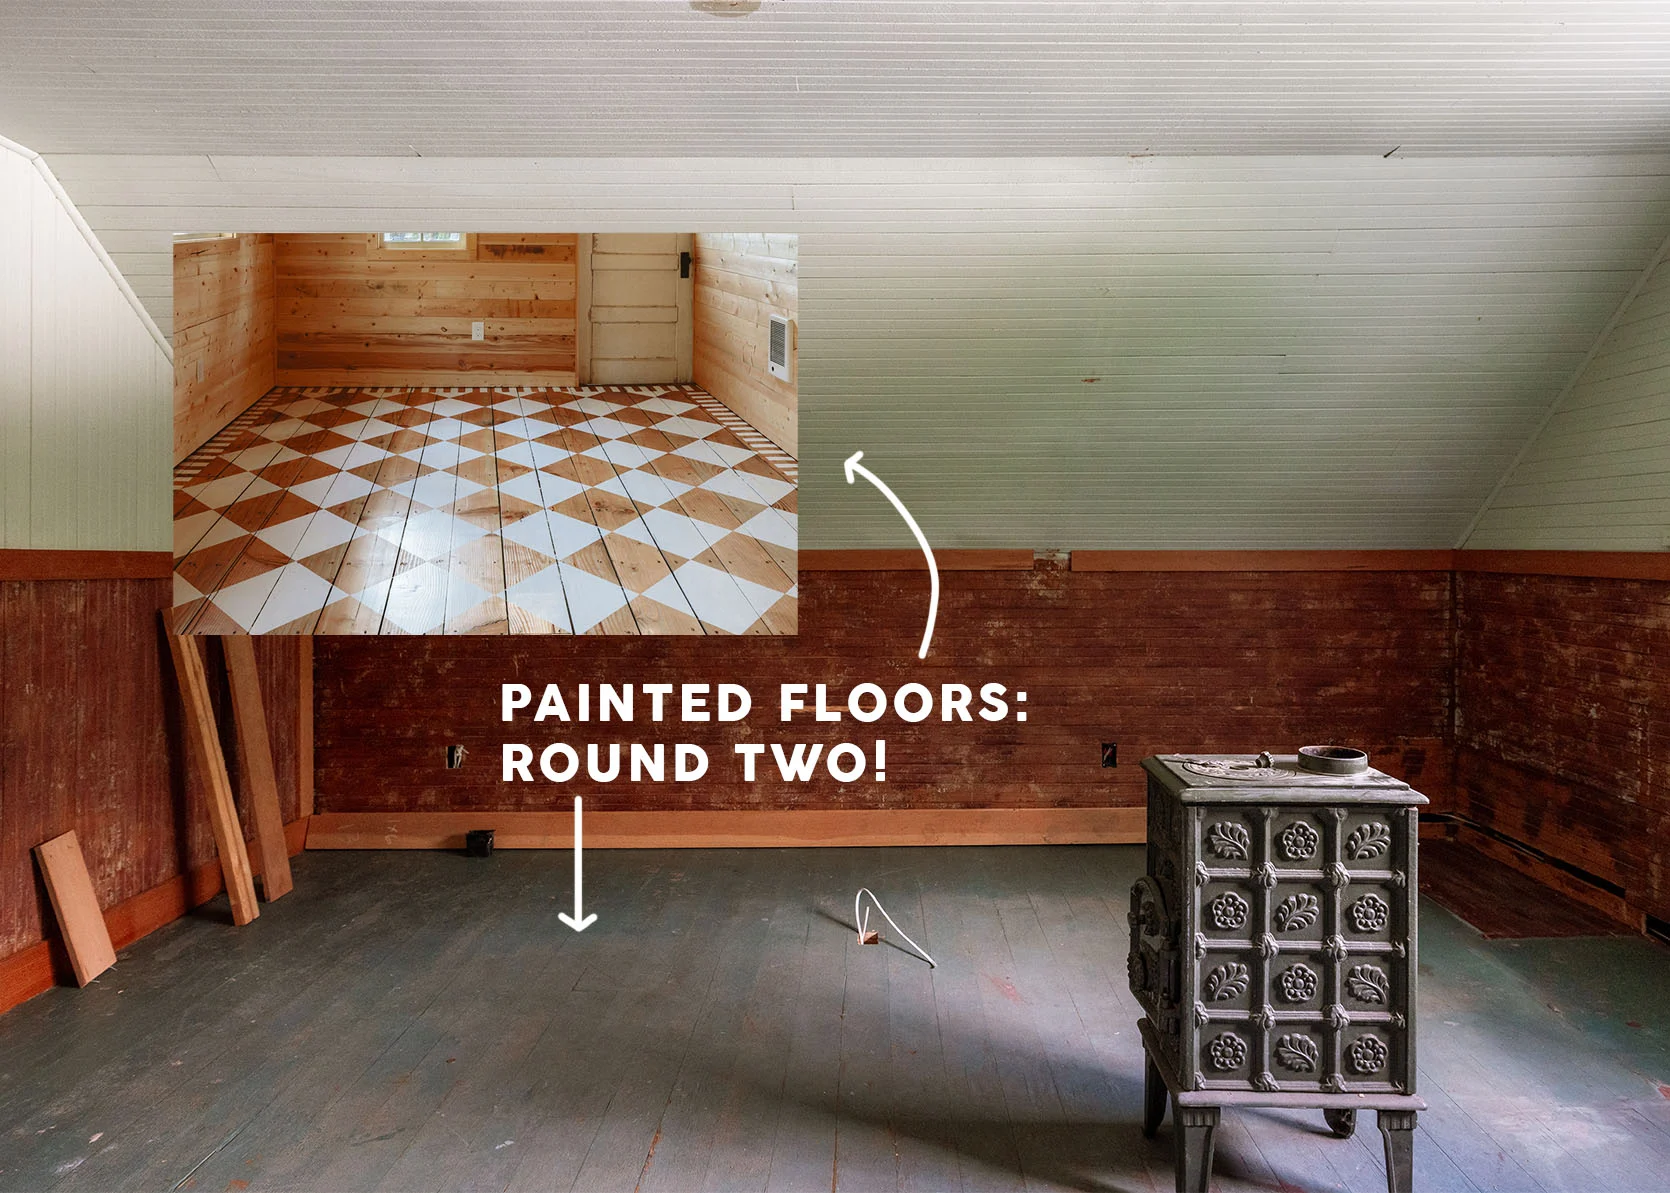
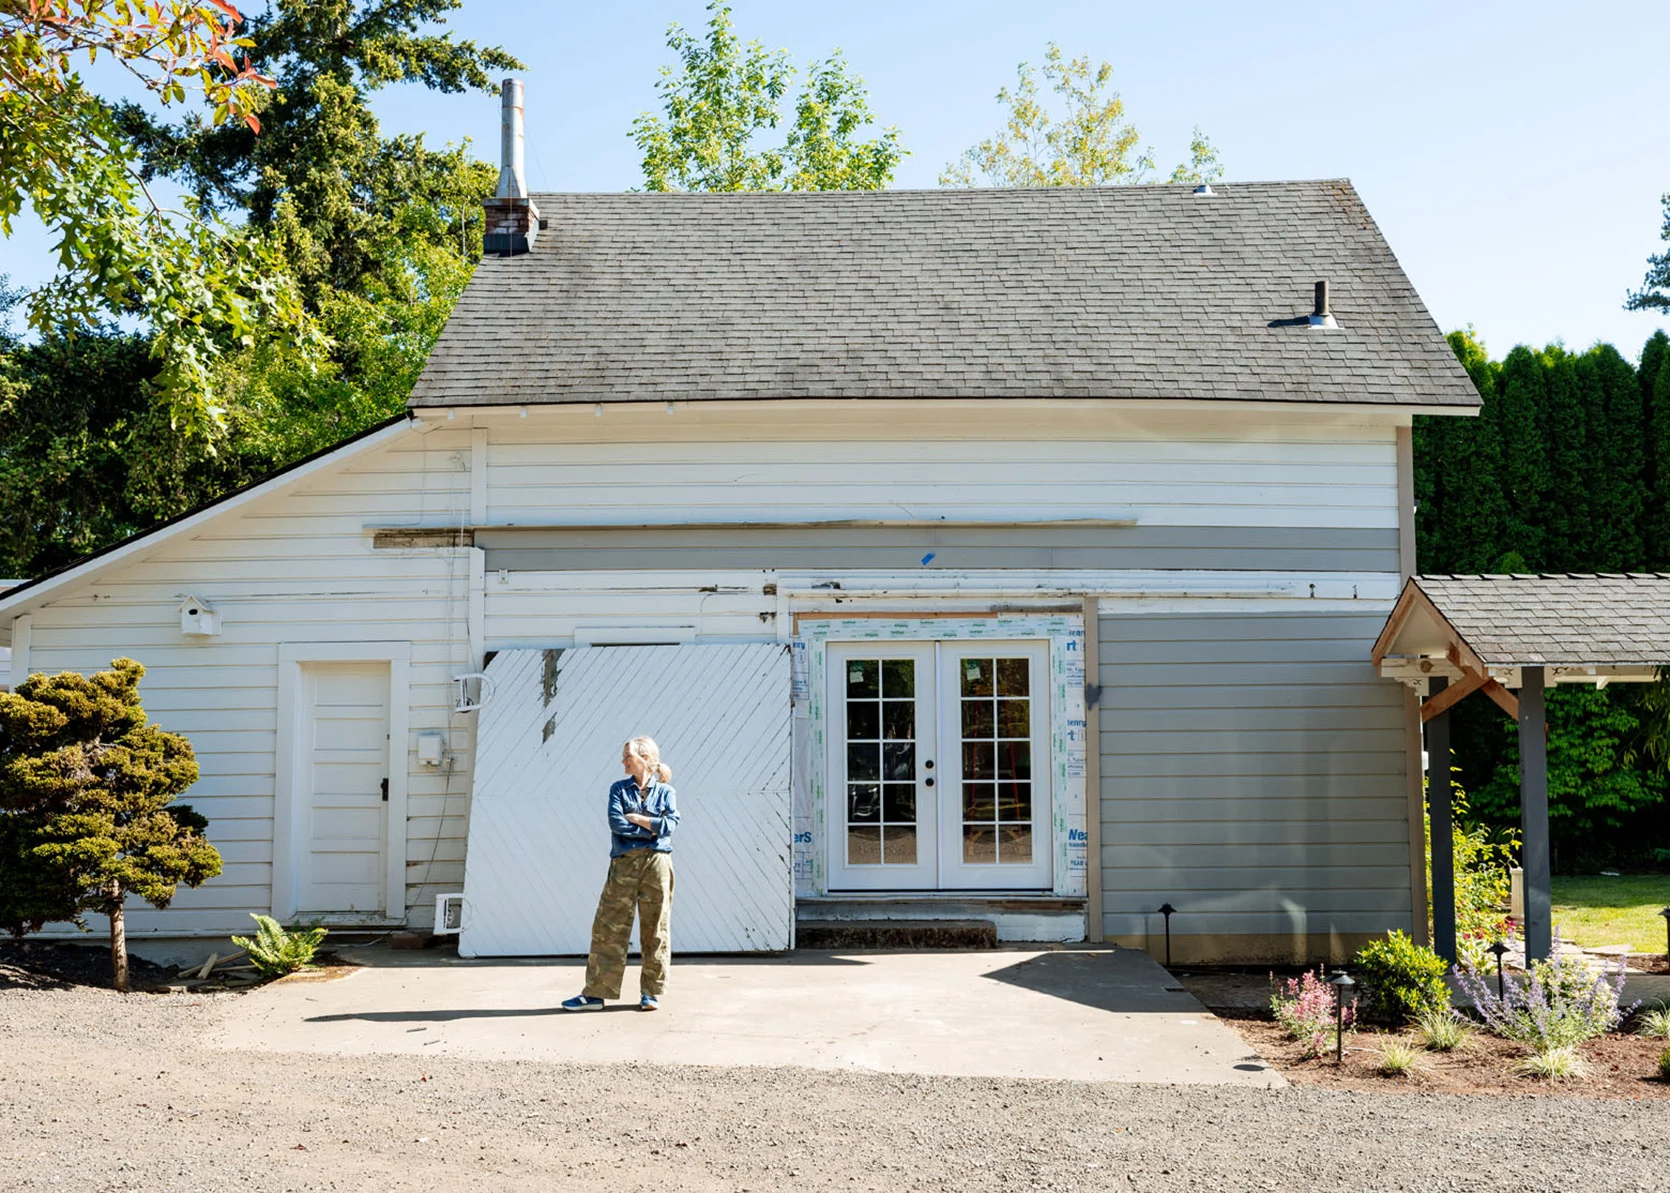
It’s go time on a few of the rooms right now. Well, we are waiting on the reclaimed wood to be de-nailed and milled into tongue and groove (we bought locally, from Good Wood) and I just accepted the most reasonable plumbing quote for the bathroom so my hope is we can start moving faster to be able to start working in the upstairs office by September and the kids will have a rompus/game room by the time the rain comes back. I can’t control other people’s schedules, but I can control a few of the elements that we were planning on doing – Painting over the already painted wood flooring.
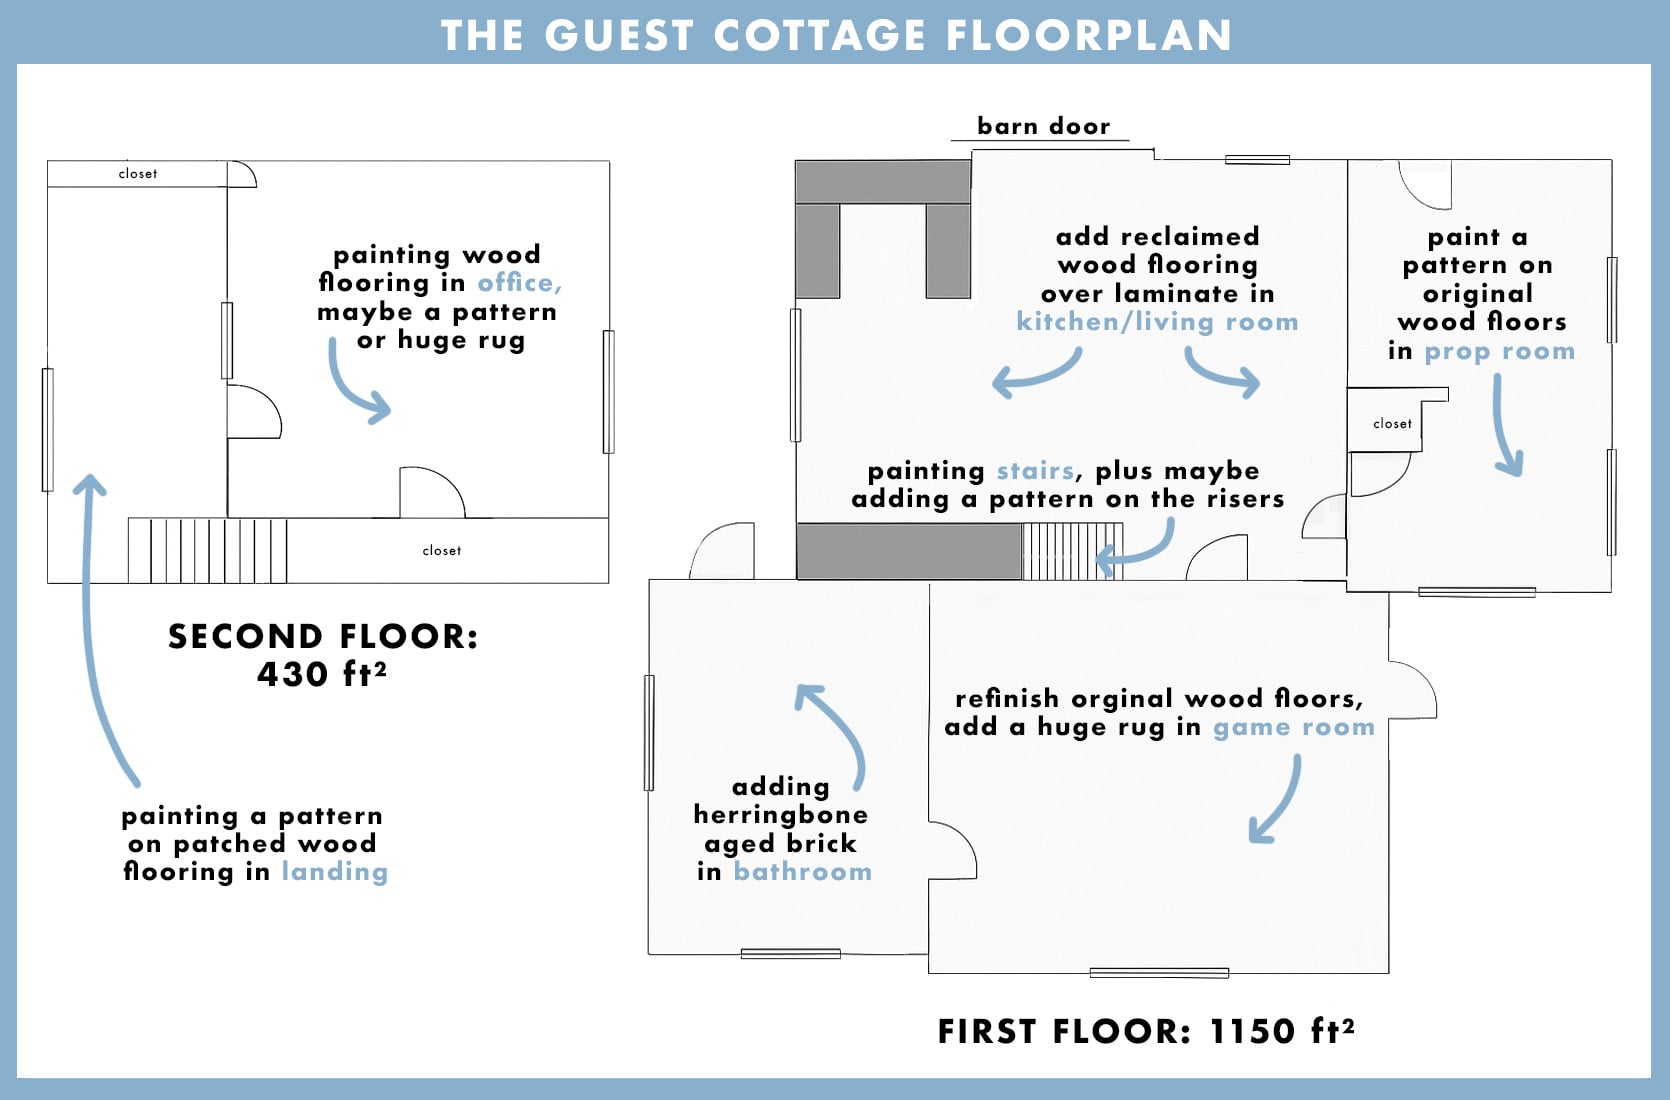
I thought it would be helpful for you guys to see what flooring is going where so that you can better understand the flow. For more contemporary homes, I like a seamless flooring look, but for a vintage home that leans cottage, I think that flooring transitions are super charming and embrace the “built over time” vibe that it is. Also, in the name of not gutting this house, we don’t want to rip out the old flooring, even though it has layers of paint and linoleum. We are really trying to use what we can, embrace it all, and see how we can make it better with a can of paint…or 50.
Kitchen/Living
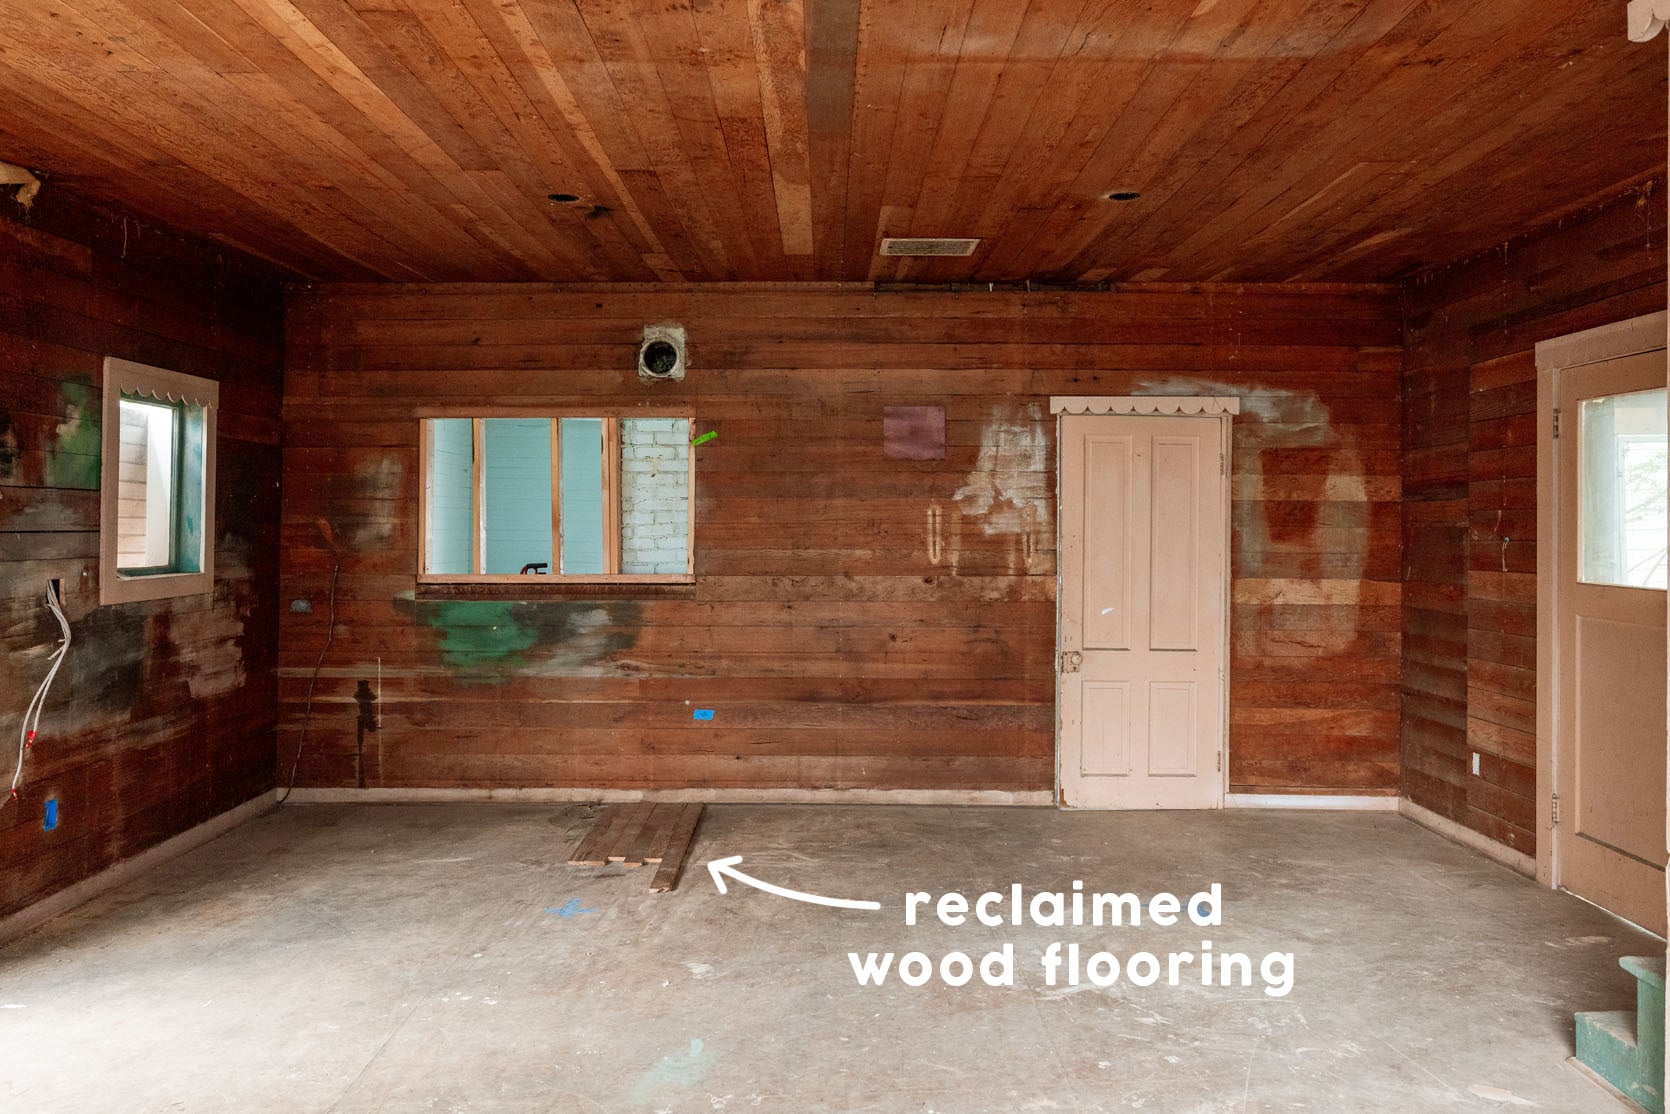
For the living/kitchen, we have bought reclaimed wood that matches the walls as closely as we could. It’s milled into 3″ tongue and groove, which feels the most accurate to the period, but it’s rustic.
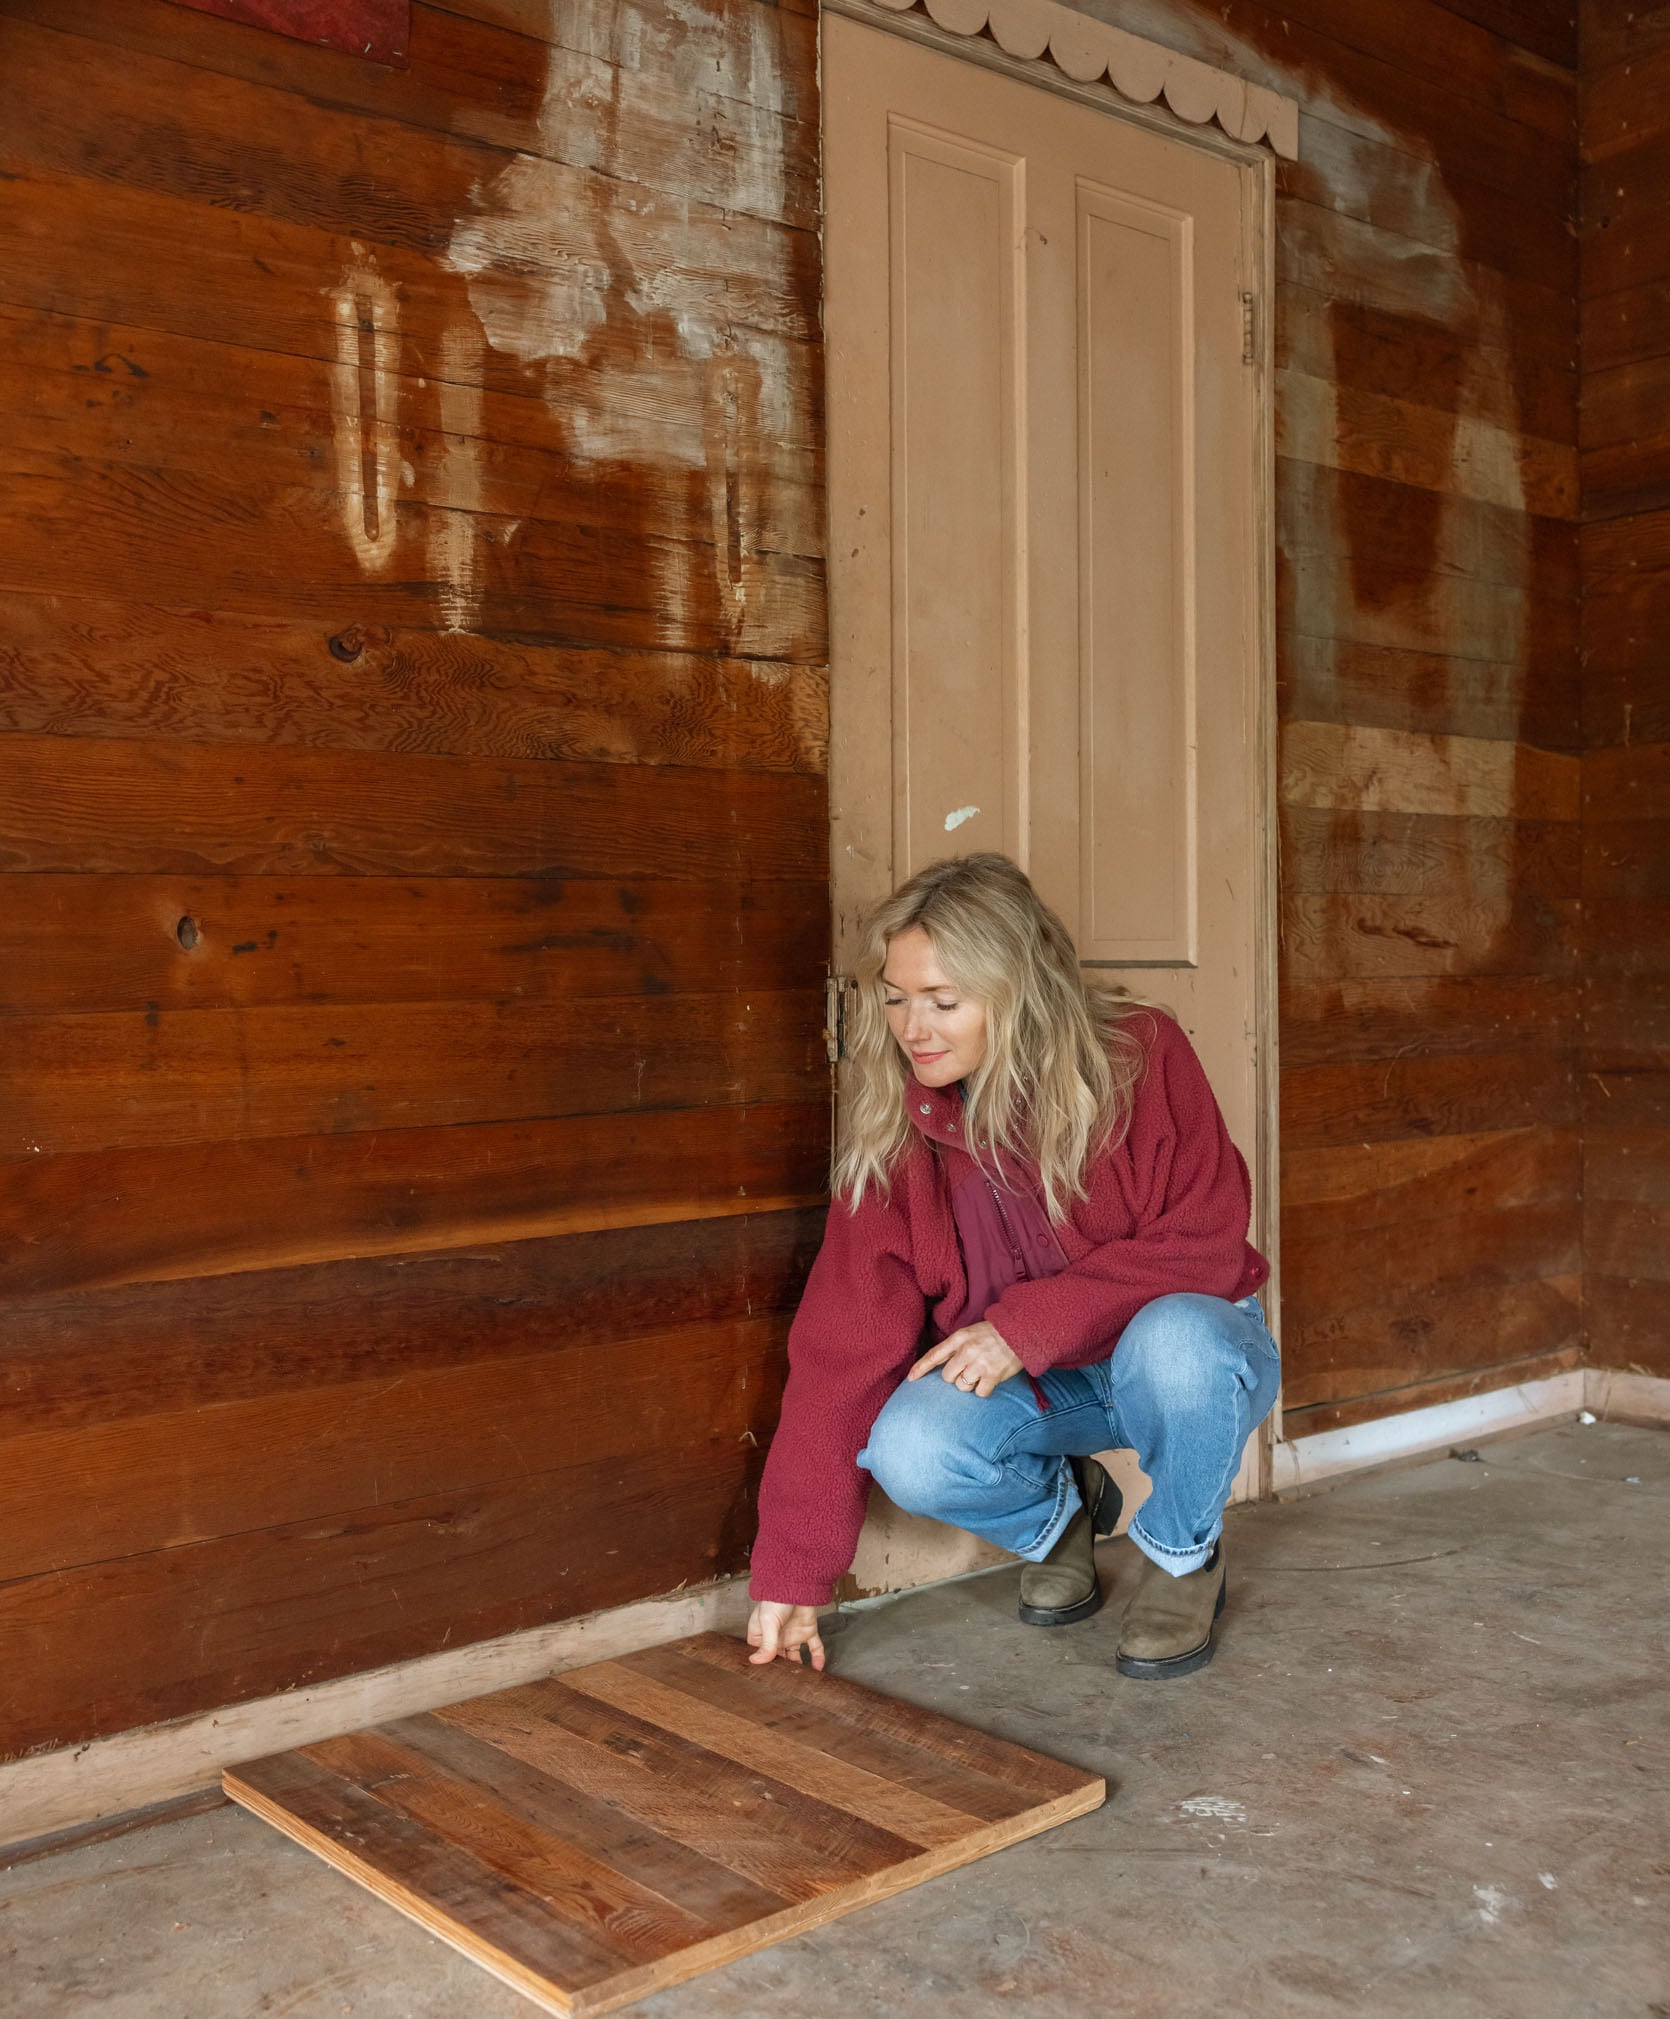
We still need to sand down the walls and clean them up (so many nails and staples for some reason), and then my hope is that the floors and the walls will match. We’ll still put beadboard in the kitchen to add color so it’s not just a big room of wood (because also the game room is a big room of wood) but no other flooring made sense in here to me (that was within our budget – I thought about a large scale tile or doing something like our sunroom floor but then I remembered the insane install cost of that tile and I quickly went back to tongue and groove wood that could get done in one/two days and we could possibly even attempt ourselves). Oh, and we tried to take up the linoleum, and while I’m sure it would be doable, it was NOT going well, and the areas that we succeeded, the wood underneath was very sub-floory – meaning huge gaps into the dirt underneath. We have that in our art barn, and while it’s fine out there because it’s just Fuse Beads and glitter that get stuck in the cracks (and boy do they), it would be super annoying out here where grownups want to exist. So, in the name of making it feel both authentic and finished, reclaimed fir floors, milled into tongue and groove 3″ planks, felt like the best move.
Game Room
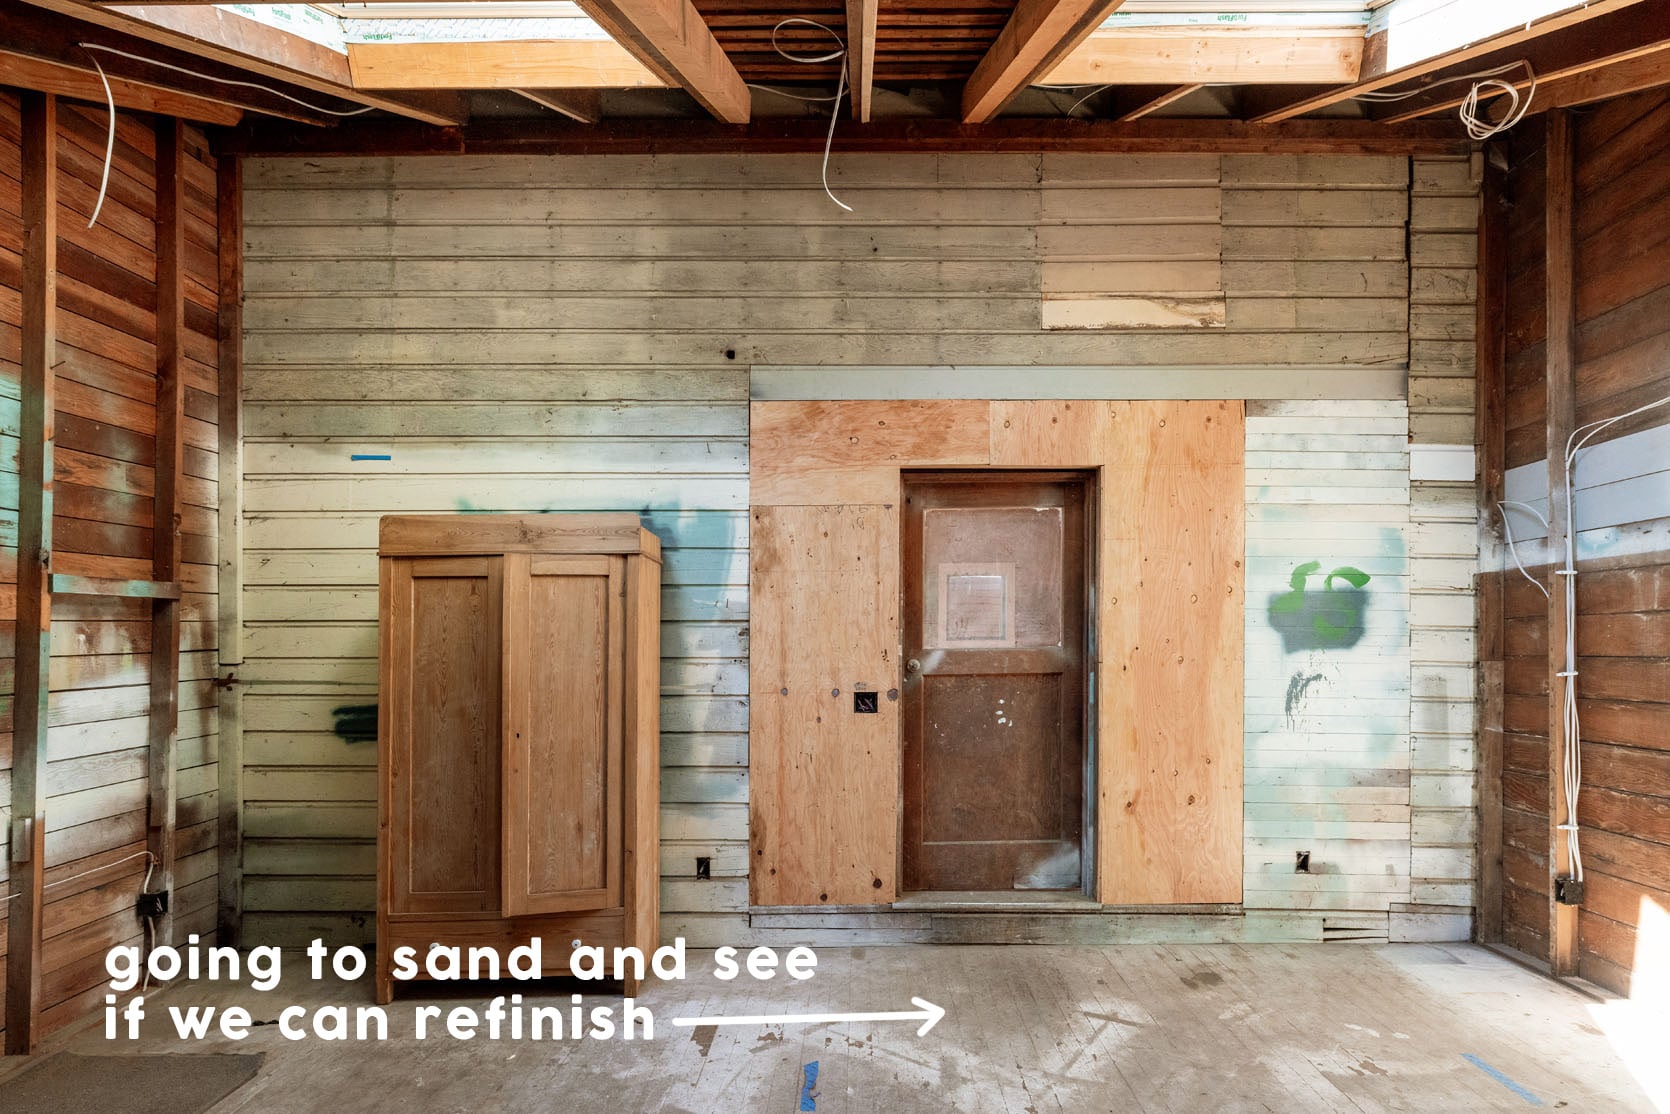
The game room floor has the best potential for being refinished, as it seems like there are only a couple of coats of paint and possibly done more recently. So in July (when I have time to breathe – we are so overbooked right now) we are going to sand it down and see what we are working with, but our first attempts prove hopeful.
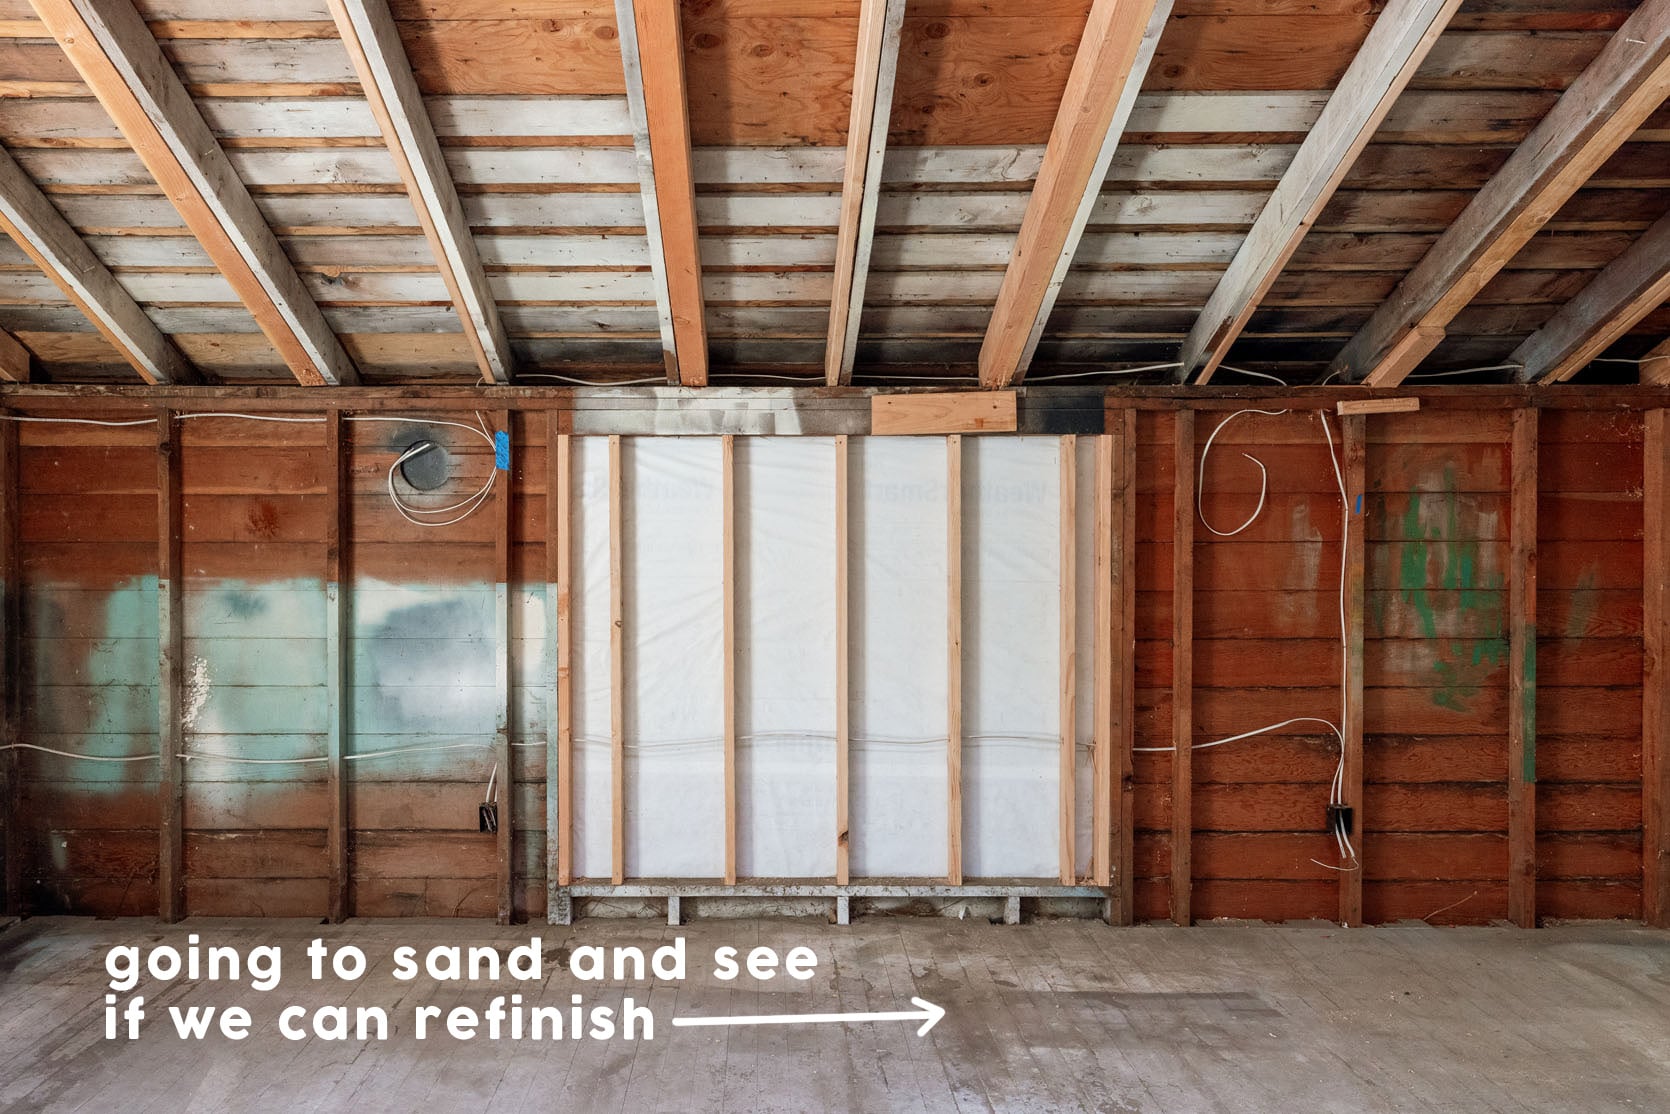
This flooring feels more solid, so if the sanding and refinishing don’t go well, I feel pretty hopeful about just painting it a color (not cladding over it), knowing that I already have the huge rug to go in here (did you see Tuesday’s post? I found the most beautiful vintage blue rug for in here!). As a reminder, this room will also have the walls clad in 5″ reclaimed milled fir. So this will also be a big room of wood. And yes, I thought about doing paneling in here and painting it, or even paneling + wallpaper, but this room just wants to be wood, both functionally and aesthetically.
The Big Bathroom
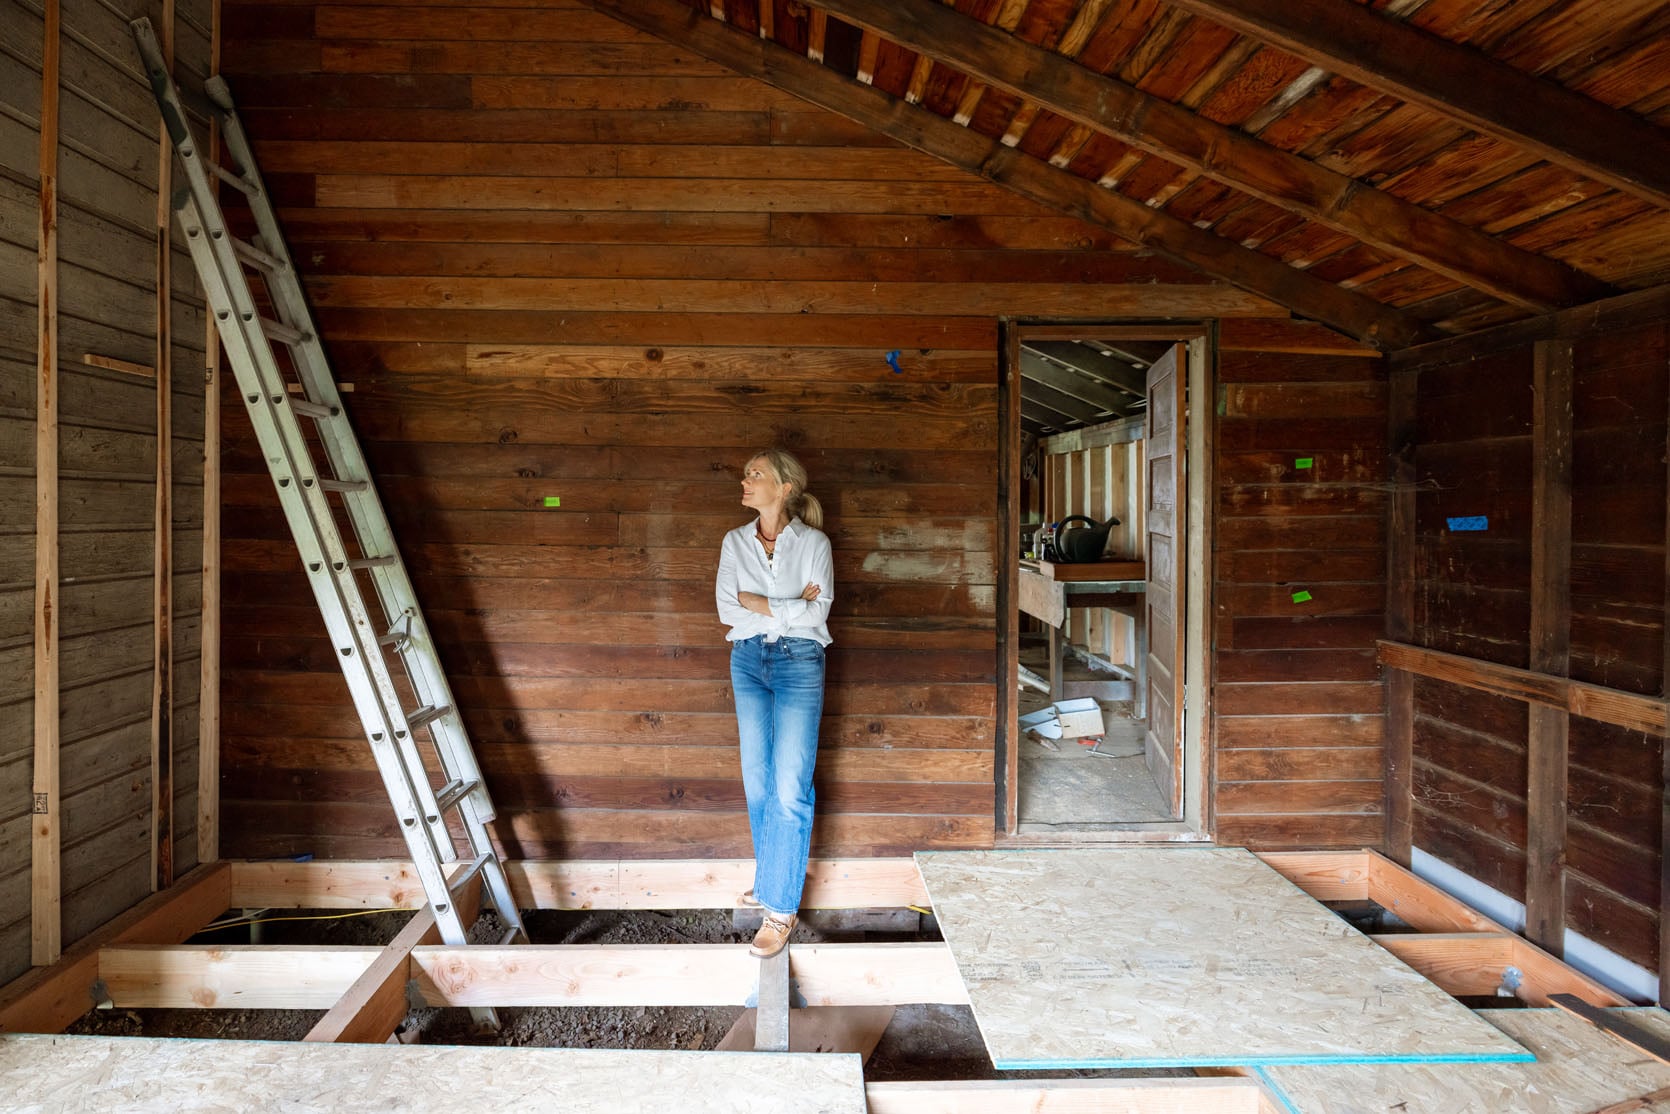
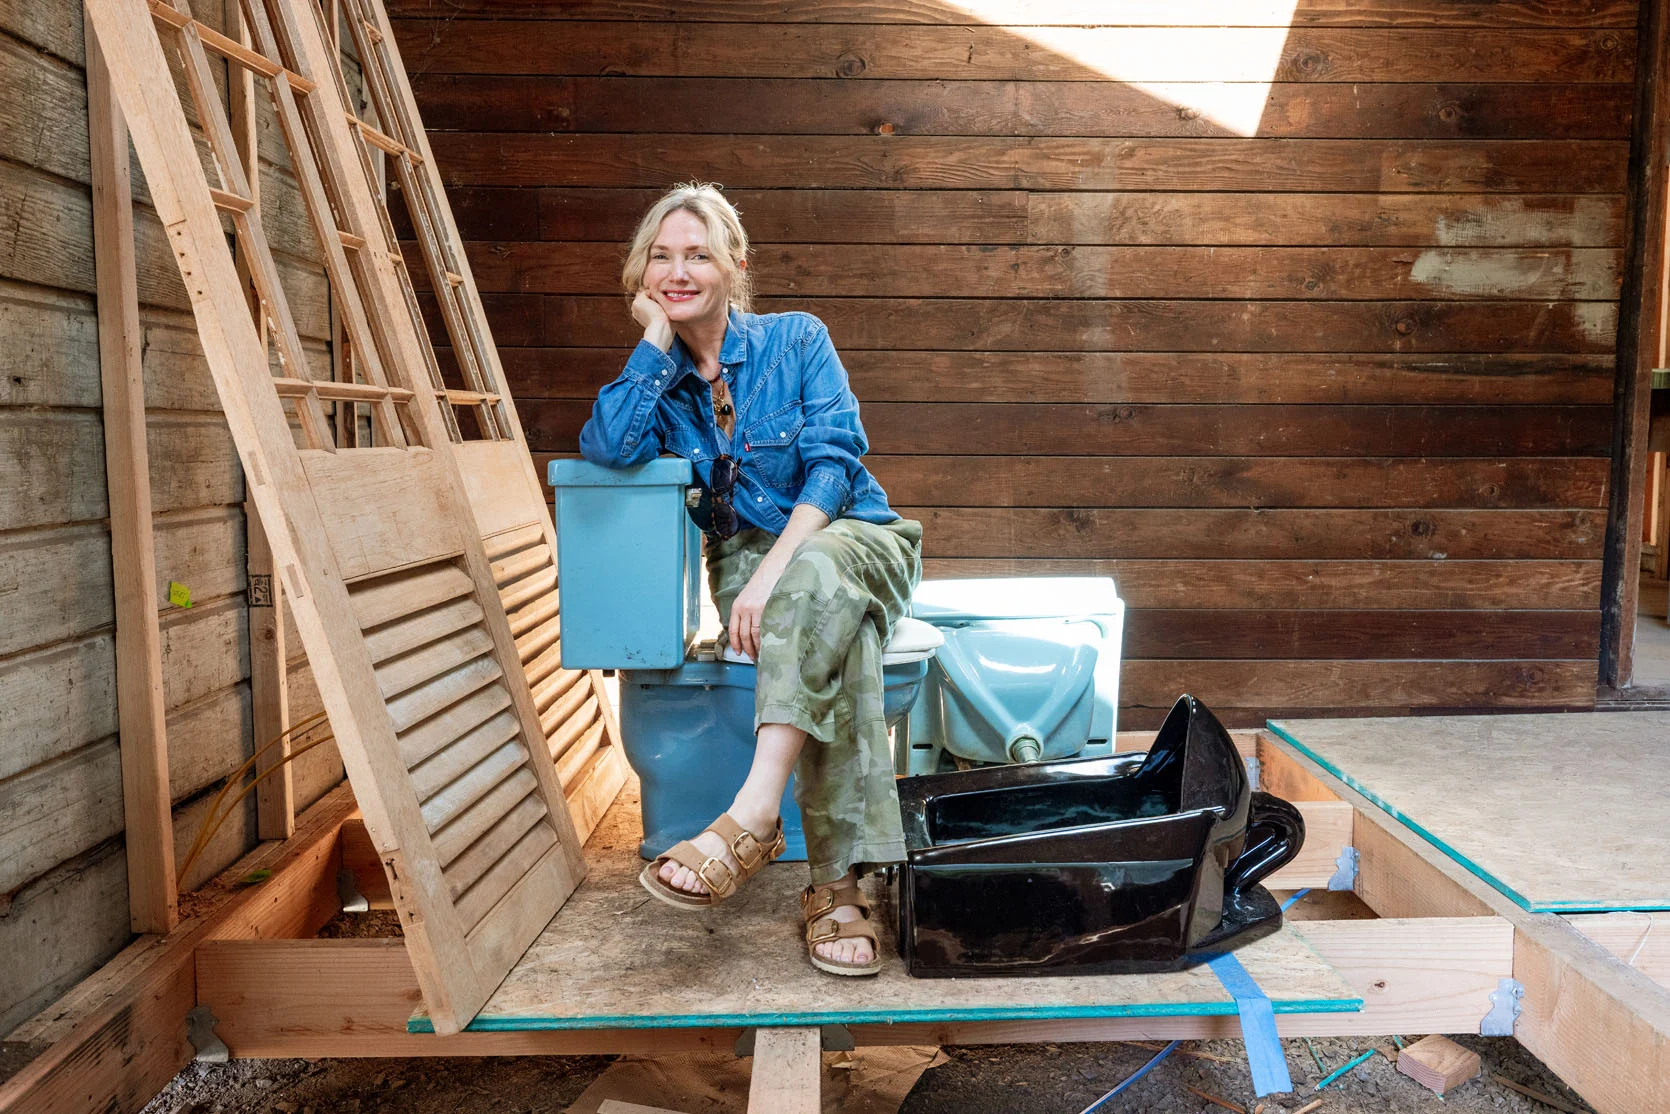
The bathroom will be finished in thin herringbone aged brick. This has been the plan since day one, as the install is so much cheaper than tile and is possibly even doable ourselves, while the material feels very utilitarian and perfect for this room. As a reminder, this bathroom will have a separate WC and shower inside of it and will also serve as the main point of entrance from the outside into the game room when we have parties.
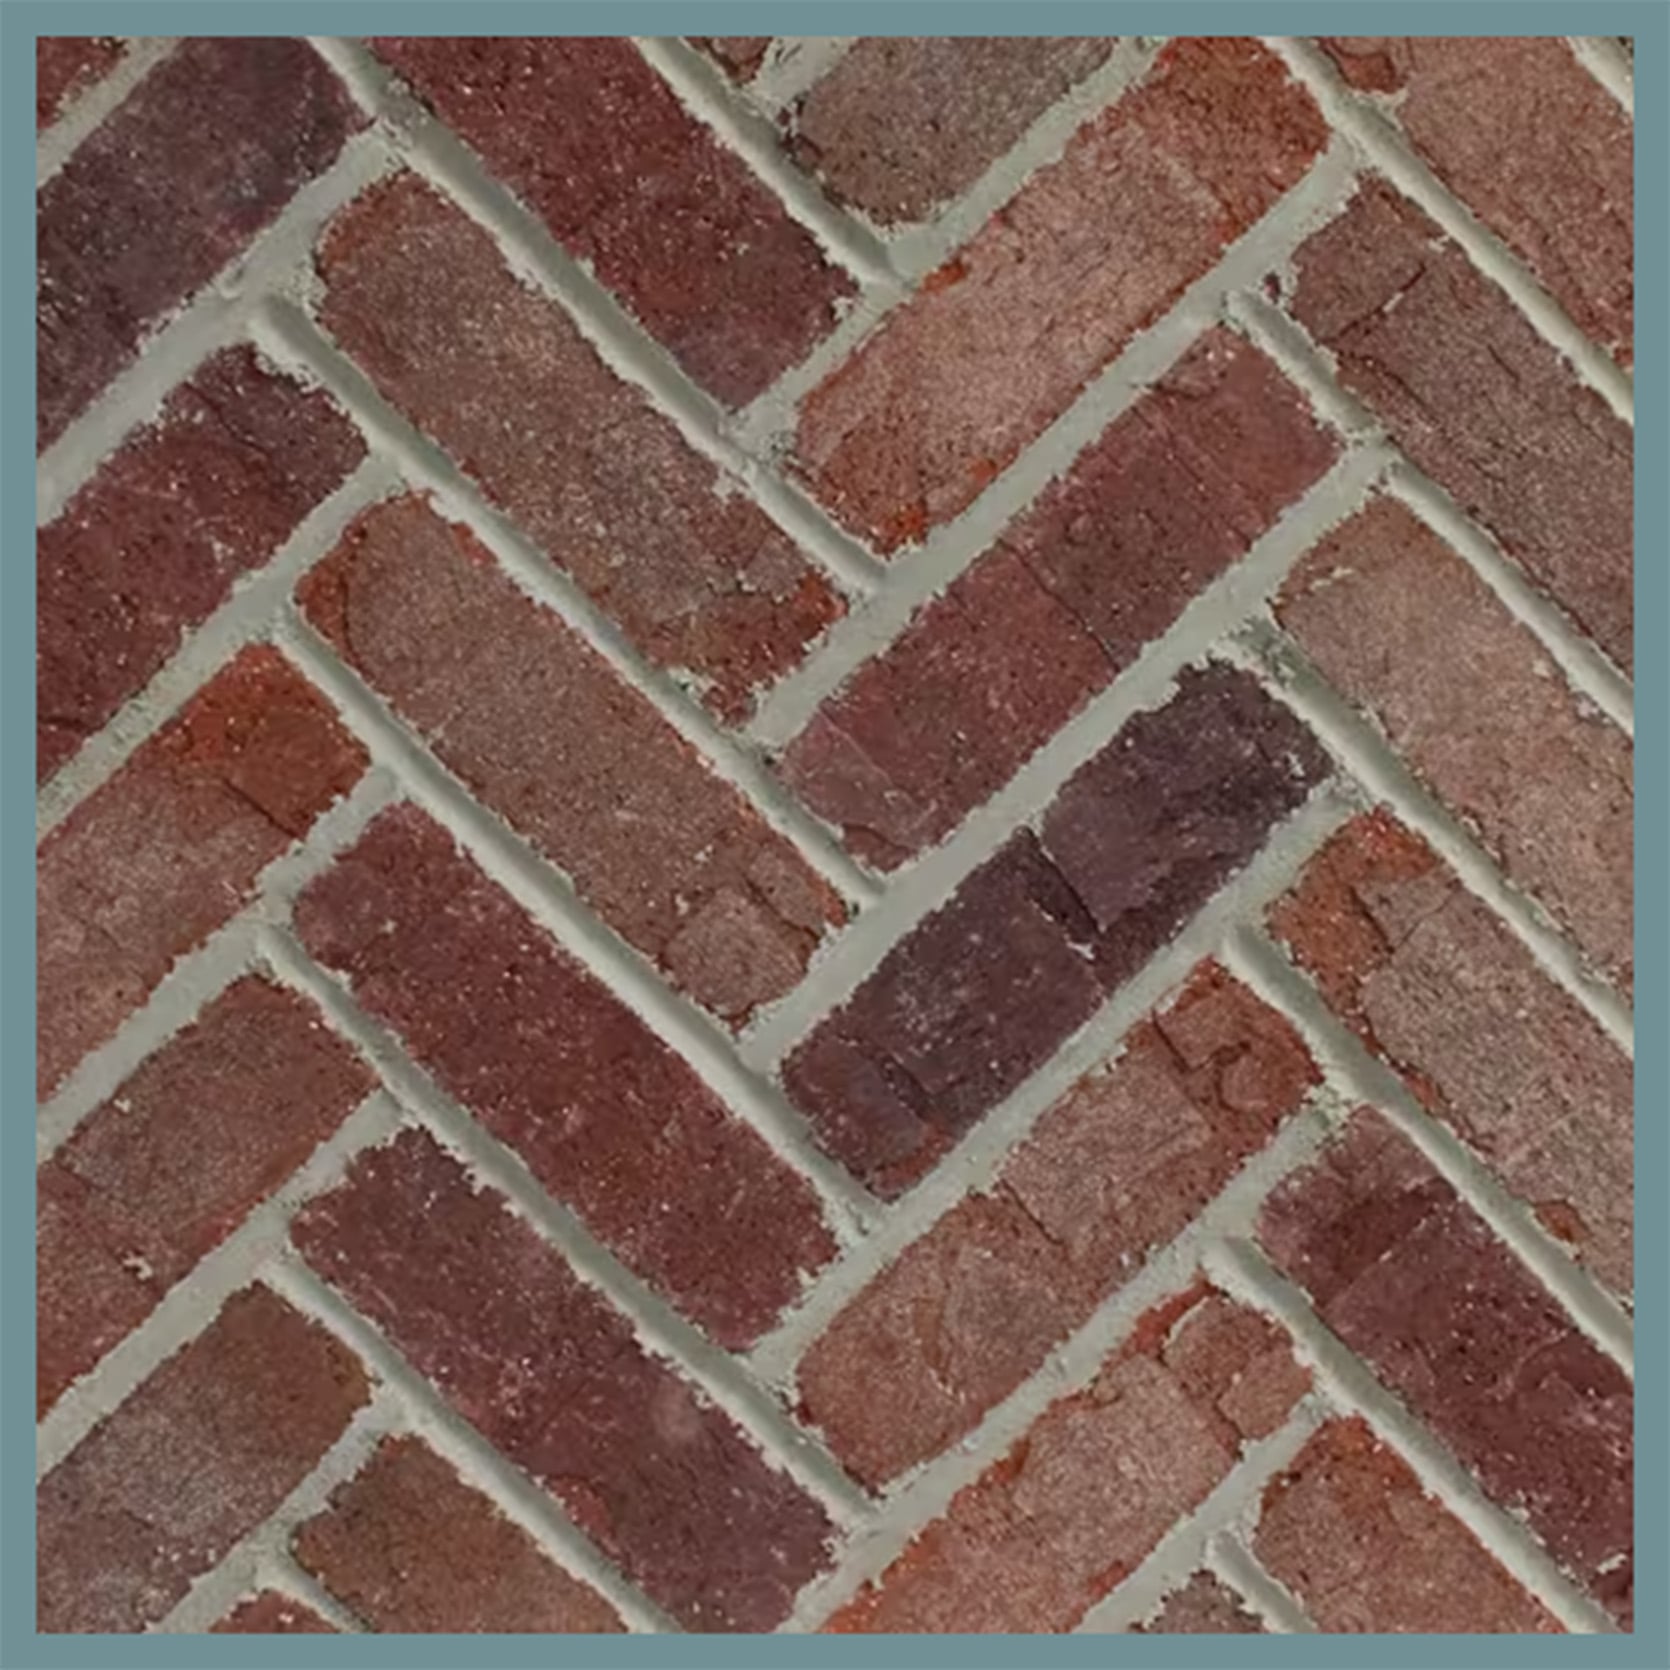
Brick Herringbone in ‘Riviera’
I love that this feels really hearty, solid, and earthy while giving us a break from the wood, but living in the same world and letting the stained glass and the already extreme amount of quirk be the star. Plus, I read somewhere that brick looks great with urinals 🙂 And if you are concerned about cleaning, it will be sealed, and I’m sure fine (plus all the men and boys in my life have assured me that a urinal is far easier to aim and land than a typical toilet, and I have proof of that).
The Old Prop Room Painting Floors
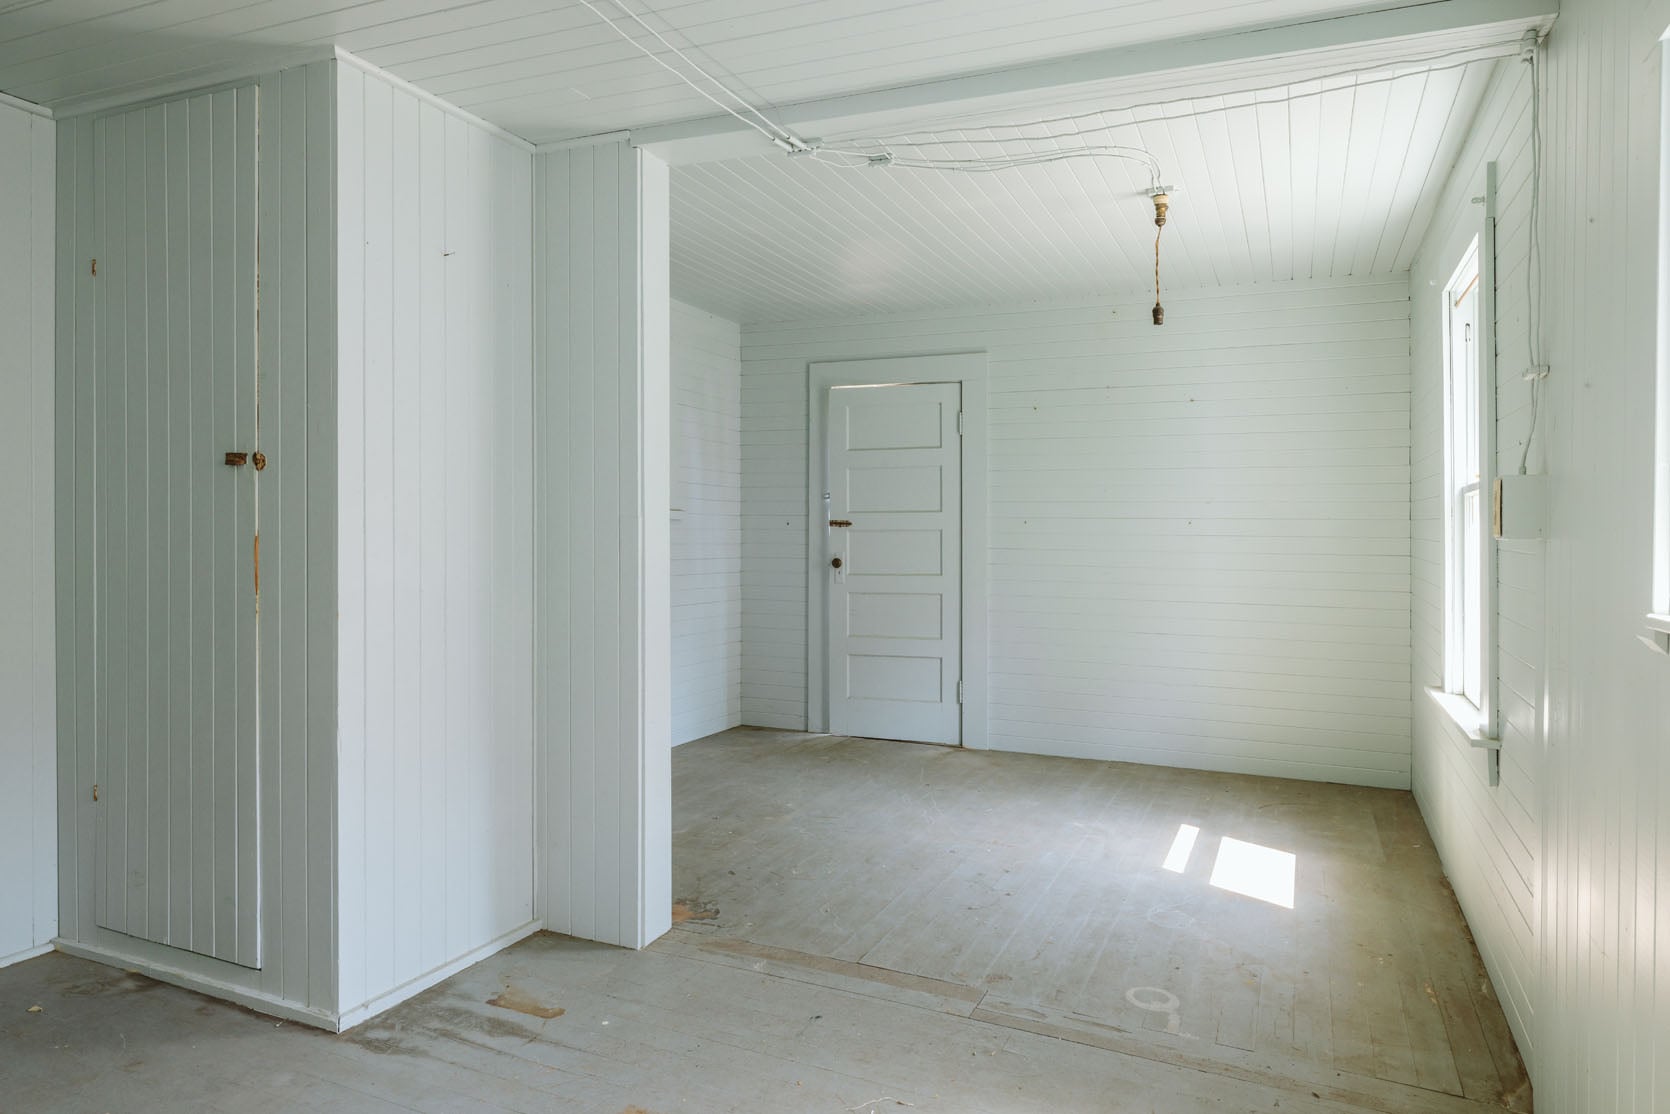
I still don’t know the purpose of this room – it honestly might be a production storage room for now (think rolling racks, C stands, large bolts of fabric, and all the bigger stuff that clutters up the prop garage). But it could also be a sleeping porch in the future. Regardless, the flooring has been painted, and while we could attempt to refinish it, it’s likely layers of lead paint, so instead we are going to encapsulate and paint a pattern.
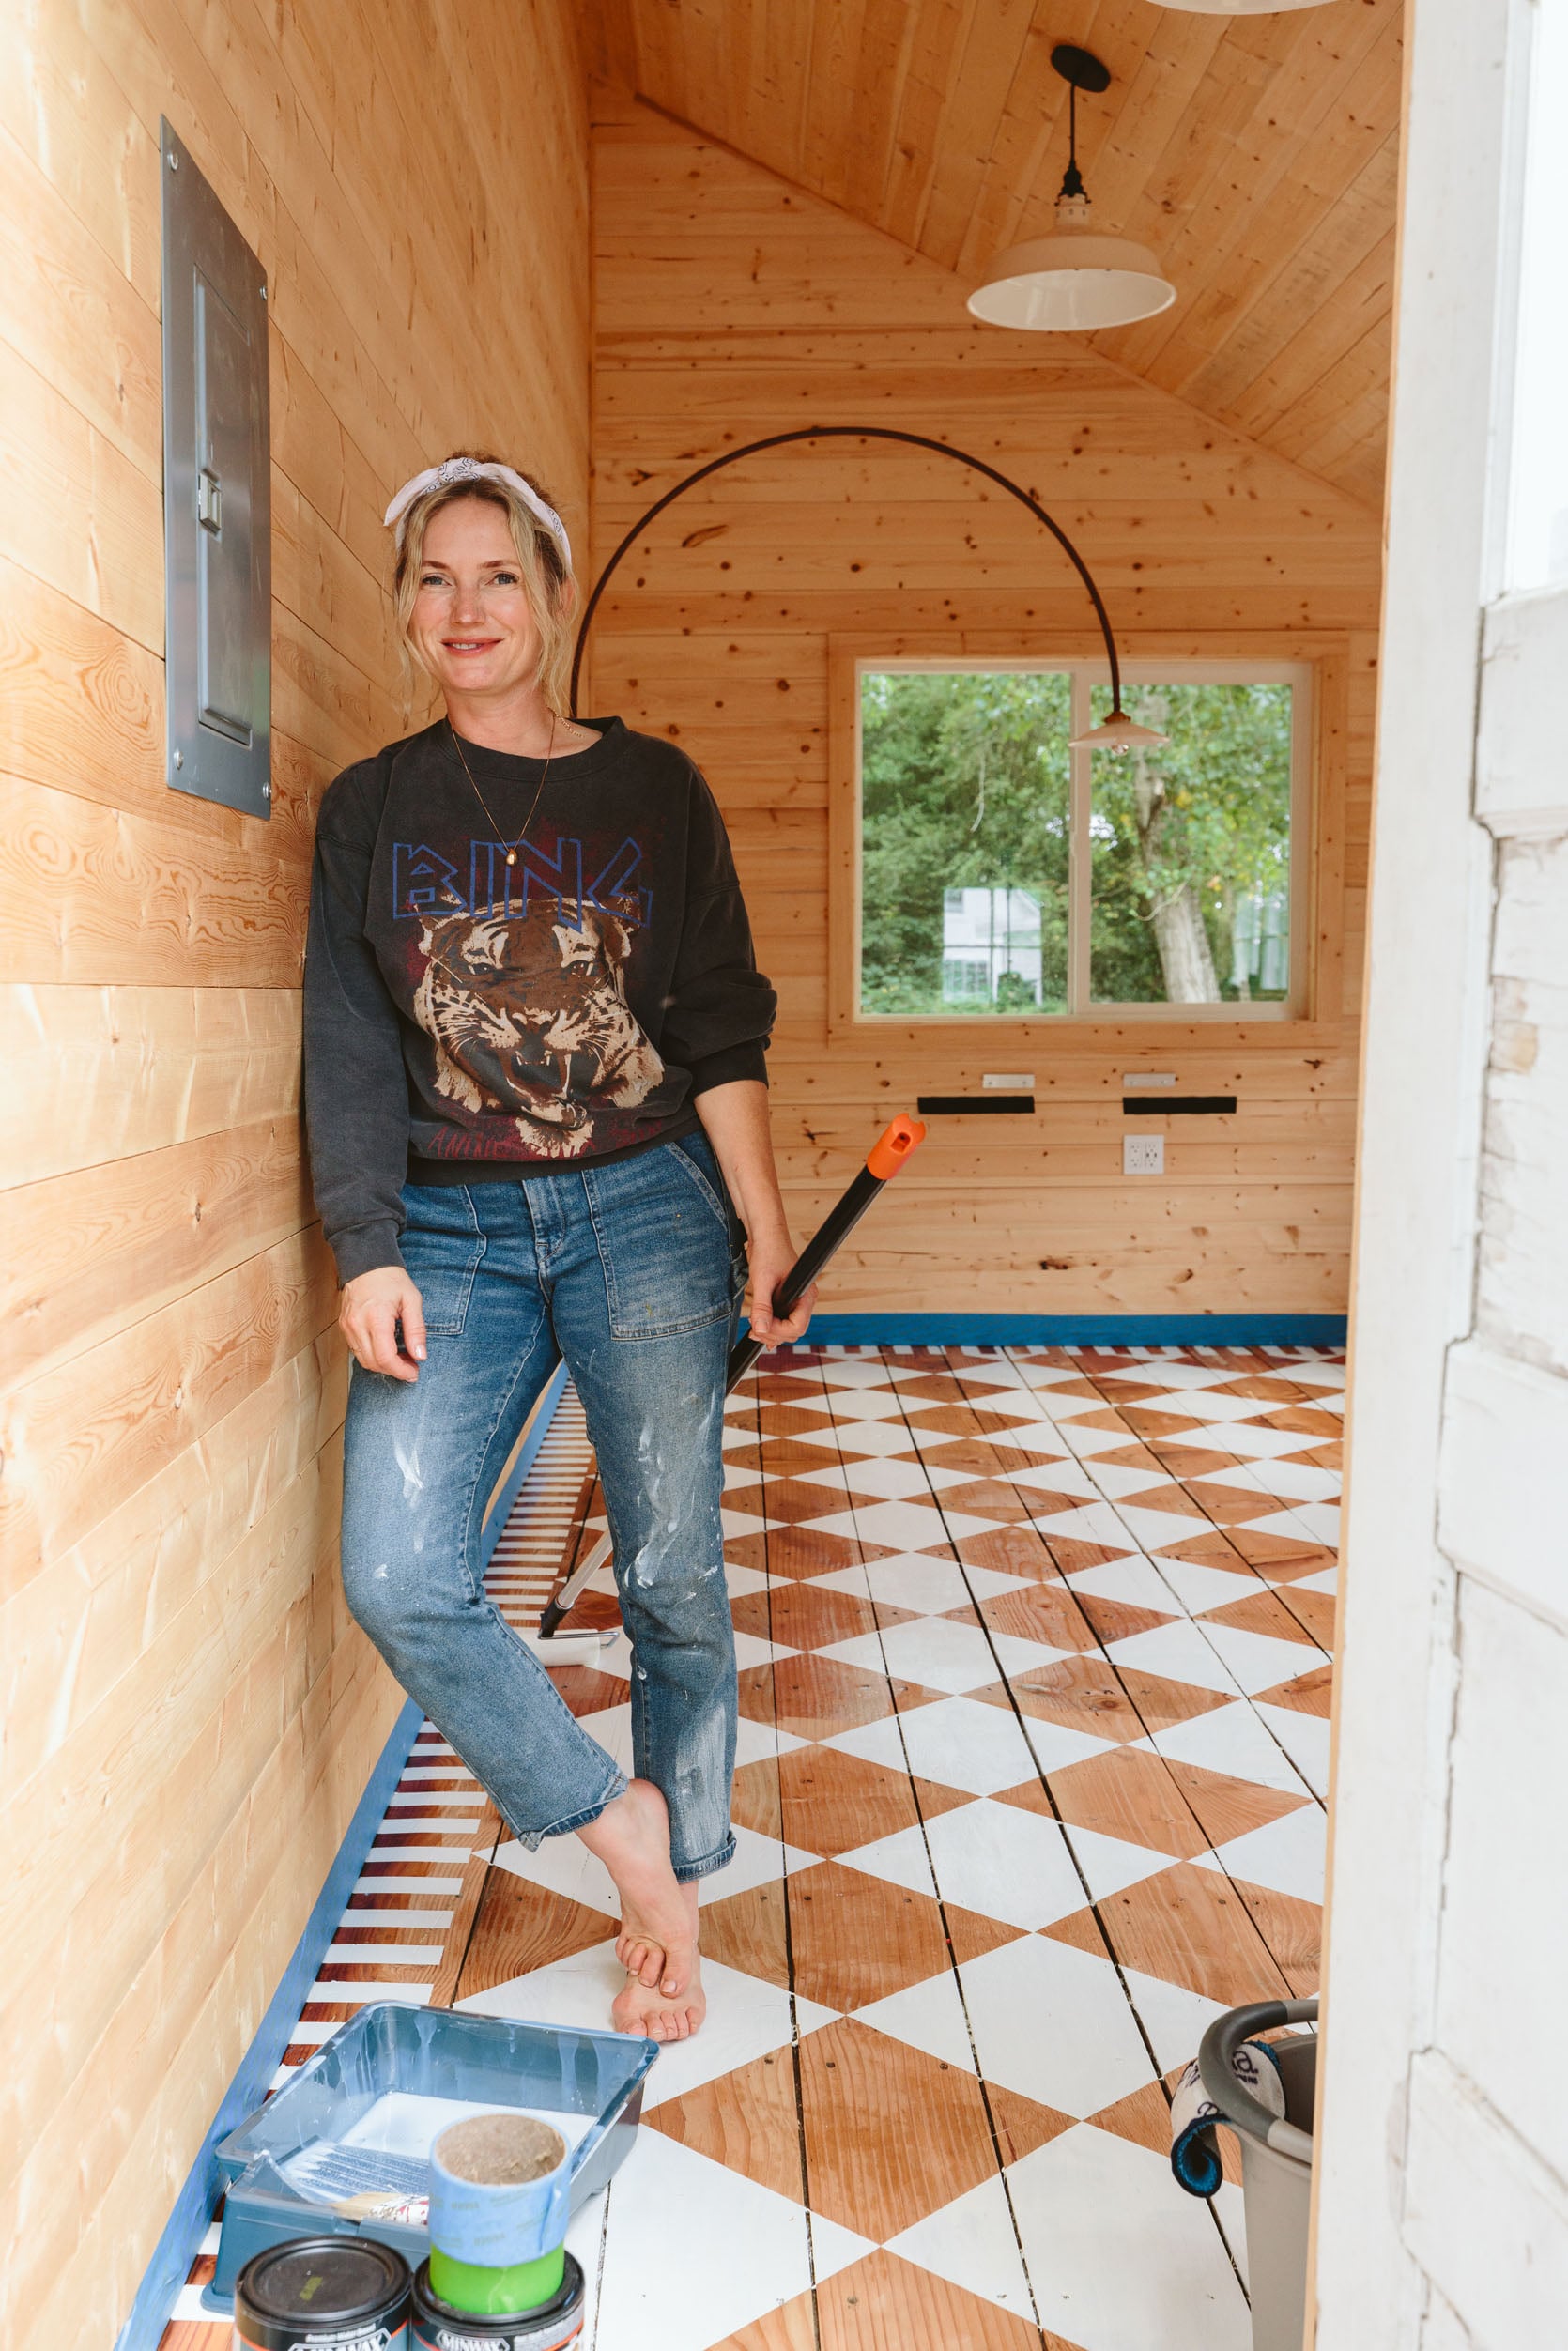
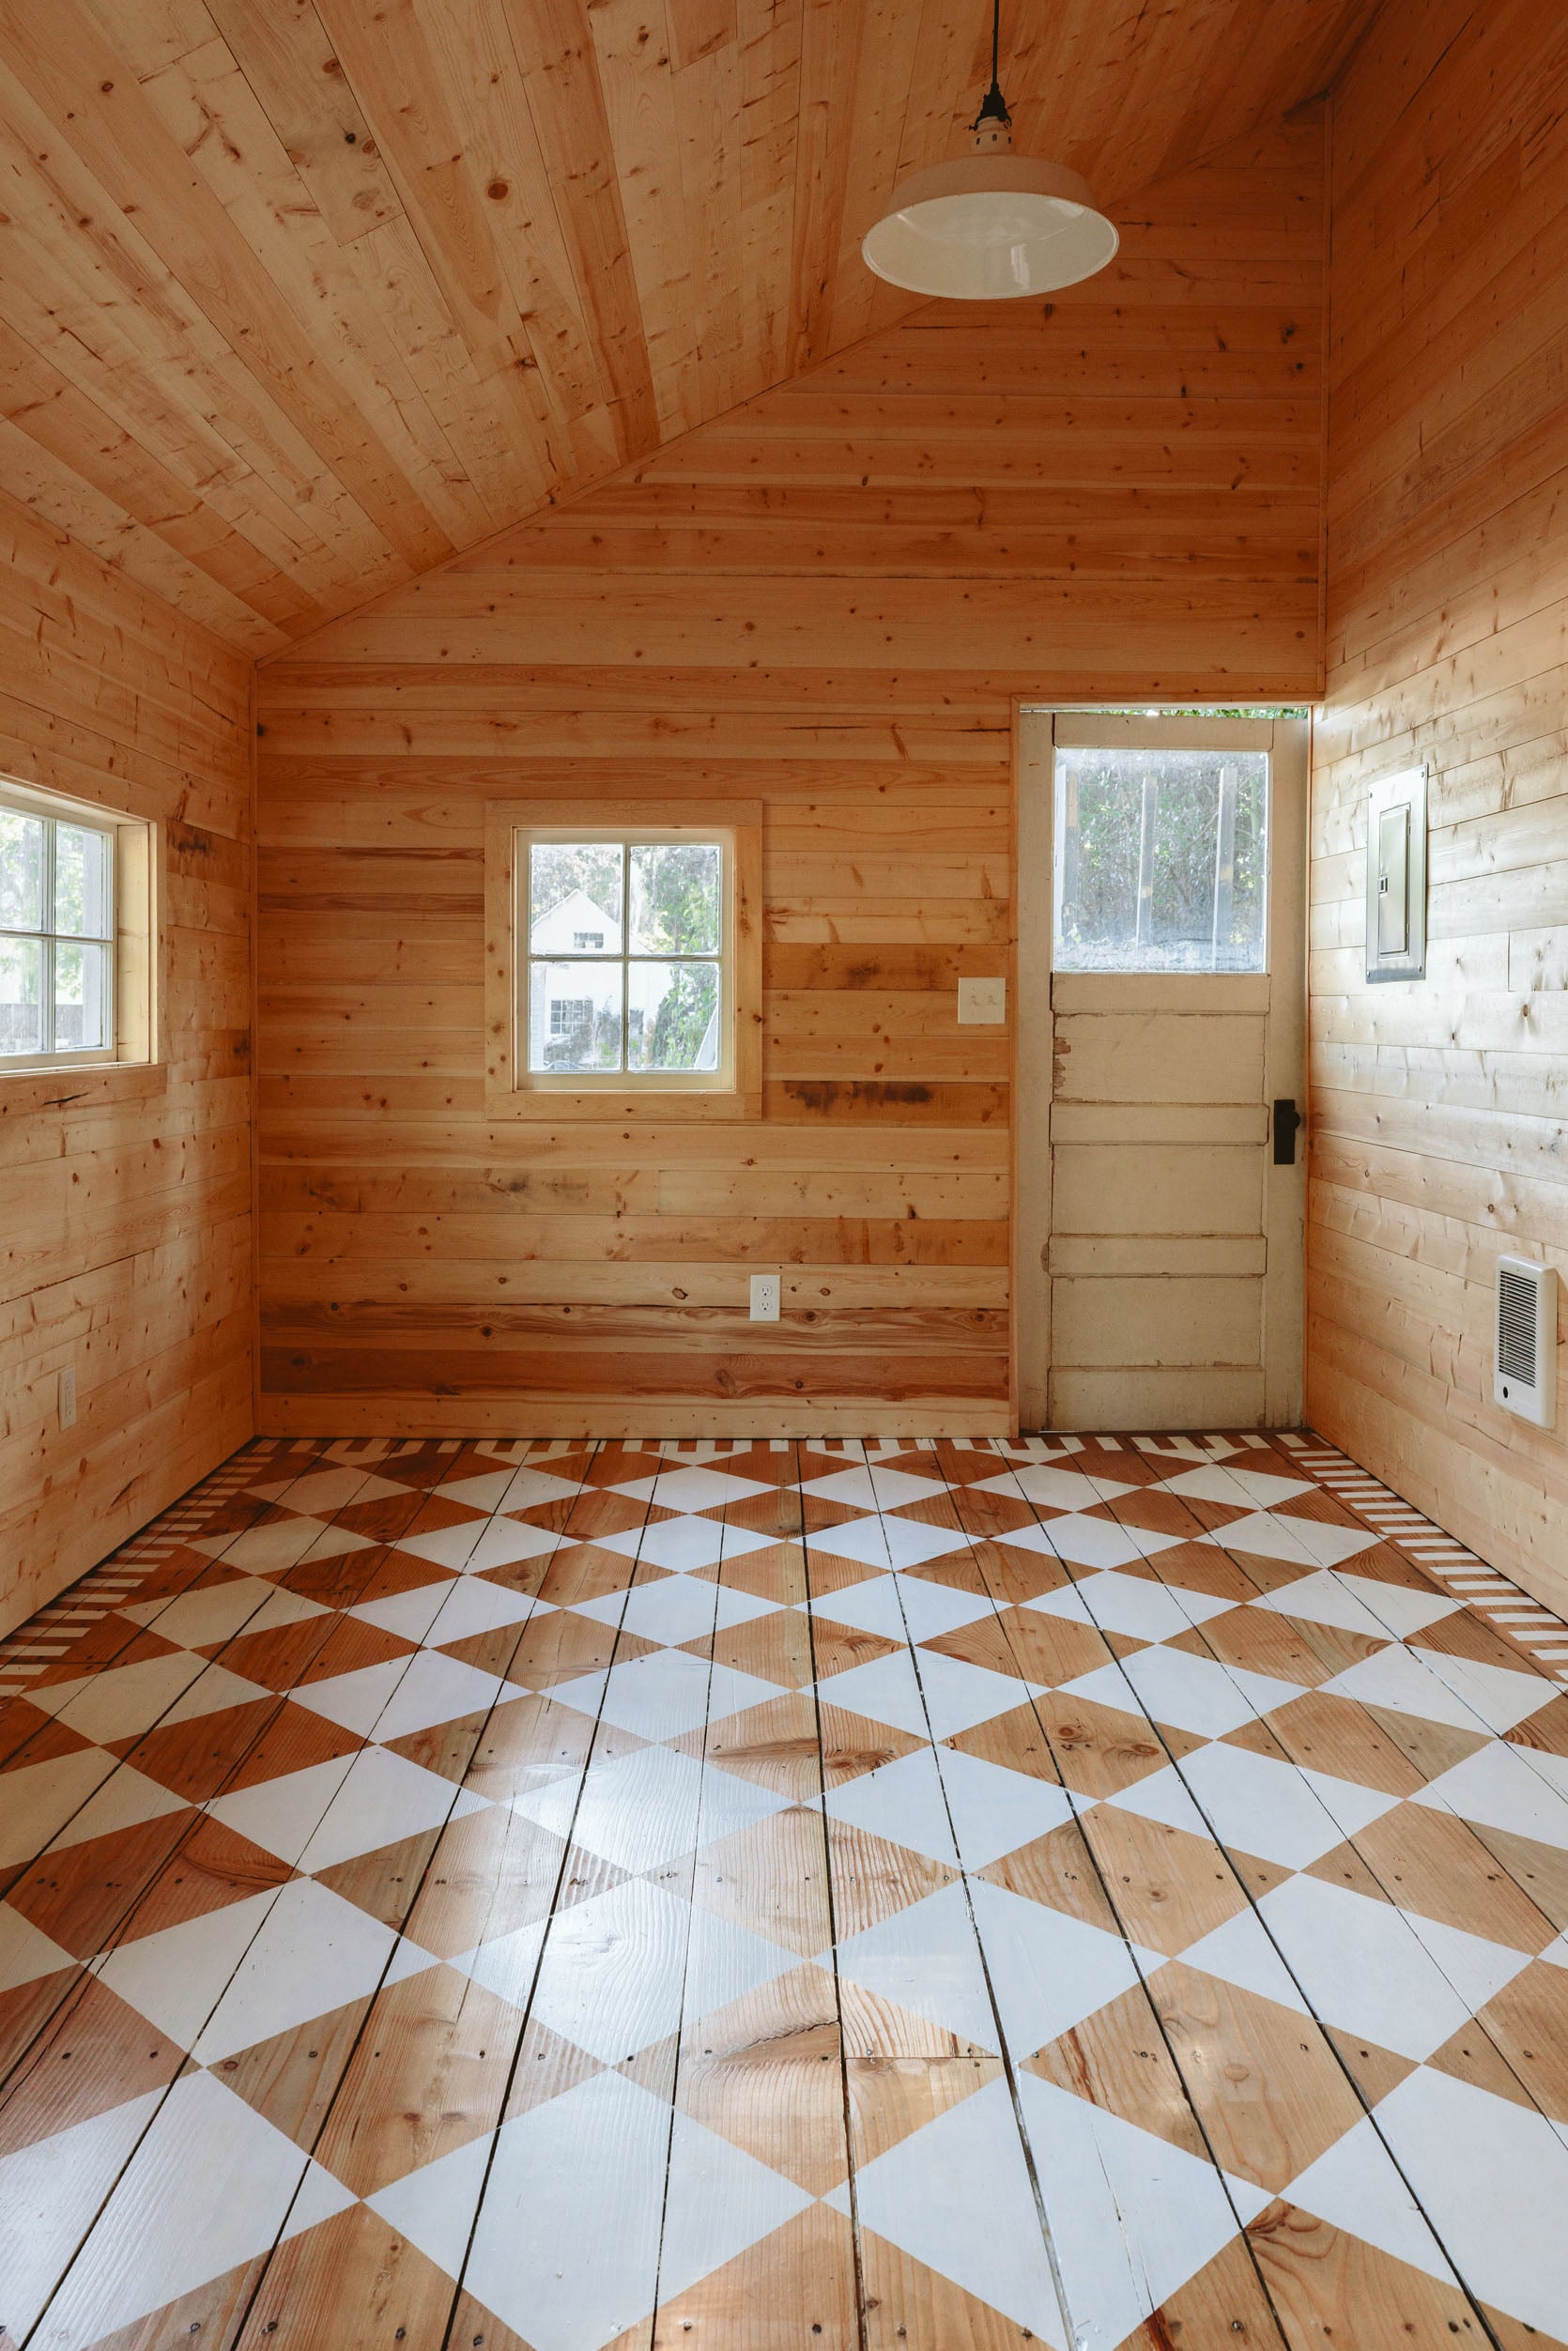
You might remember that we painted a white diamond pattern out in the art barn, and while it took 3 days and we only did one color and sealed the wood, it was so fun, and man, it packs a big punch. So we are hoping to take it to the next level and do a pattern on the floor in here to add color, whimsy, and to cover up the originally painted wood floor that is icky.
But the question is which direction to go in. I’ve wanted to play more in the folk art realm, think Scandinavian floral motifs. Now you’d think that is above my skill level (I’m honestly a terrible artist), but I found so many stencils that could help. Here are the ones that I’m loving.
I love this one so much because it marries the more graphic, simple but punchy pattern with an element of cottage twee that is so sweet (and it feels doable, tbh). I’m not going to do any sort of intricate floor mural (also because it will still be covered with life stuff, so that doesn’t make sense to me).
This is very tempting (and honestly, I might do this on the landing in the main house as a border – so cute!. It’s a quilt motif that feels more Americana appropriate, and I like the opportunity to add more color while still feeling doable (If this isn’t a readymade stencil, then we’d make one).
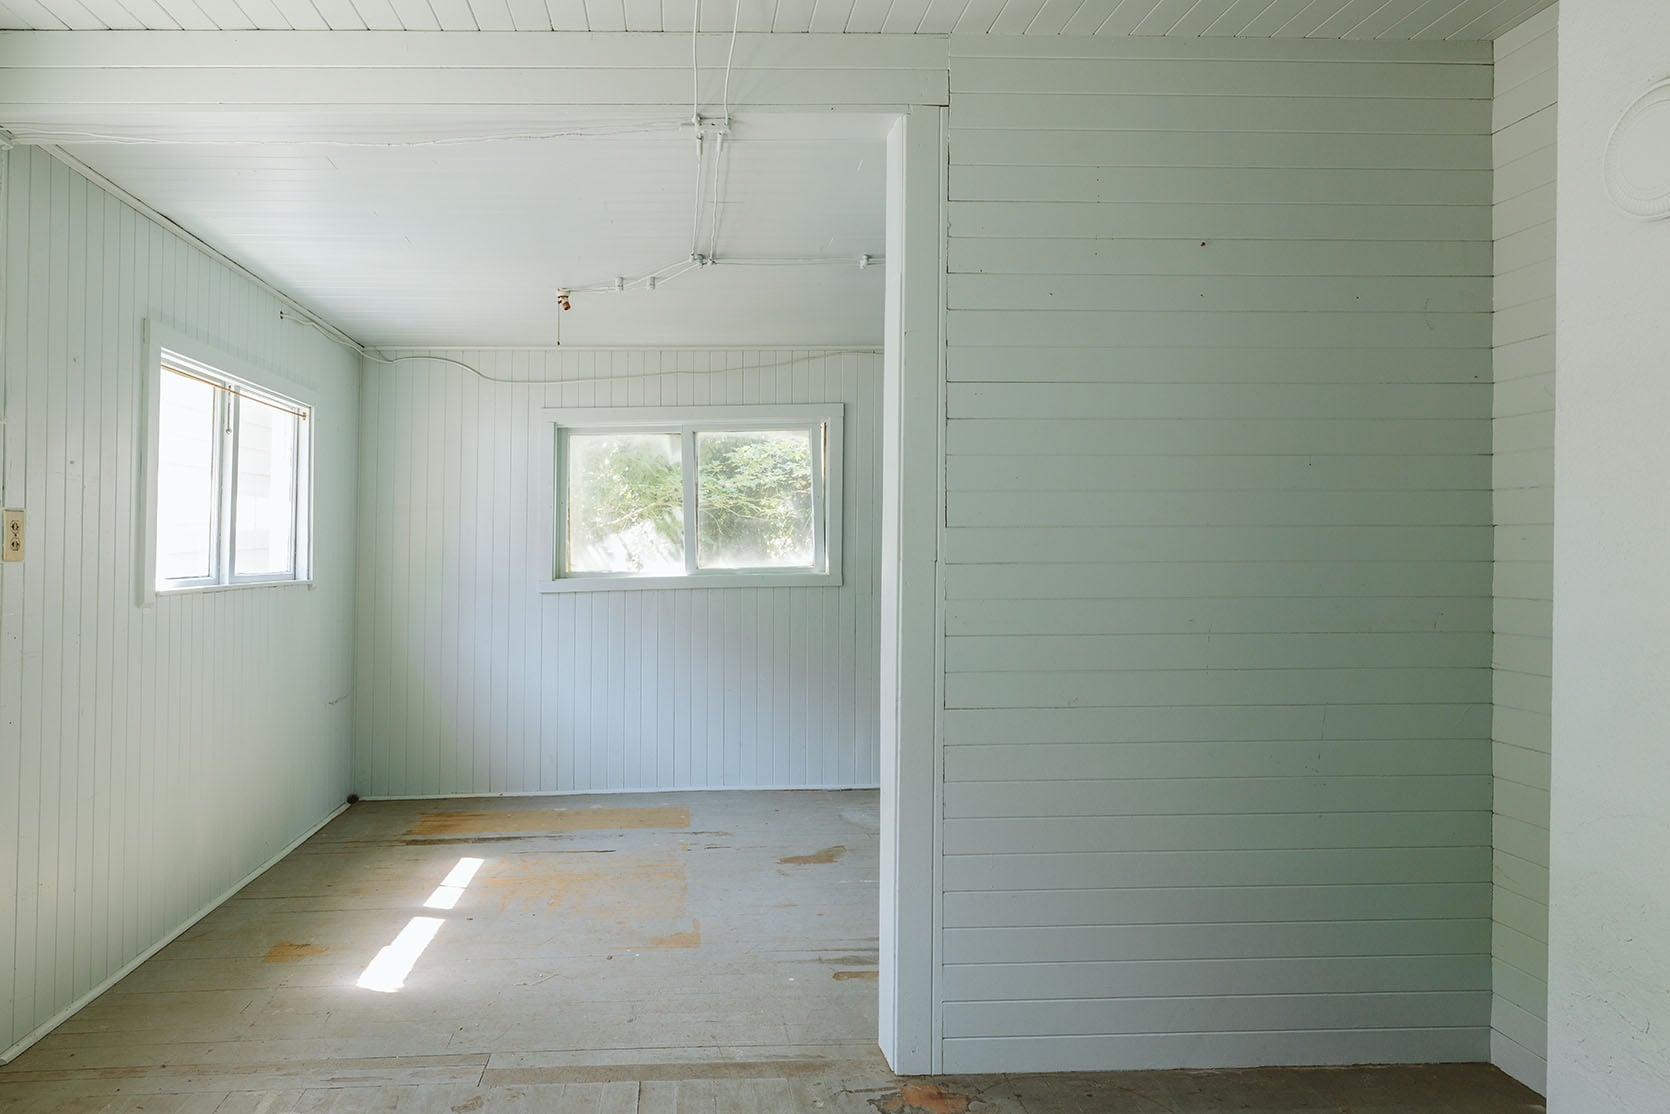
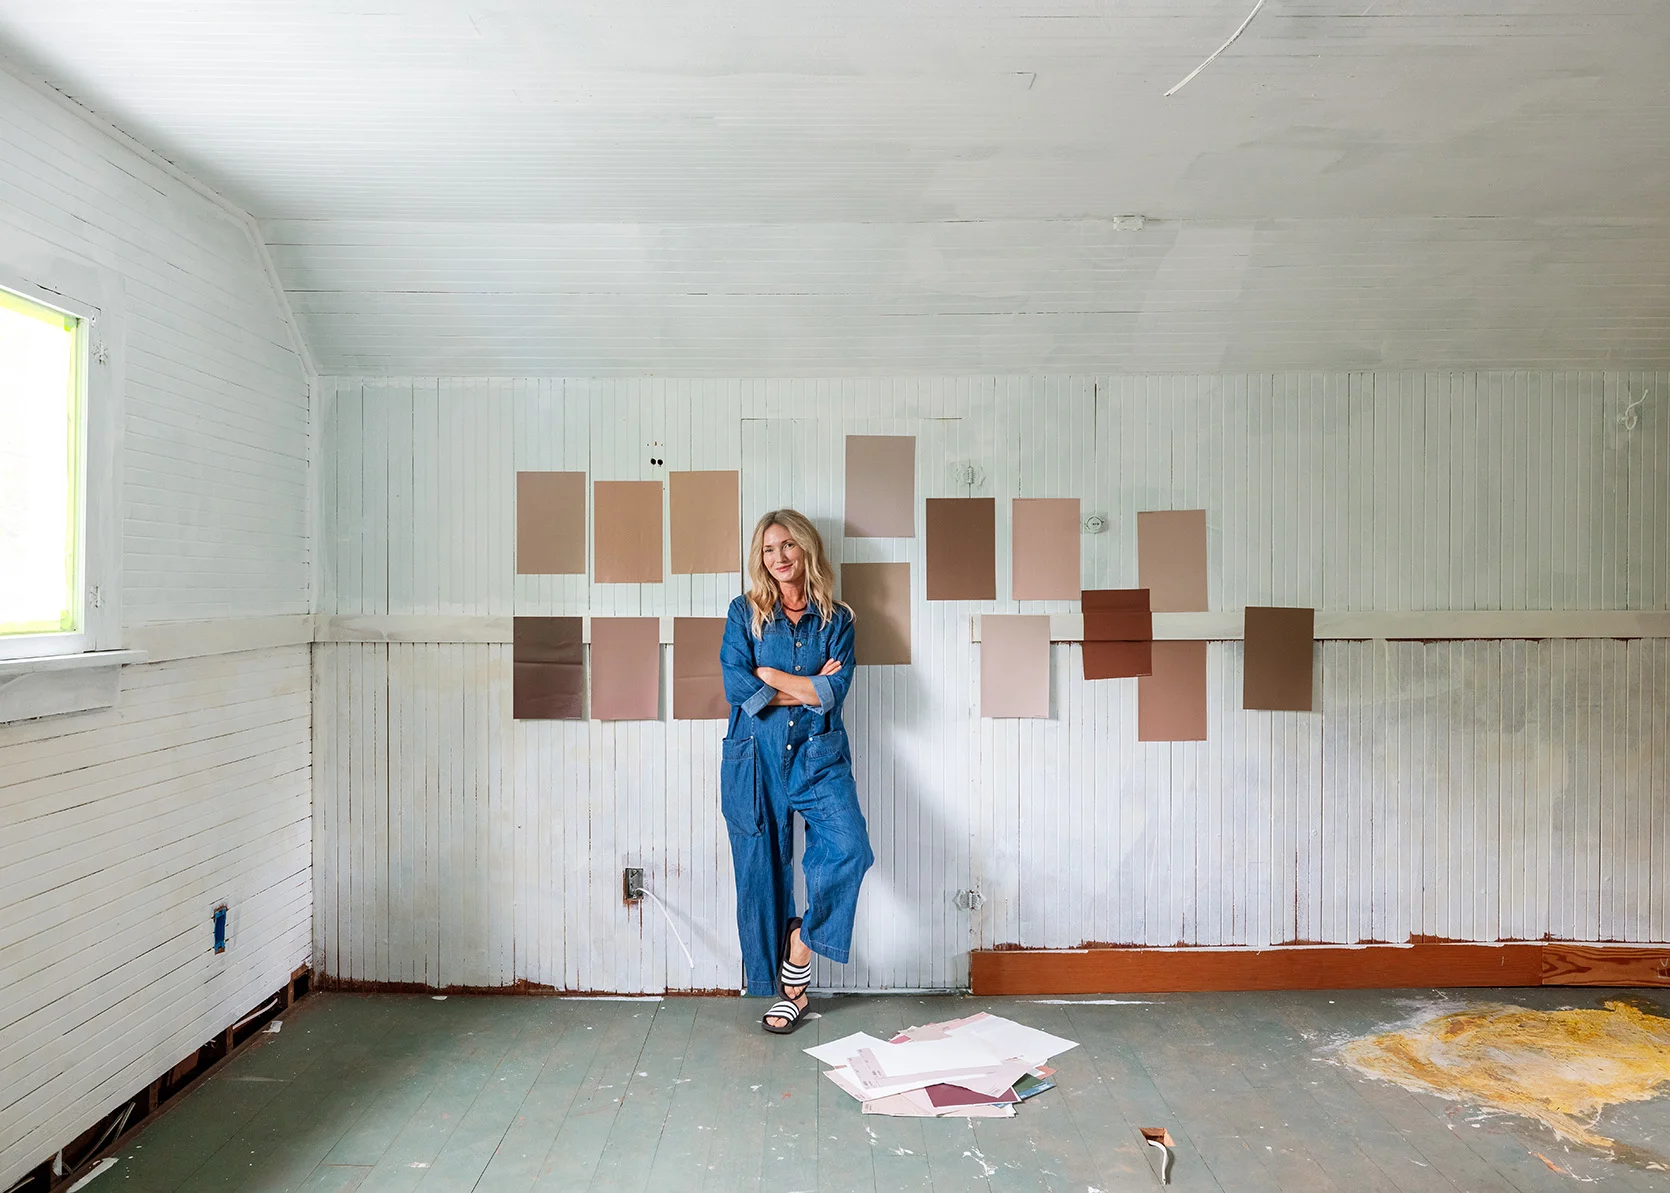
I just think this room is a great opportunity to do something creative on the floor and add a big pattern and some color. I could see mustard, blue, mauves. While we could totally change the wall color in here, we actually really love it (it would need repainting). We painted it a similar color to what it was before, giving it a fresh coat (it’s called Rainwashed by Sherwin-Williams). It’s a really soft pastel blue/green that is such a fresh and clean vibe.
The Stairs
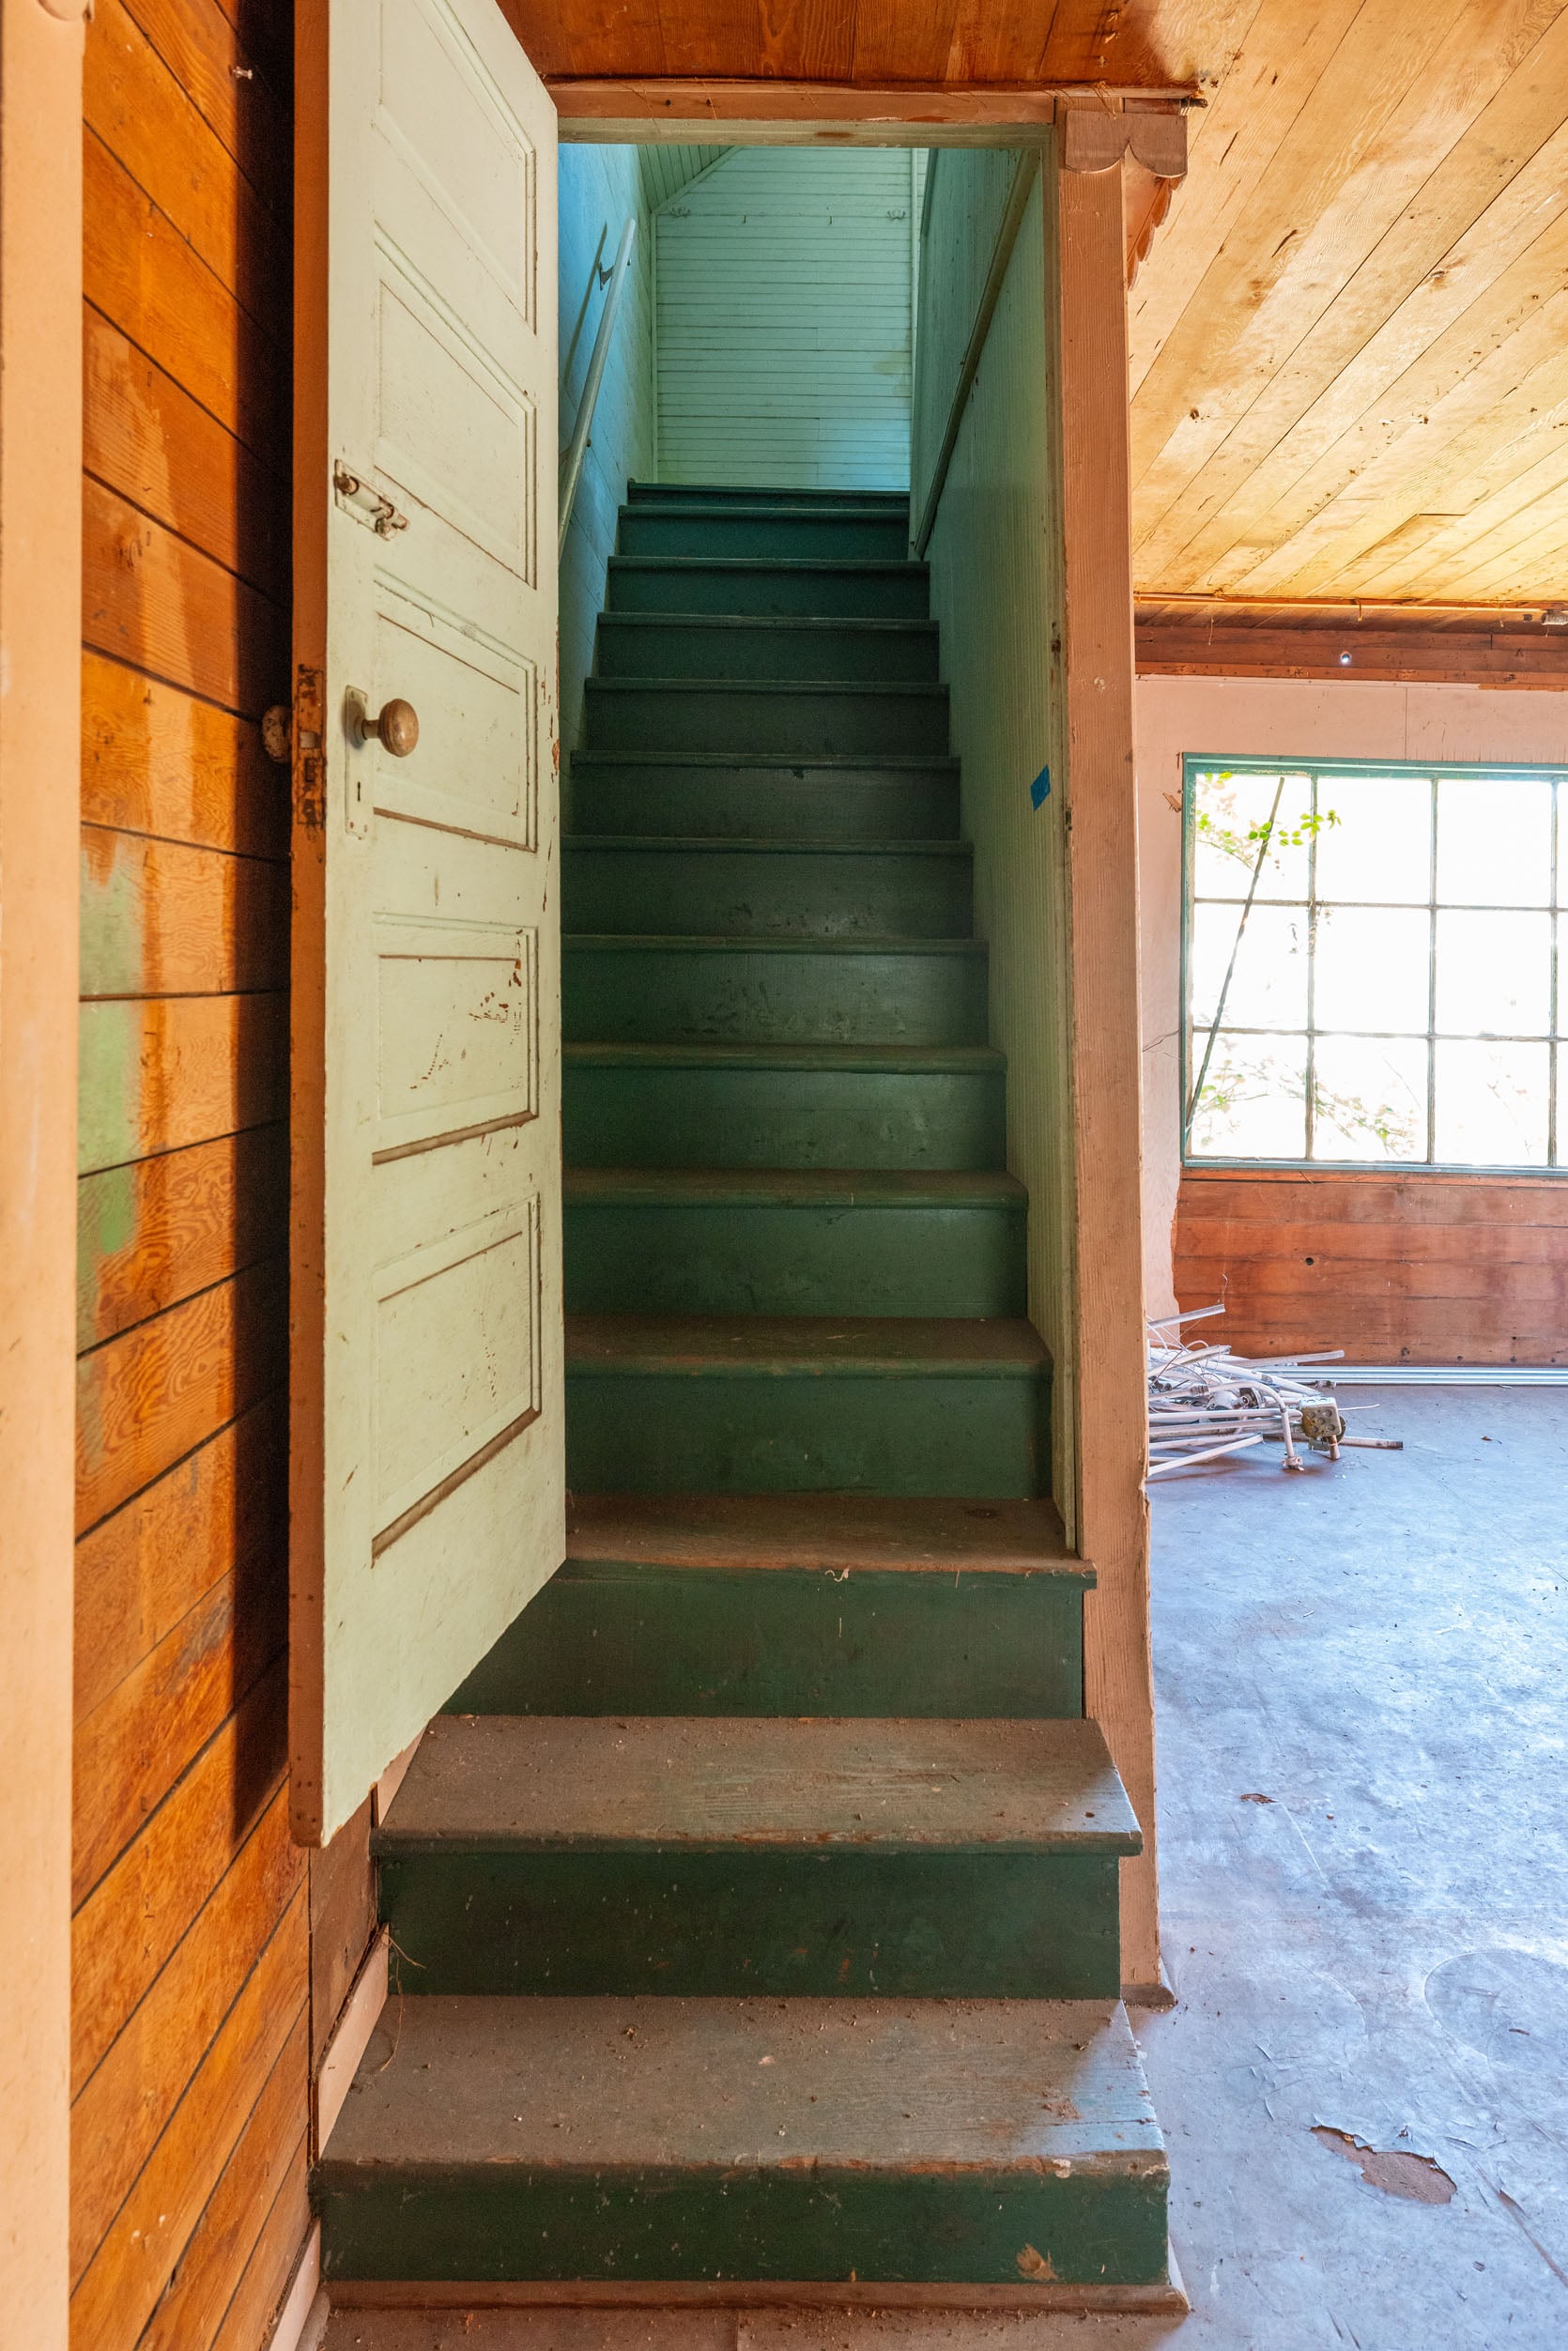
I think the stairs are such a fun opportunity for color and pattern. I’m thinking that the tread would be a solid color, and then to do a stencil on the risers. Now the only hesitation that I have is that the overall art direction of the house has shifted from Scandi cottage to something else, since the bathroom is more graphic and punchy, rather than sweet and cottagey. But I also think I can do whatever I want, and if executed well and within the same vibe-y color palette, it will be awesome.
In the name of “very doable,” this is sweet, caught my eye, and could be a simpler version going horizontally on each riser.
But then you look at this, and that makes me want to do every stair different, or at least do a more floral or old-world design. How cute is that!!
It’s just such a sweet little opportunity for creativity and fun. While it might not happen this summer, it’s on our list for sure.
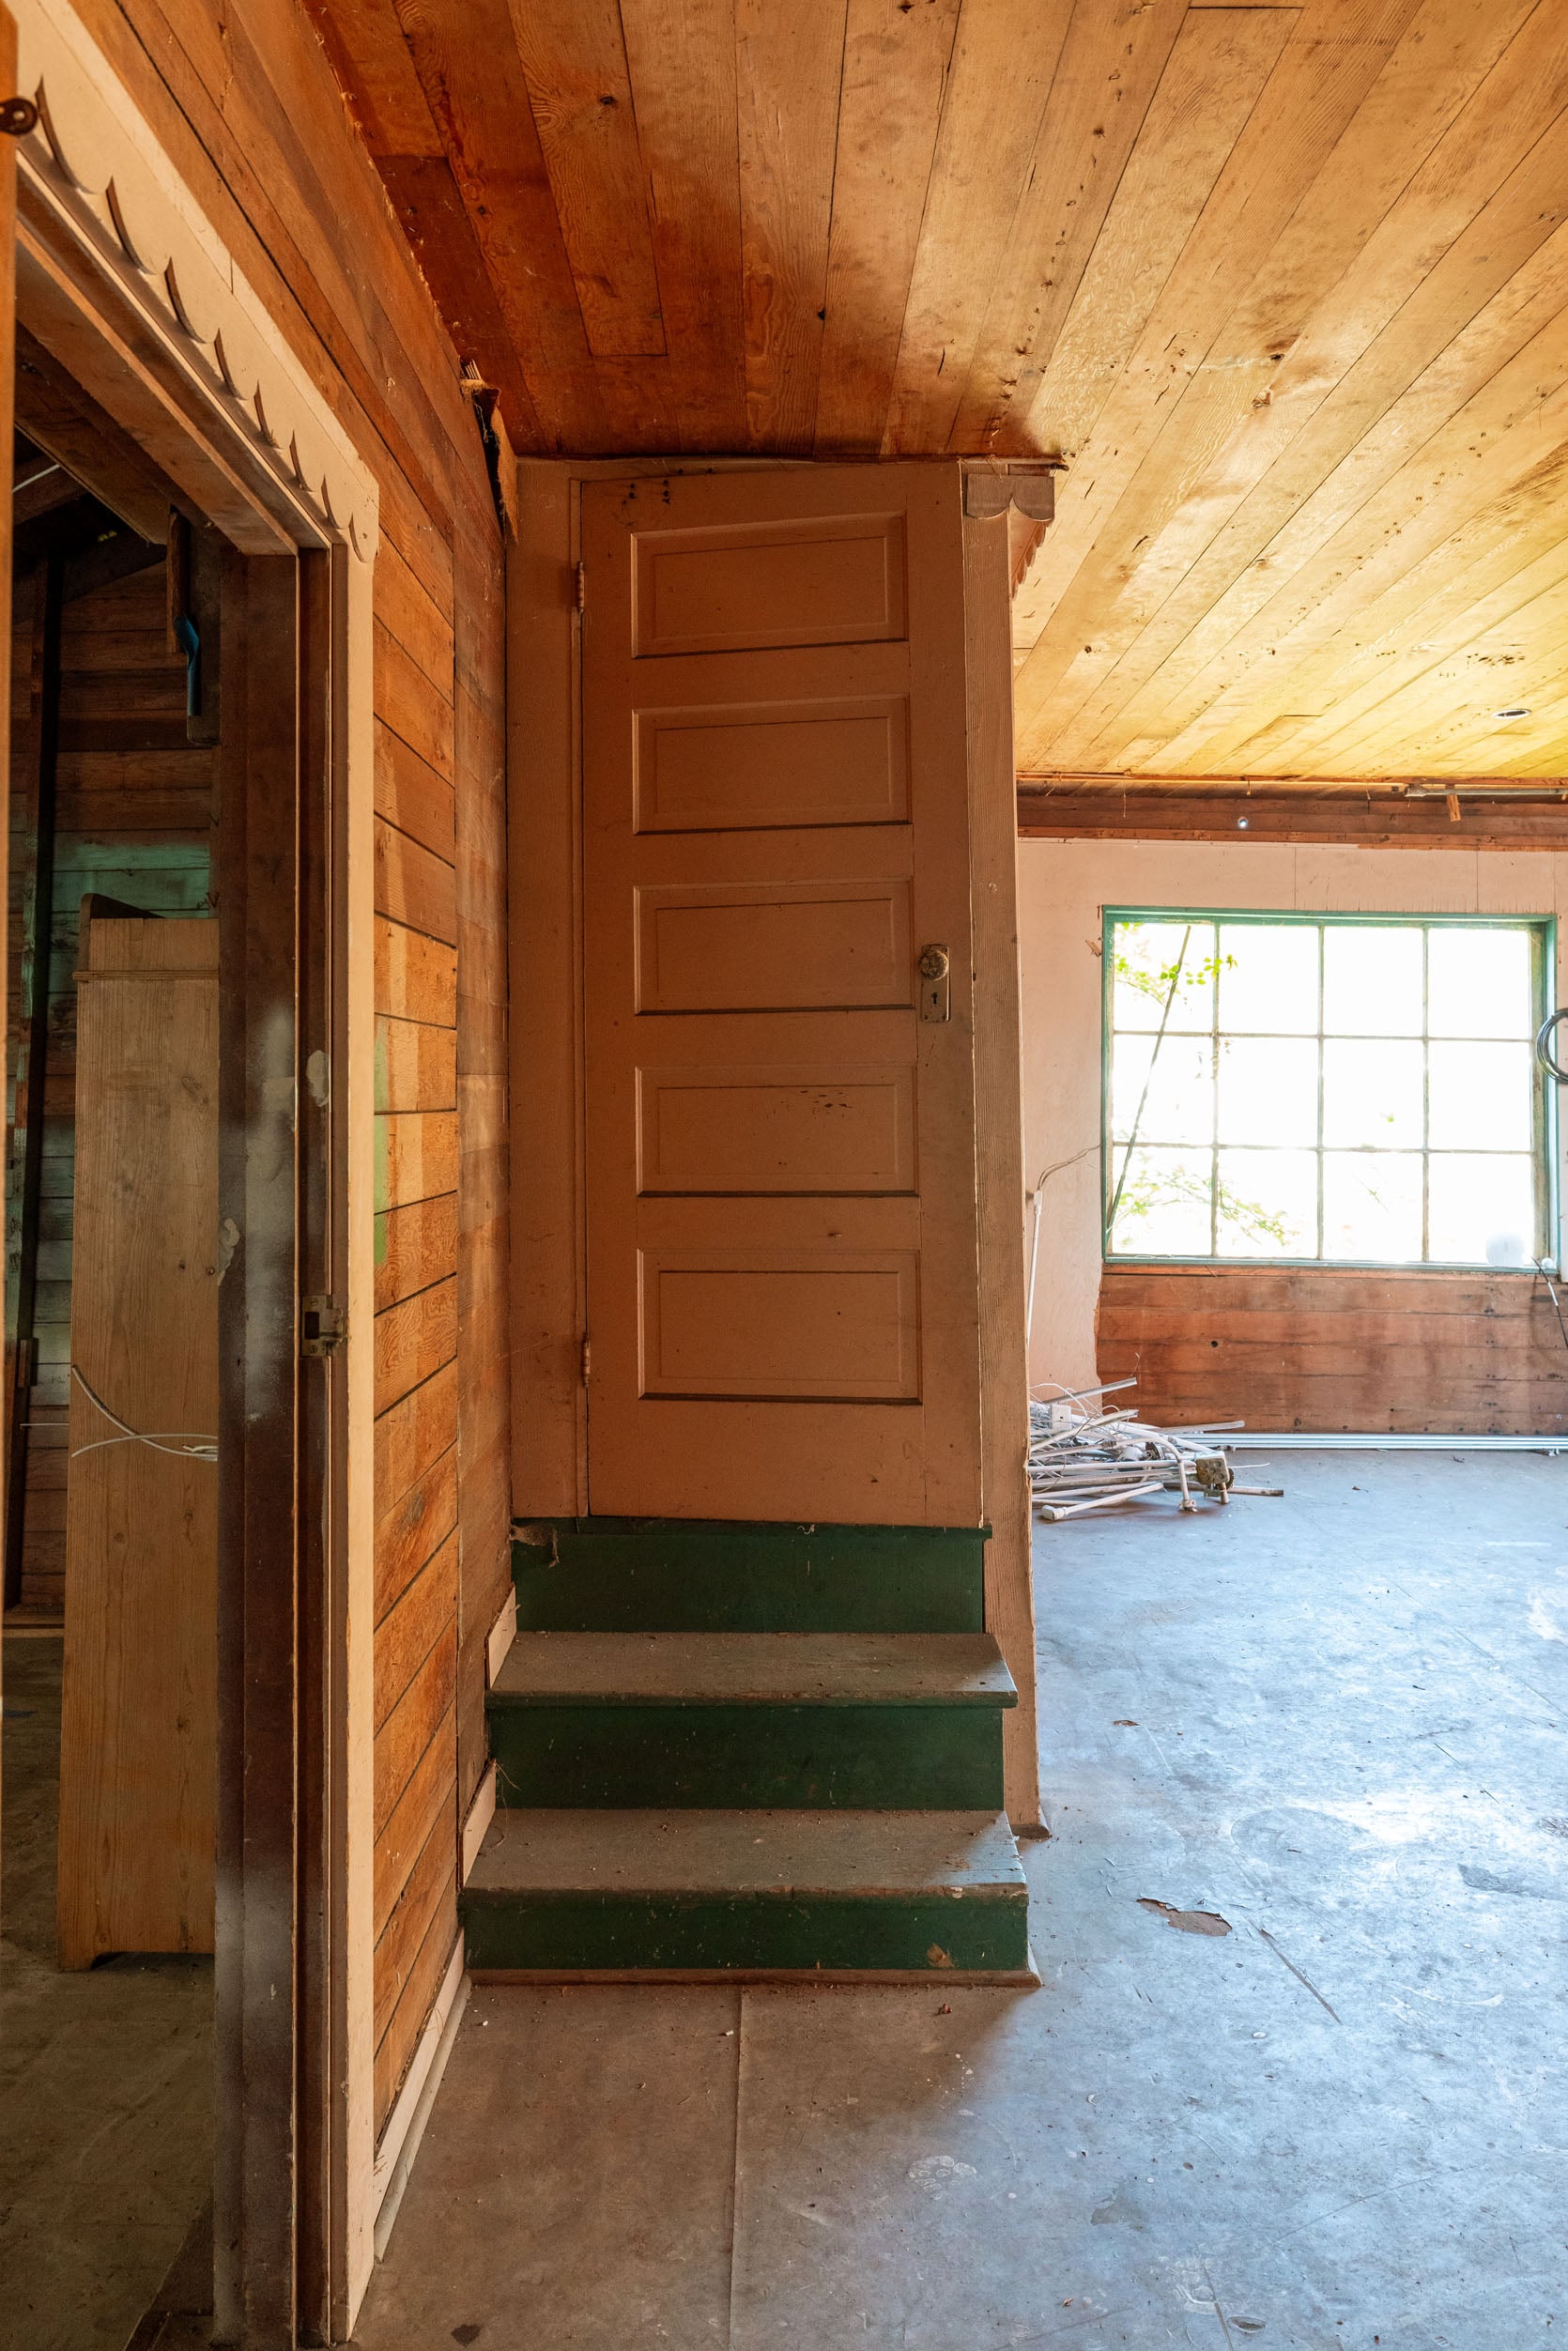
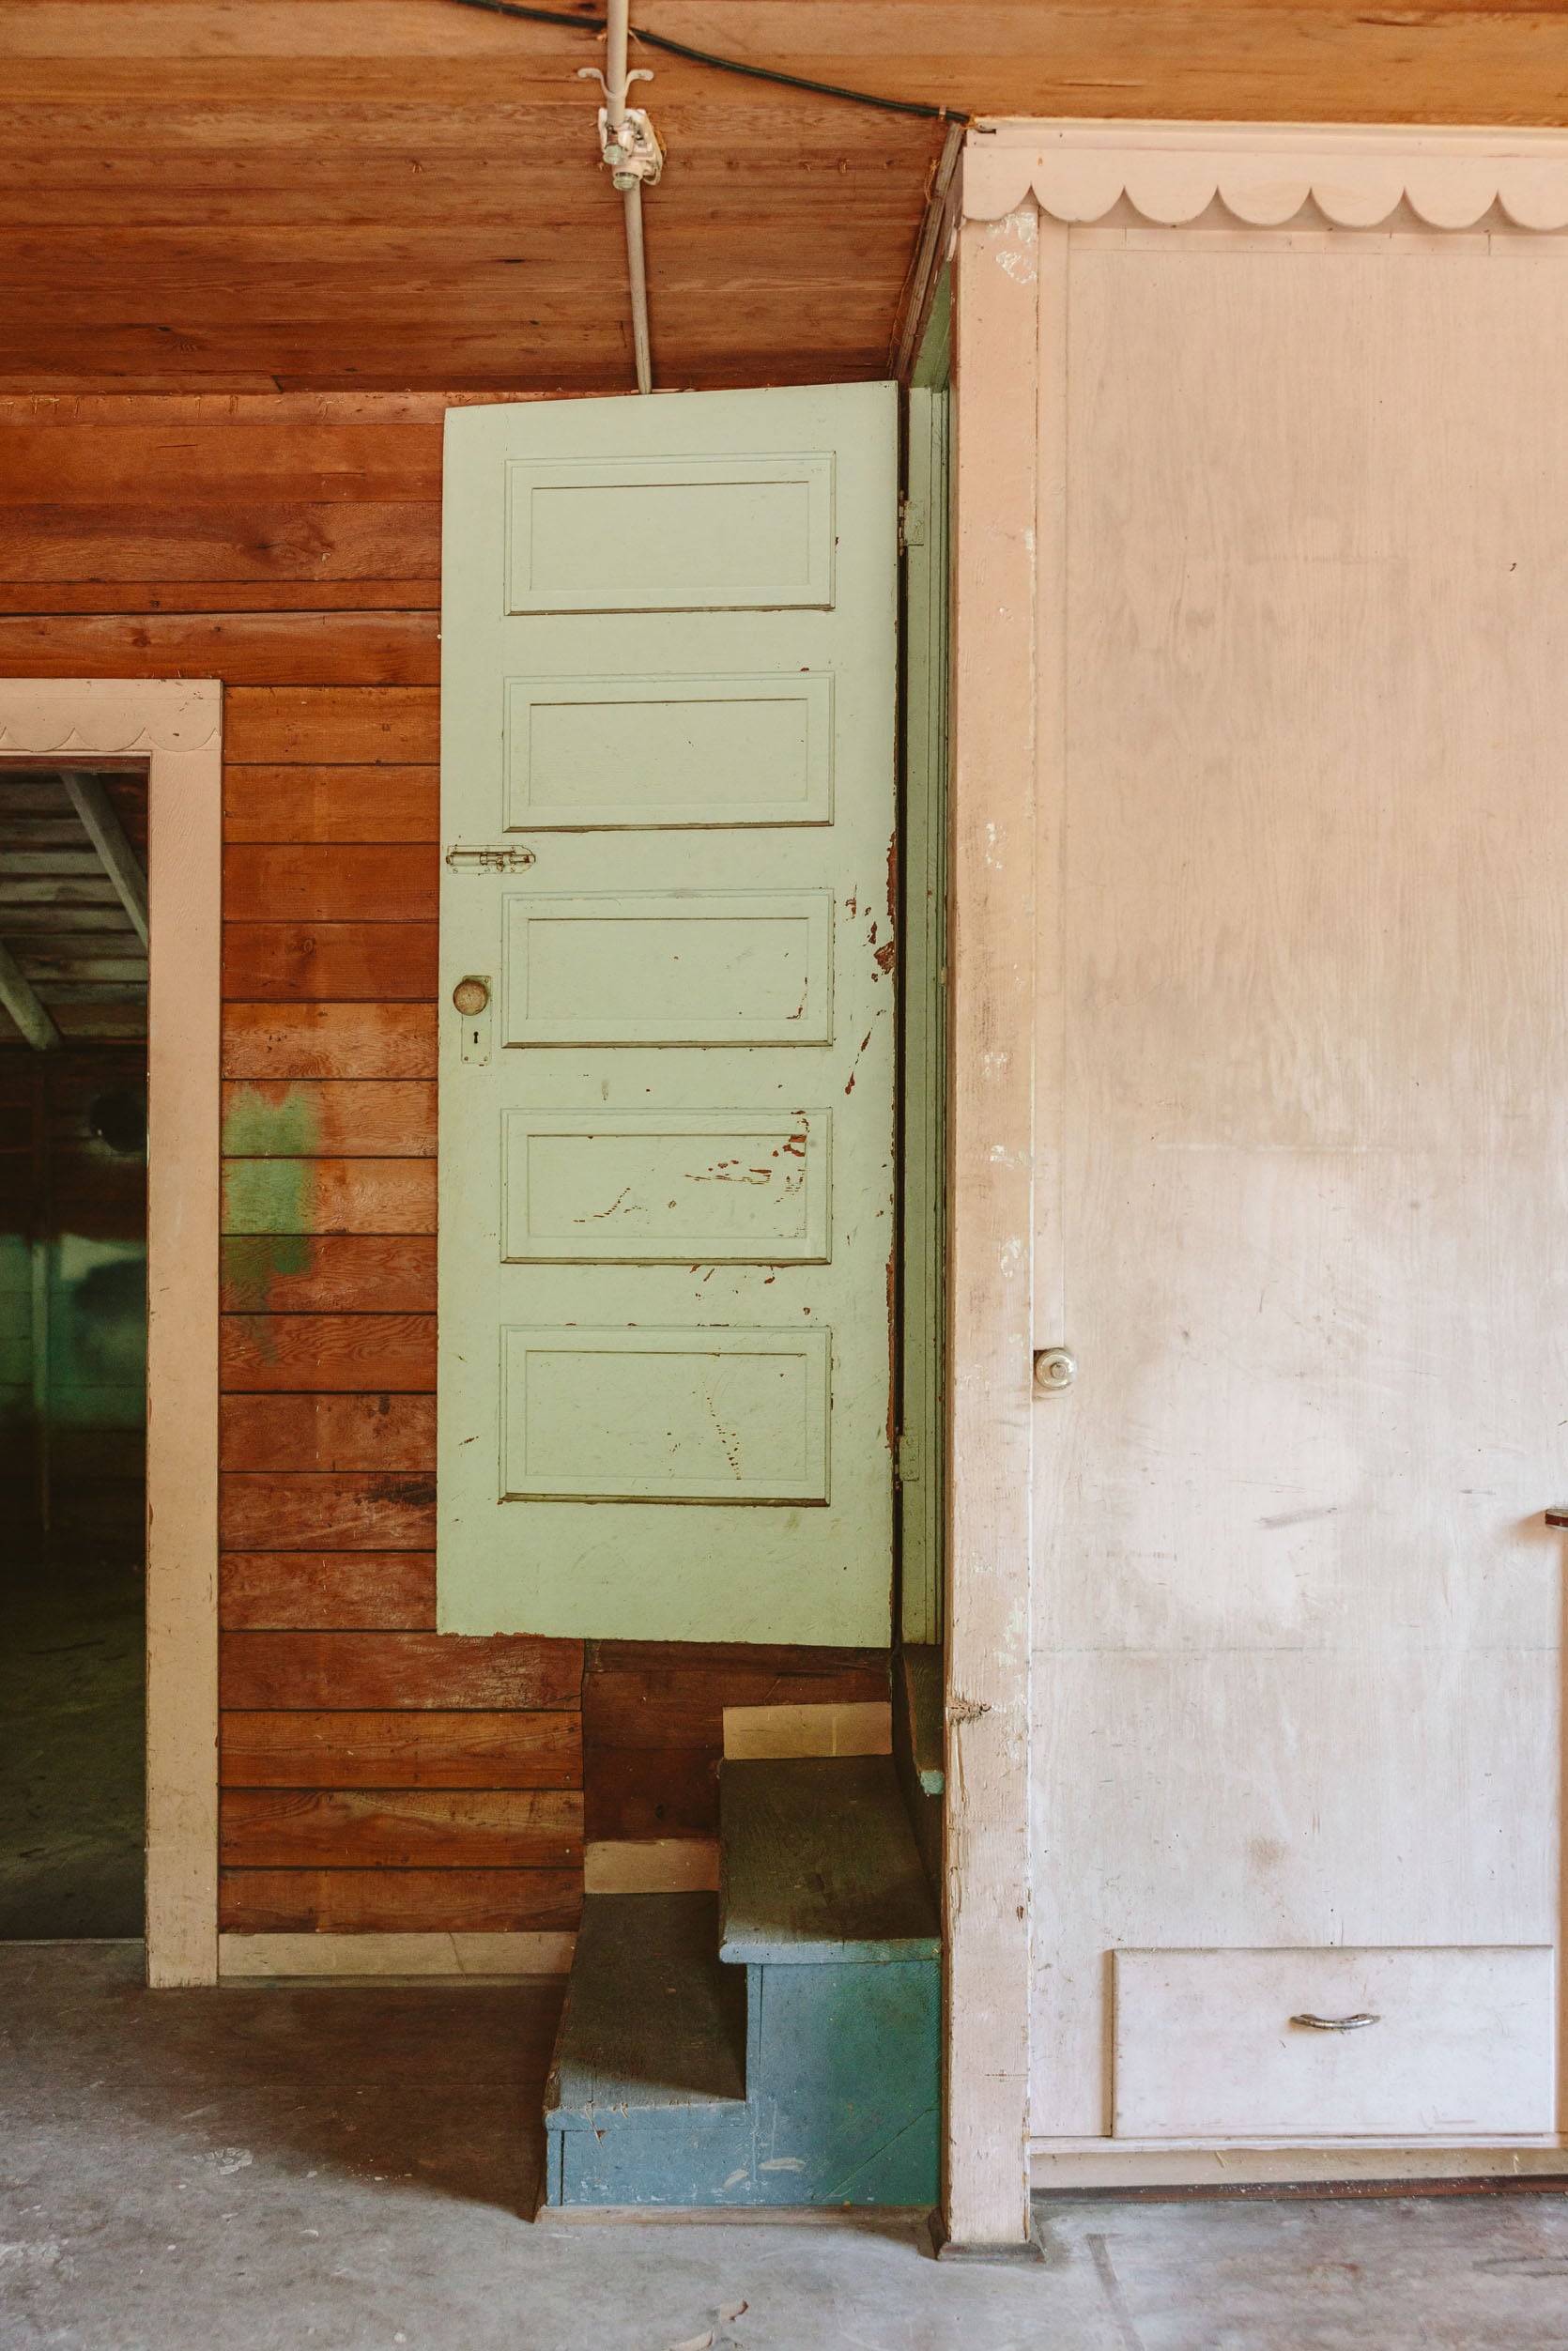
Whatever we do on the stairs has to work with the kitchen and sitting room design, as the stairs peek into the room (in the cutest way). It should be noted that the doors are also a great opportunity to do something fun – i.e., stenciled floral motif.
Upstairs Landing
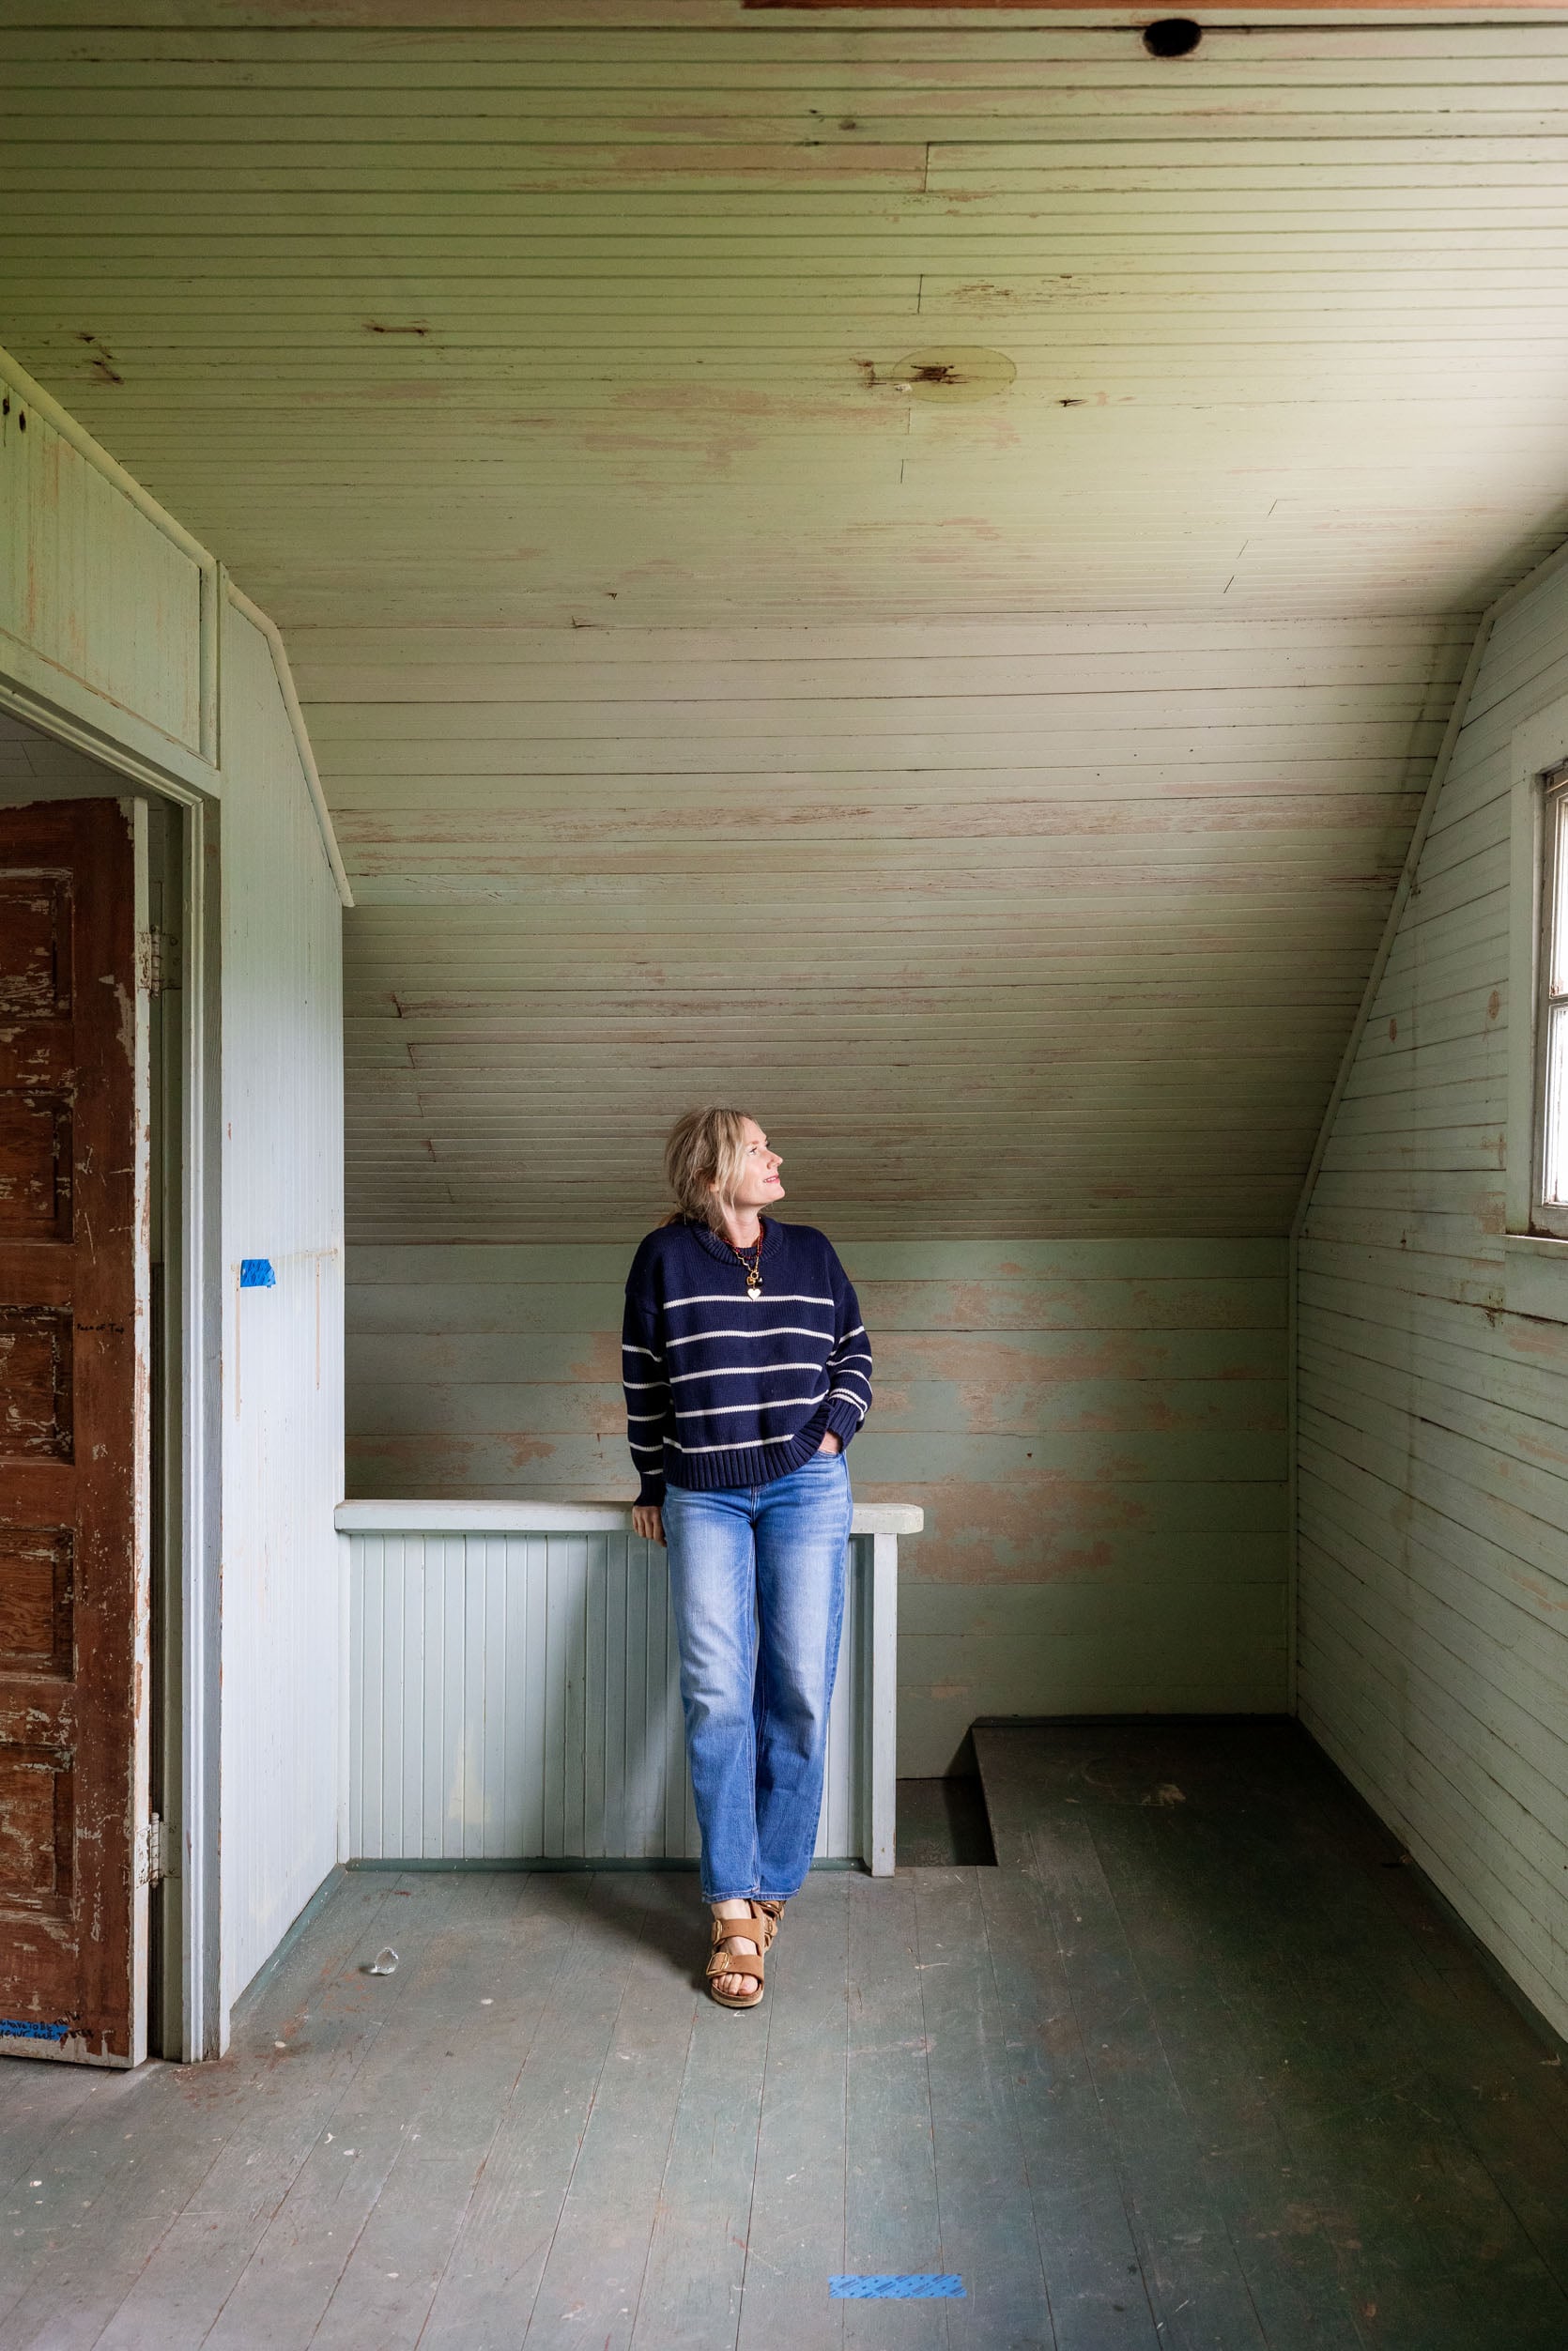
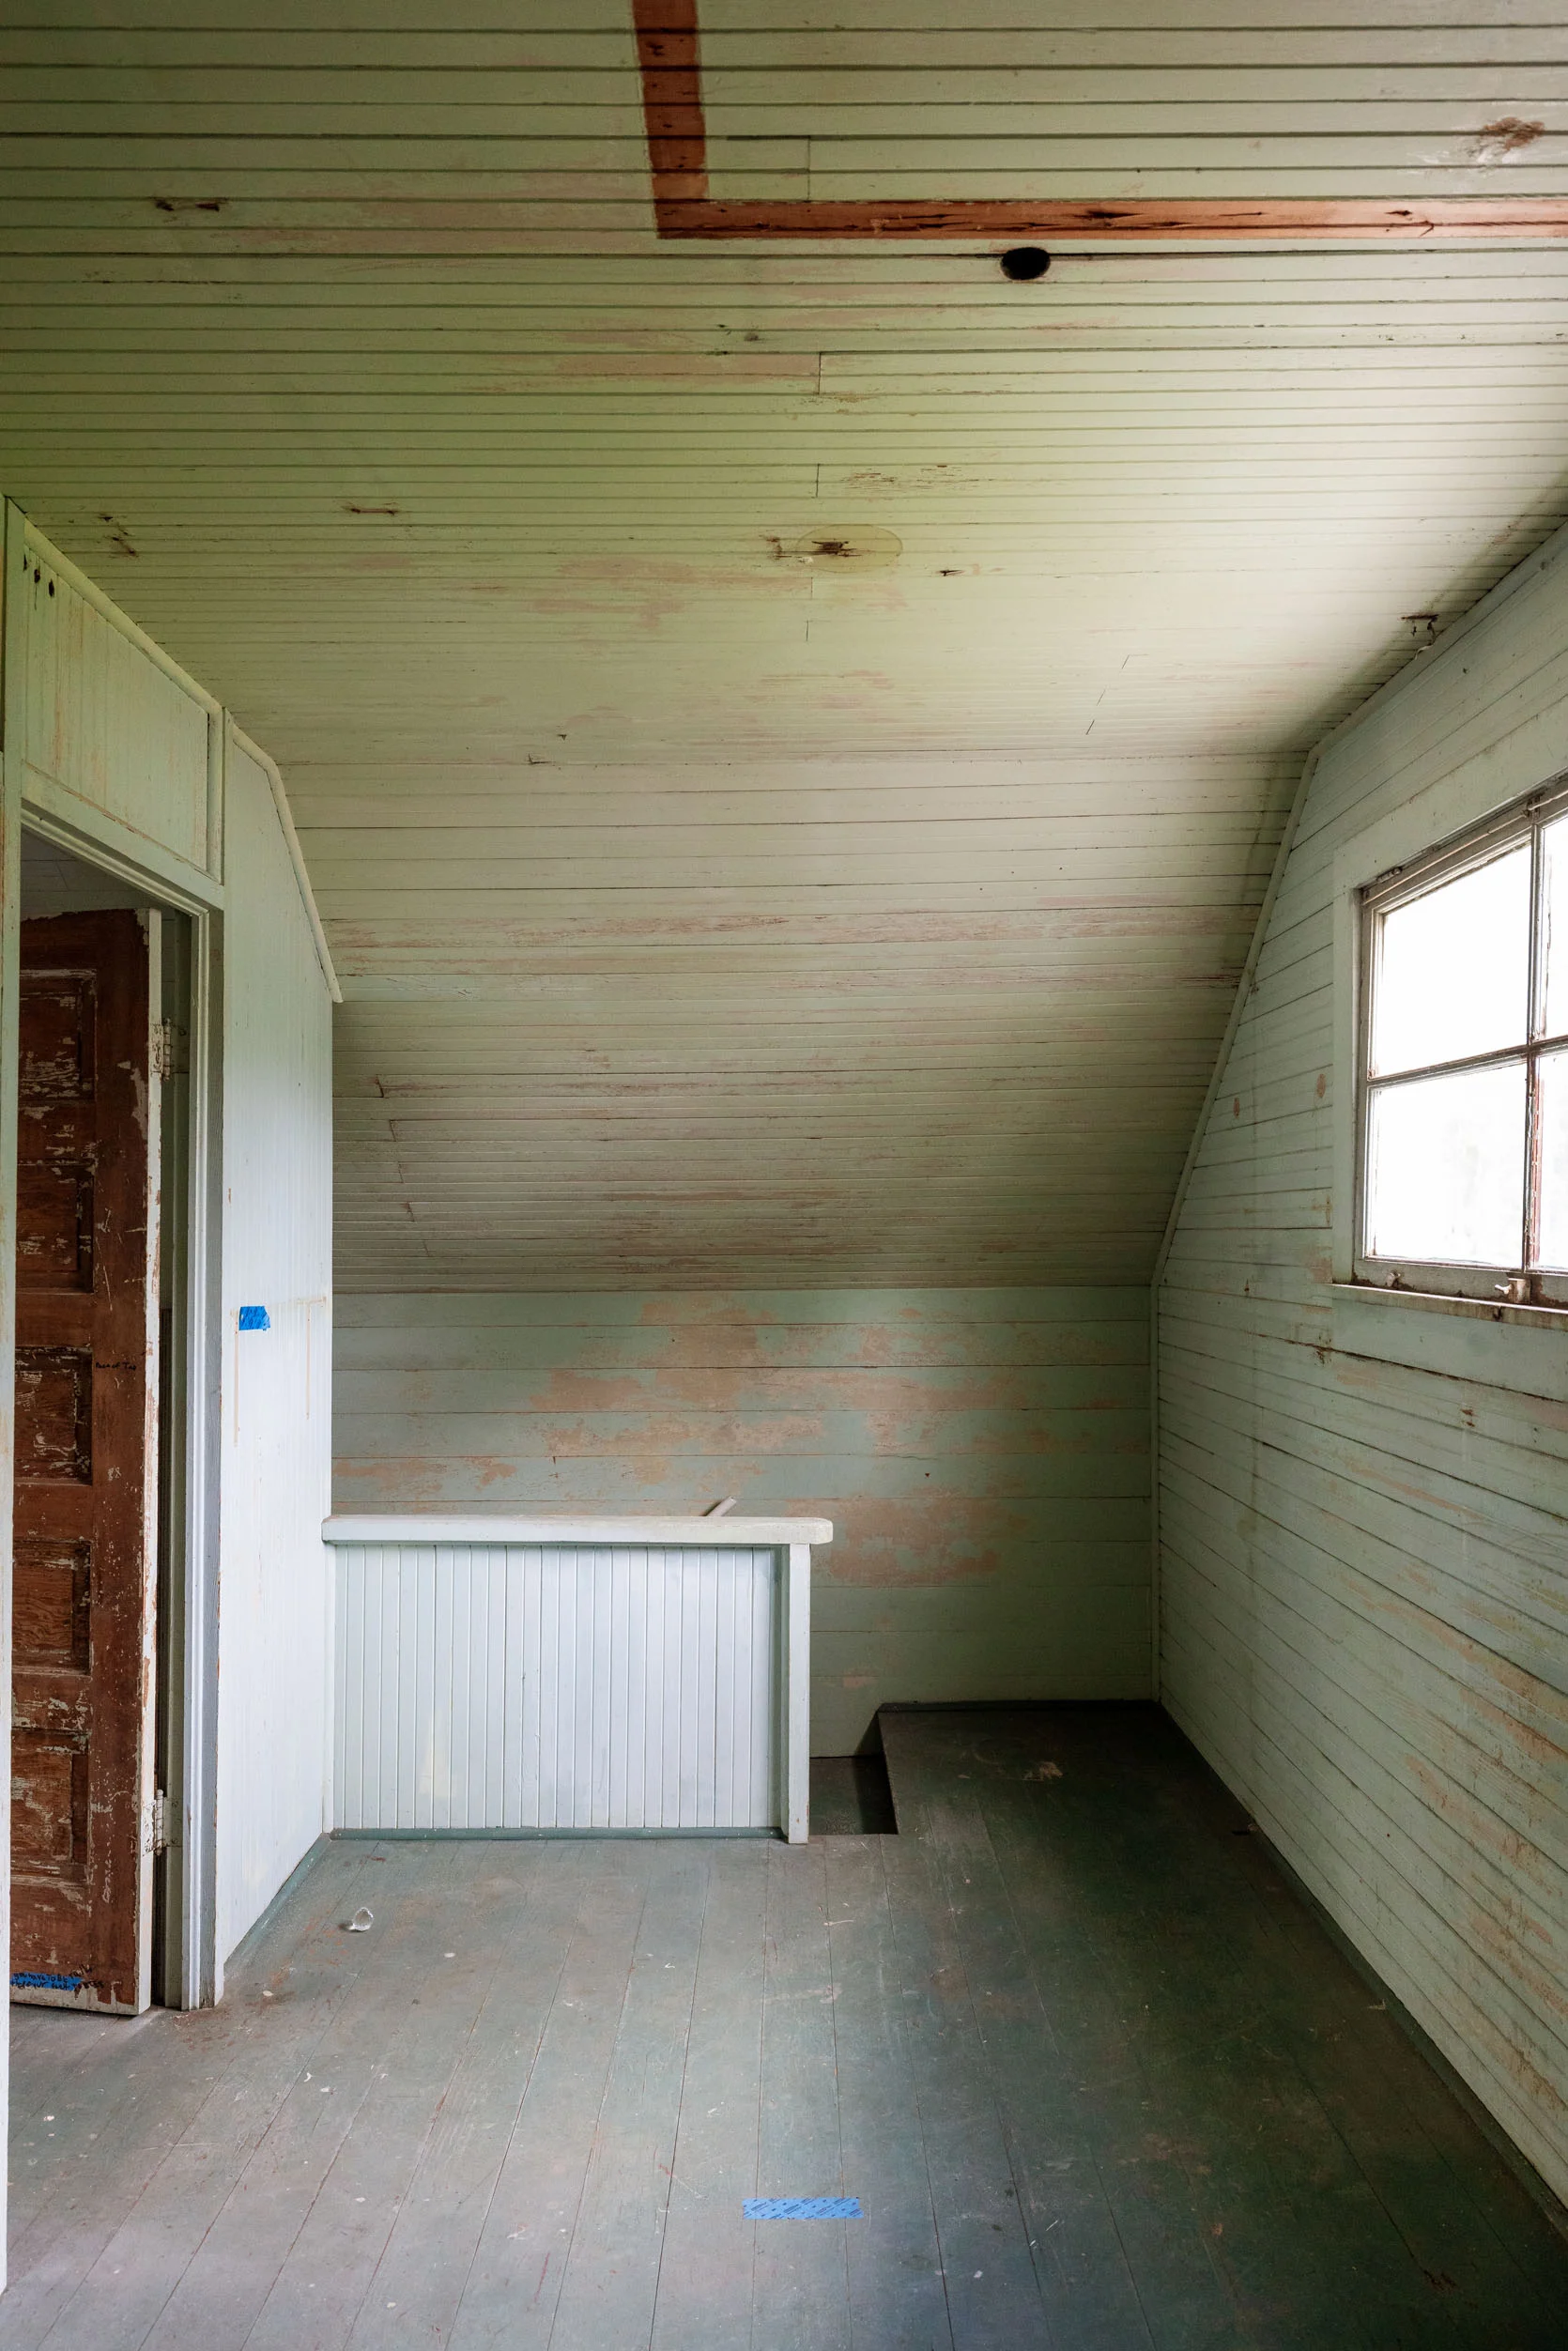
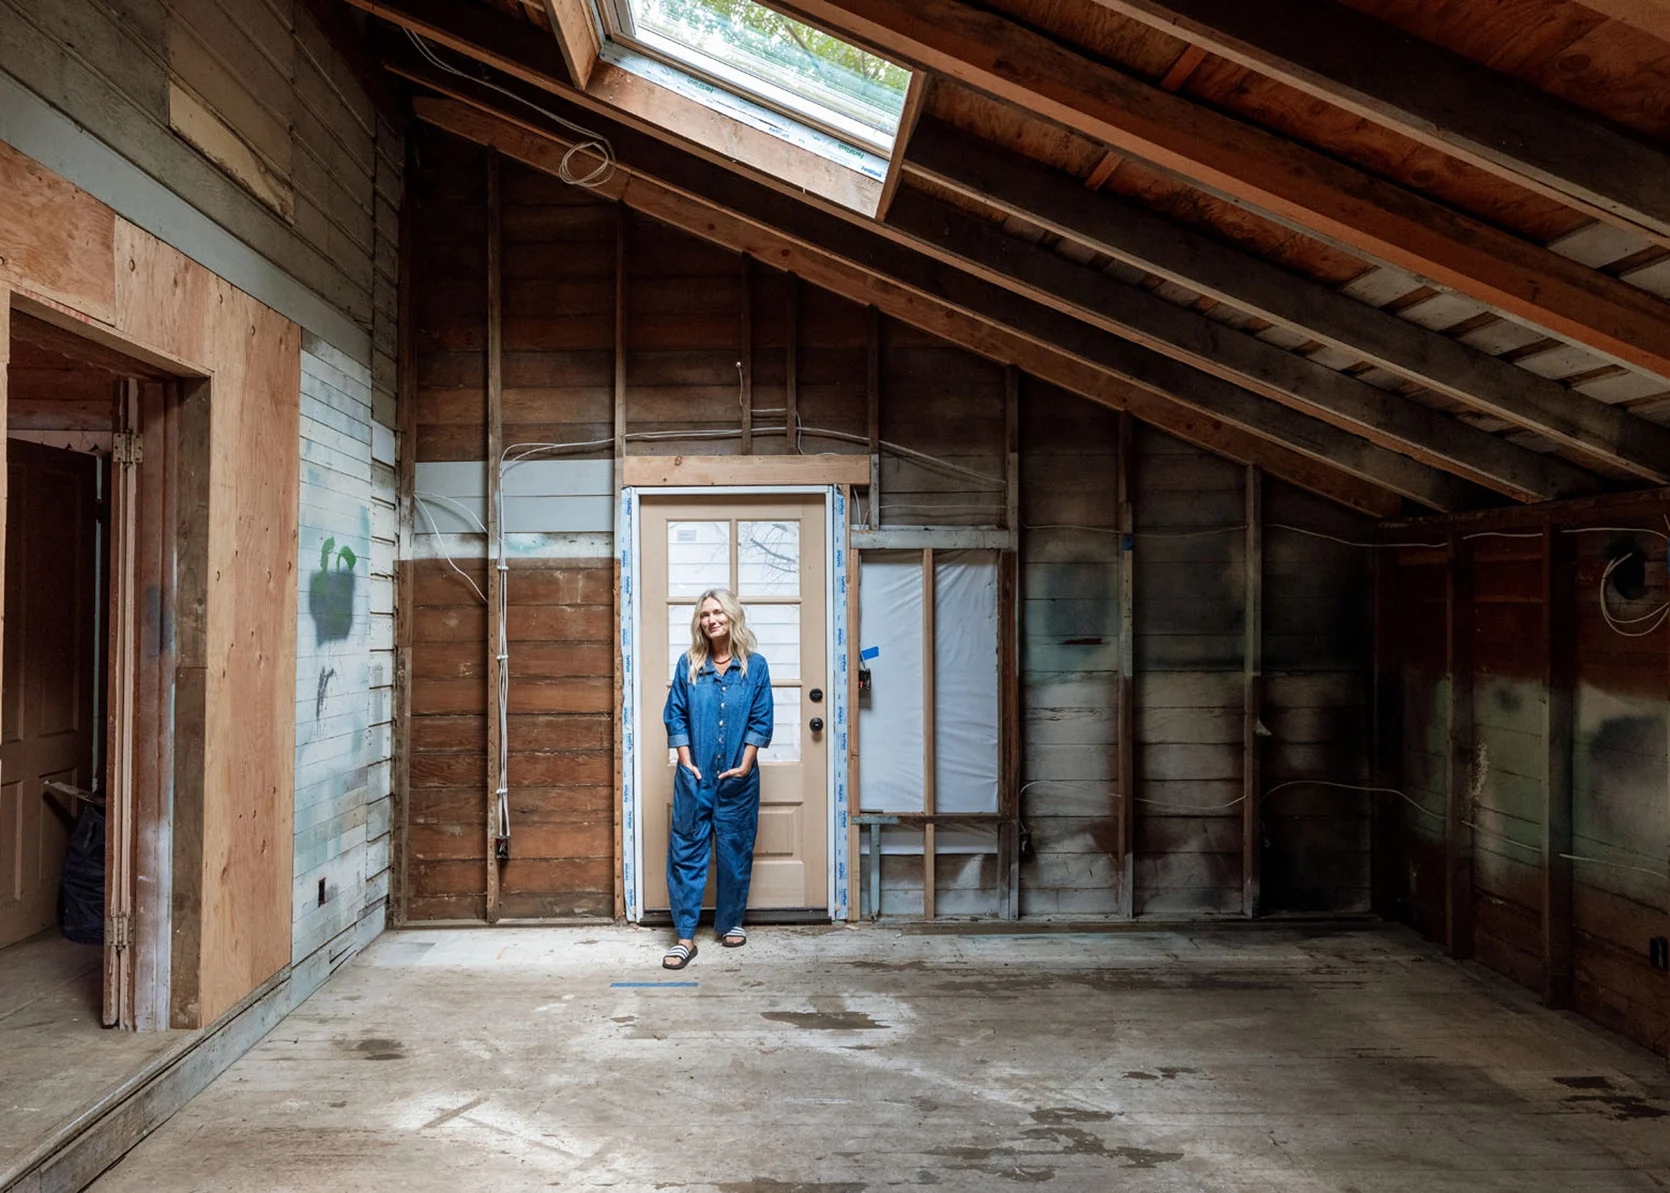
So up here we have another opportunity to paint the floor a pattern or just repaint it a solid color. This flooring feels like layers of paint, so less easy to strip and stain, at least not an easy job. If we were living here daily and long-term, I’d likely want stained wood flooring, but I think a pattern will be super fun. In my experience (our stairs, landing, and the art barn), painted floors show wear and tear pretty easily, even if done professionally. So we have to expect them to age. But any pattern makes it inherently more forgiving and less noticeable.
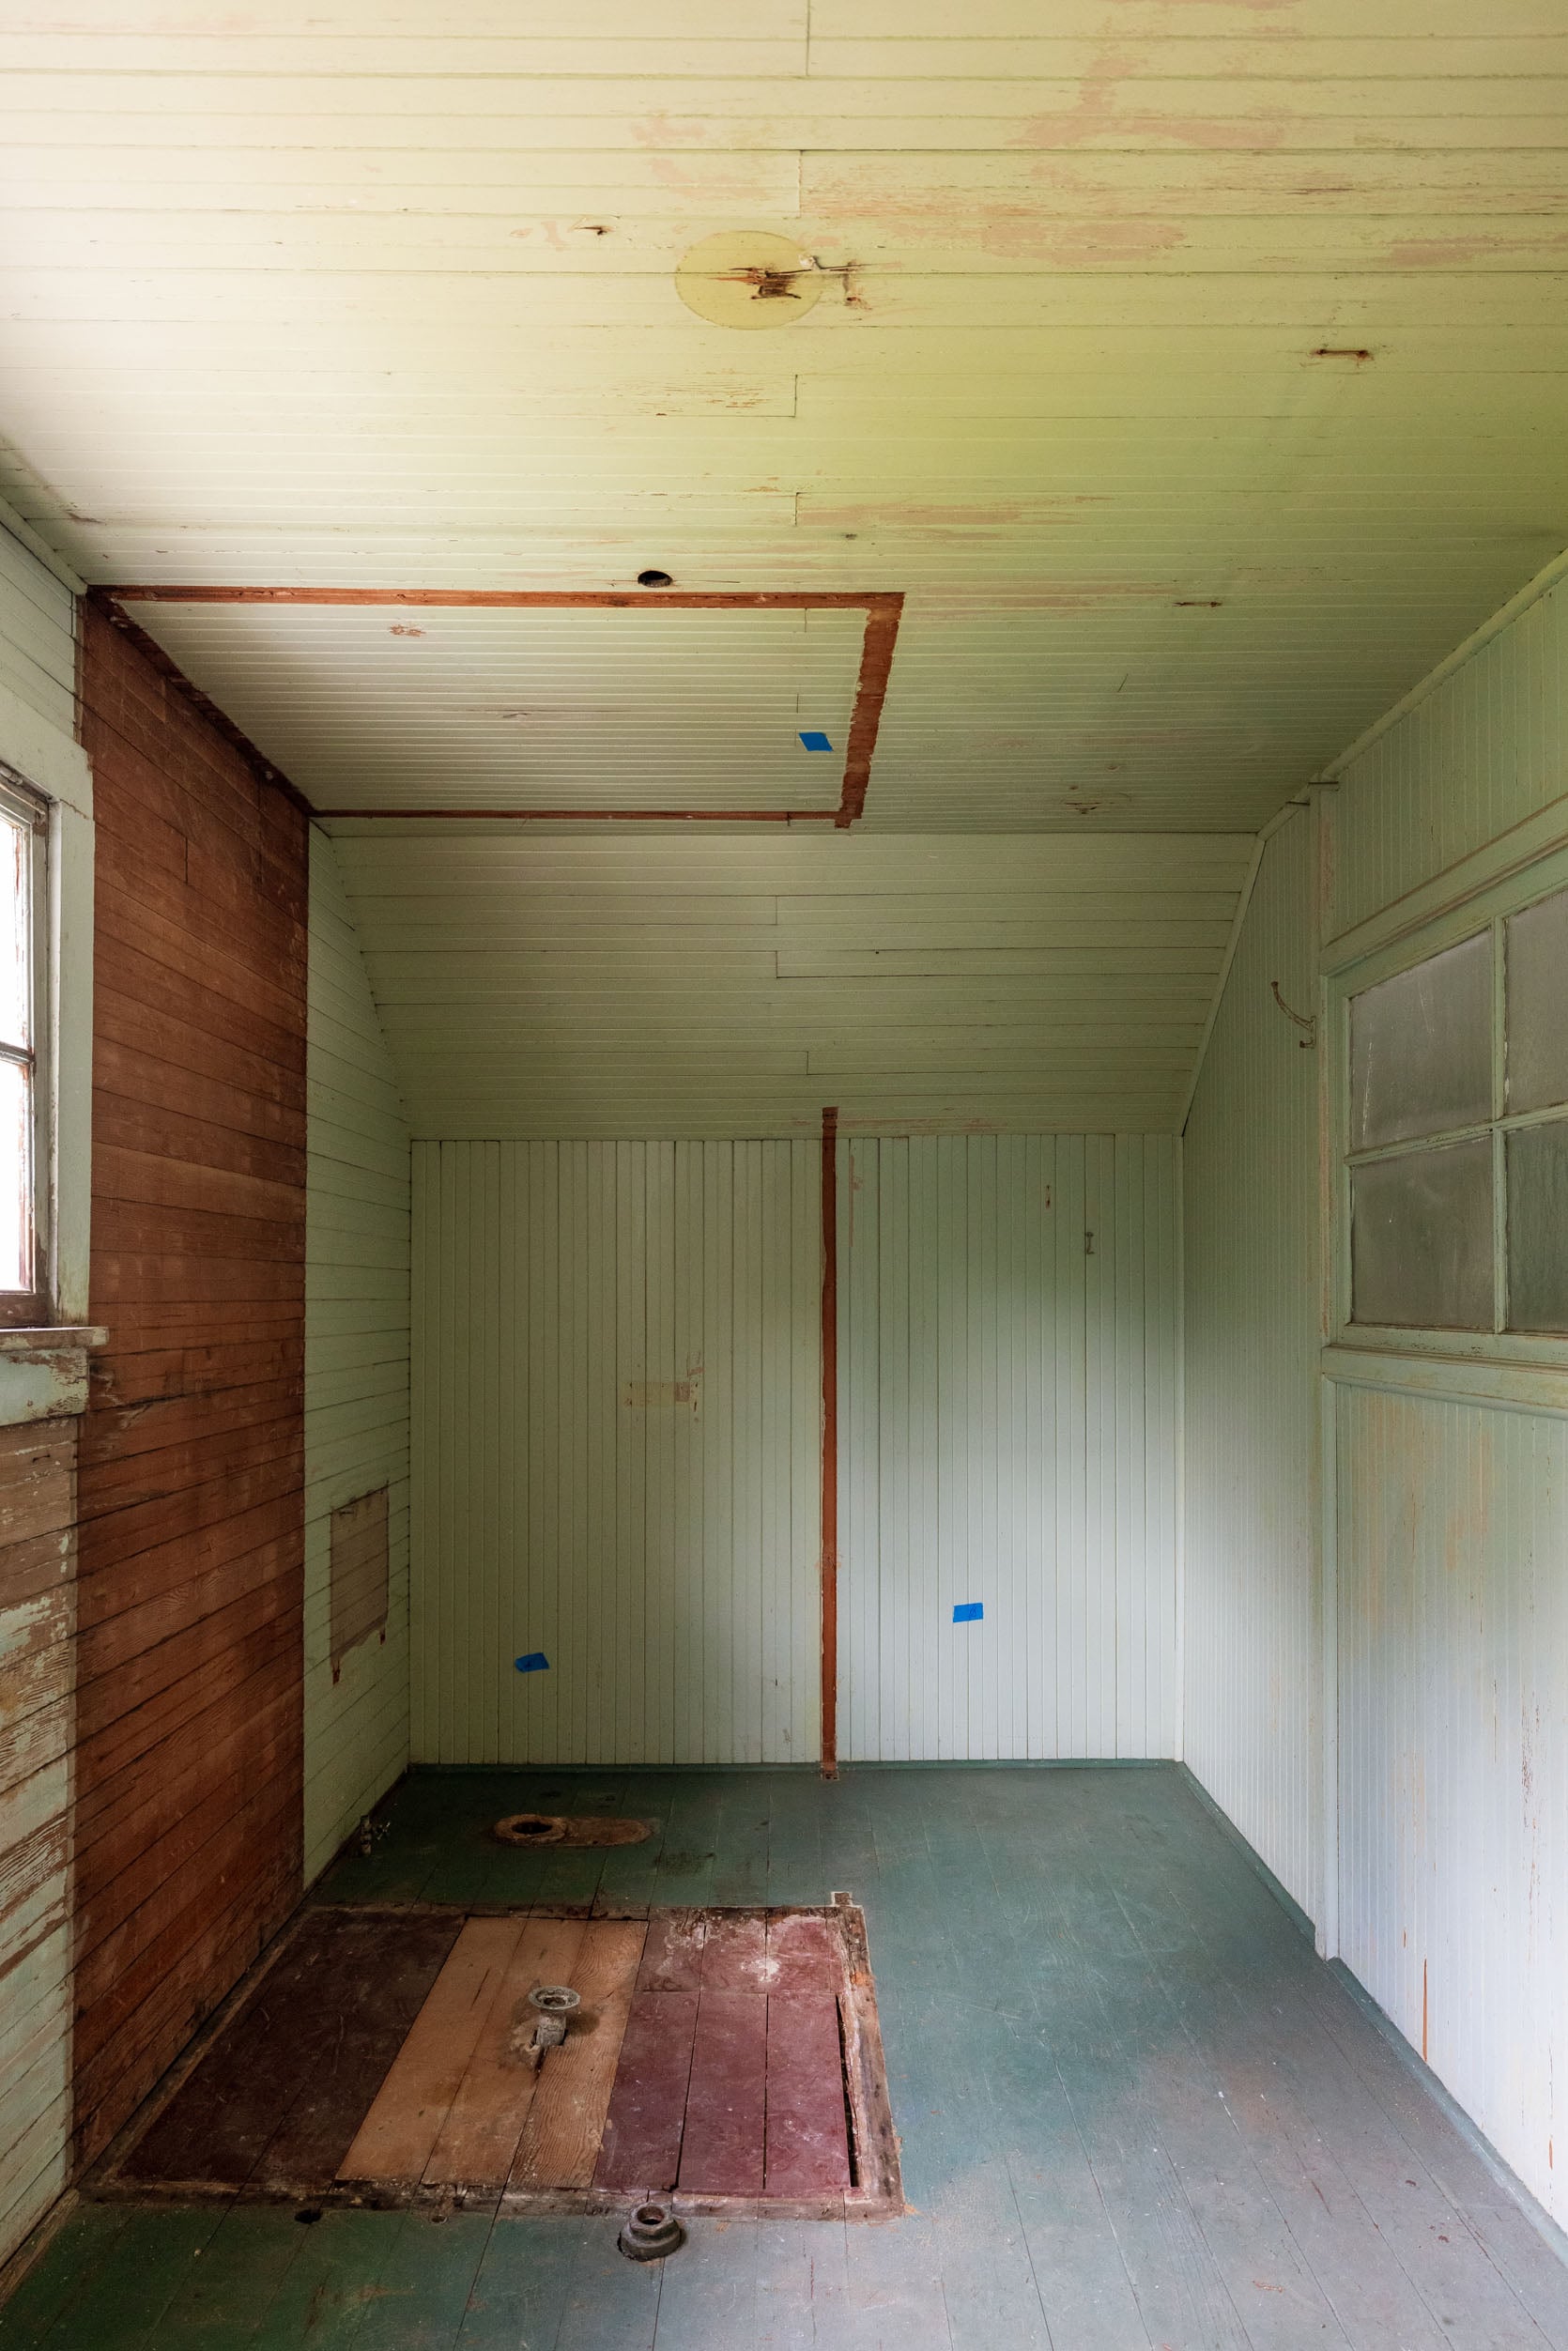
This landing (where the old toilet and shower stall were) is going to be a consistent shoot space (especially for our fashion shoots), so I would love to do something fun on the floor, then calm on the walls. This is also the best case for why we should move the window – to get better light on that back wall. That is still a TBD, btw. Moving it over and down a bit would look great from the exterior and also provide better overall light (although Gretch had a great idea yesterday of adding a skylight on the opposite slanted ceiling, which is a pretty solid idea!!). But that’s another story.
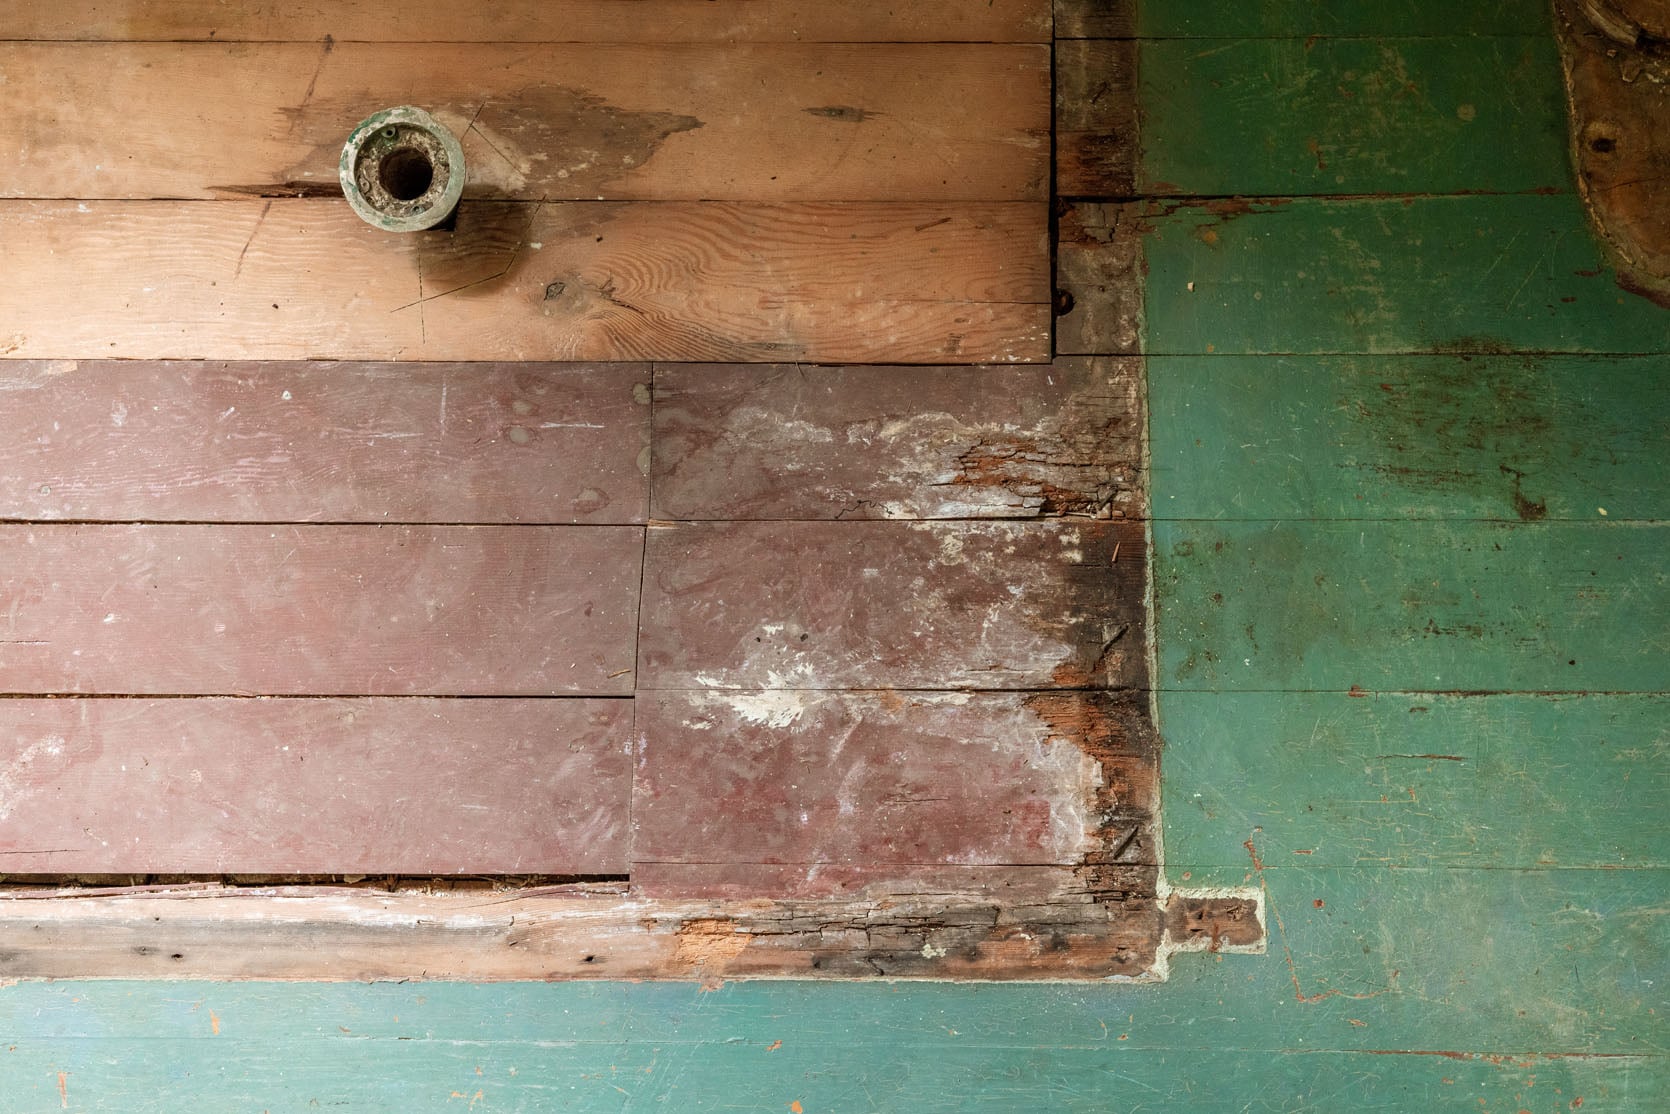
Obviously, the flooring up here needs some repair before we can paint, but there is no chance of refinishing it unless we spend a lot of time and money, which doesn’t make sense to me.
Our Upstairs Meeting Room/Shoot Space
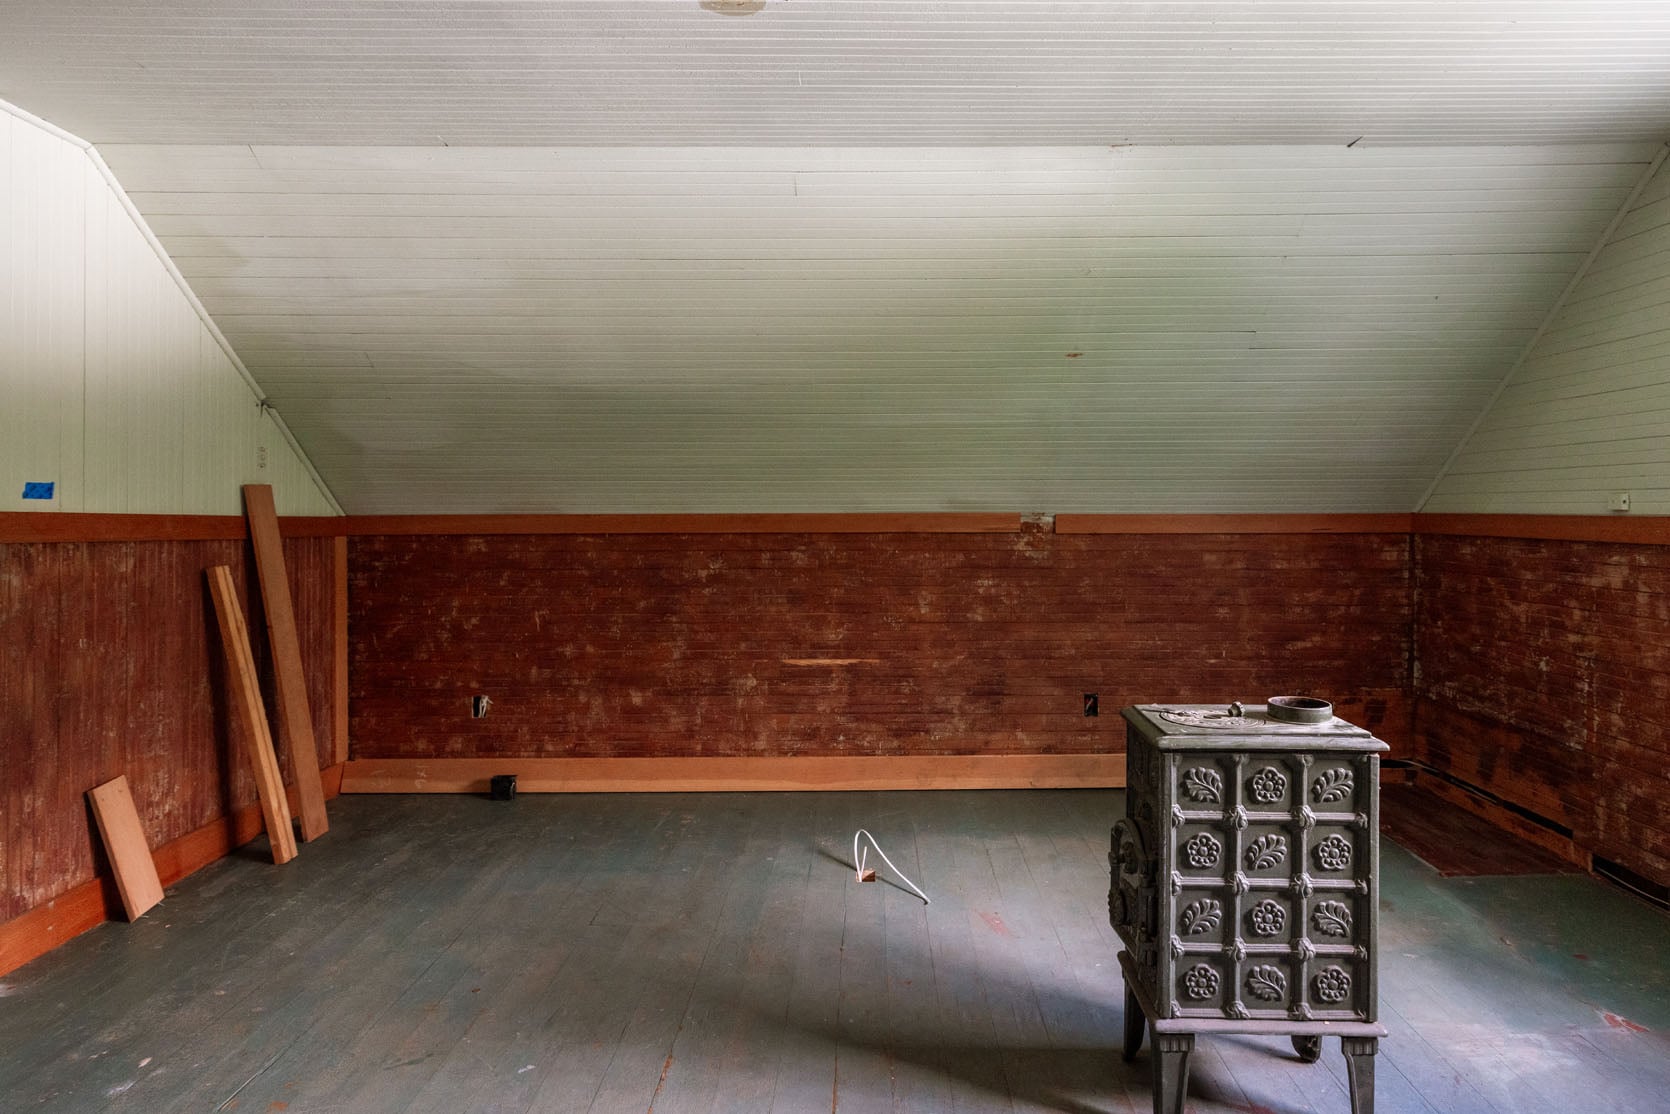
So this room is going to be where the Portland crew meets when we are in person (2-3 days a week). We really like a hybrid work, so my intent is to not create an office where people are required to be 9-5, but a room that we can meet in, shoot in, and be away from my kids and dogs (and the general chaos of a family home). Hell, I work a lot on the weekends doing the fun design work for my own house or writing posts, and I can not WAIT to have a quiet space to lock in.
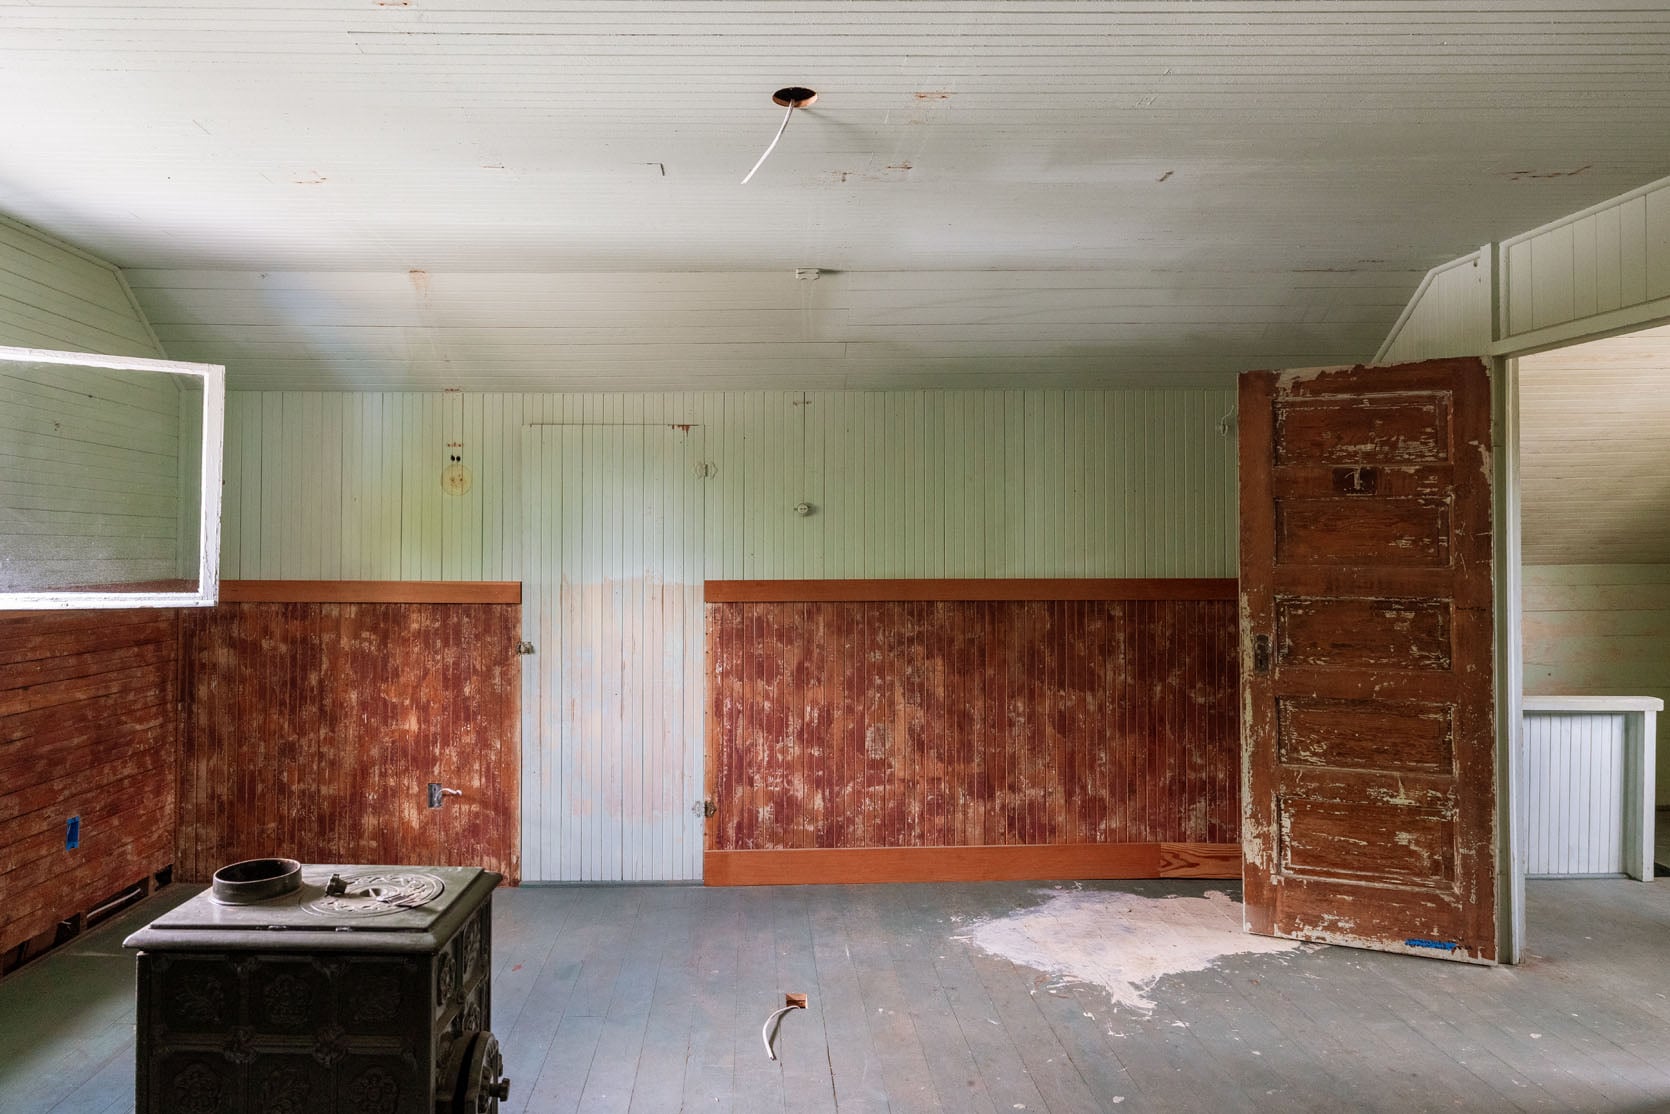
So this is another room that could either get a solid color or a pattern. I’m hoping for a pattern, but likely a graphic tonal one since it’s a big space. These are the motifs I’m loving:
I love that all of those are graphic and feel classic, and still pack a big punch. They don’t scream farm, but they also don’t not say farm. And all of them could be cute with multiple colors (which ups the time to execute by a lot). When we did the art barn floor, one of the reasons we did it so fast was that it was just white on wood, so we only needed to tape off and paint once (with a second round for the border). But once you have two colors, you have to tape off, then paint, then rip off the tape and retape over the first pattern to paint the second color. If you add a third color, it’s a third day of taping and painting (or likely wait even longer so that the first and second paint can dry). I hope that makes sense. The point is, the more colors you want in the pattern, the longer it will take, exponentially.
So that’s the flooring plan throughout the house. We’ll likely tackle it over time, leaving the prop room til last when I hopefully have more of a vision or purpose for it. But we are hoping to start meeting in the upstairs office by August, so it’s go time for that room now 🙂
*Photos by Kaitlin Green