I Turned My Bedroom Into A Bathroom


Since moving into our home, I have redone my guest bedroom, not once, but twice. After four years of renovating the same space, I finally realized what’s wrong with it. It doesn’t have a toilet. Yes, you read that correctly.
Hear me out. After 4 years of living in and renovating this house, we felt like we were continually running out of space. So, when it came time to decide if we should move or if we should stay, we chose to love this house and dormer instead. In that renovation process, we made the decision to turn the entire upstairs of our house into one big primary suite, which meant saying goodbye to one bedroom and adding a bathroom instead.
Maybe bad for resale, according to my neighbors. But we’re deciding to make this house work for us and not for resale. So after months living through the most chaotic renovation I’ve ever lived through, we’re finally seeing the light at the end of the tunnel. So, let’s get this bathroom started friends.
This post contains affiliate links, which helps support more projects on my website! For my full disclosure policy regarding affiliate links, click here!
Want to see this build in action? You can watch my build video here (+ make sure to subscribe to my channel)!
Want to see what else we’ve done over the last year? Check out some of the other projects in this dormer!
Full Dormer Video
Front Porch Renovation
Small Closet Makeover
Bedroom Accent Wall
Bathroom Vanity
Tools + Materials
TOOLS
PRODUCTS
MATERIALS
Let’s Take A Tour


A lot of you may remember this as the Metallica room. But it’s not the Metallica room anymore. It’s my new bathroom!

And yes, it looks huge. It is a very spacious bathroom, but it is not as big as it looks on camera. So let’s take a quick tour.

As you might remember, this ceiling used to be super slanted. So, we gained like 8 ft of space back here, which is wild.

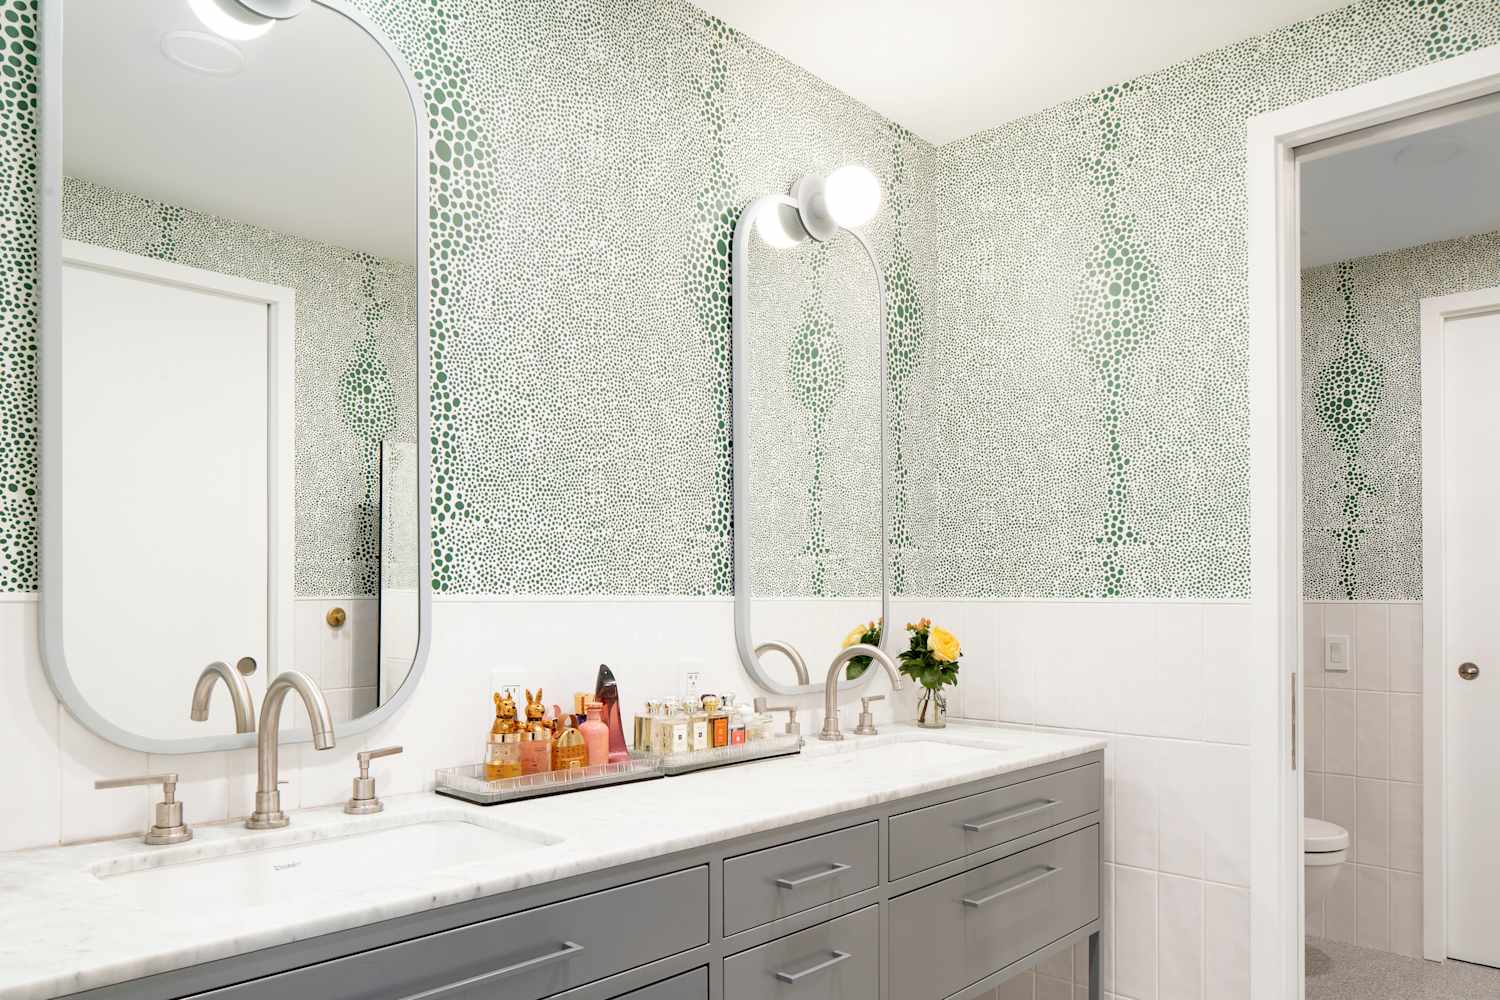
This was the spot for the double vanities here. Yes, I made my own custom vanity because I love making my life difficult. You can find that video here, and the blog post is coming soon!

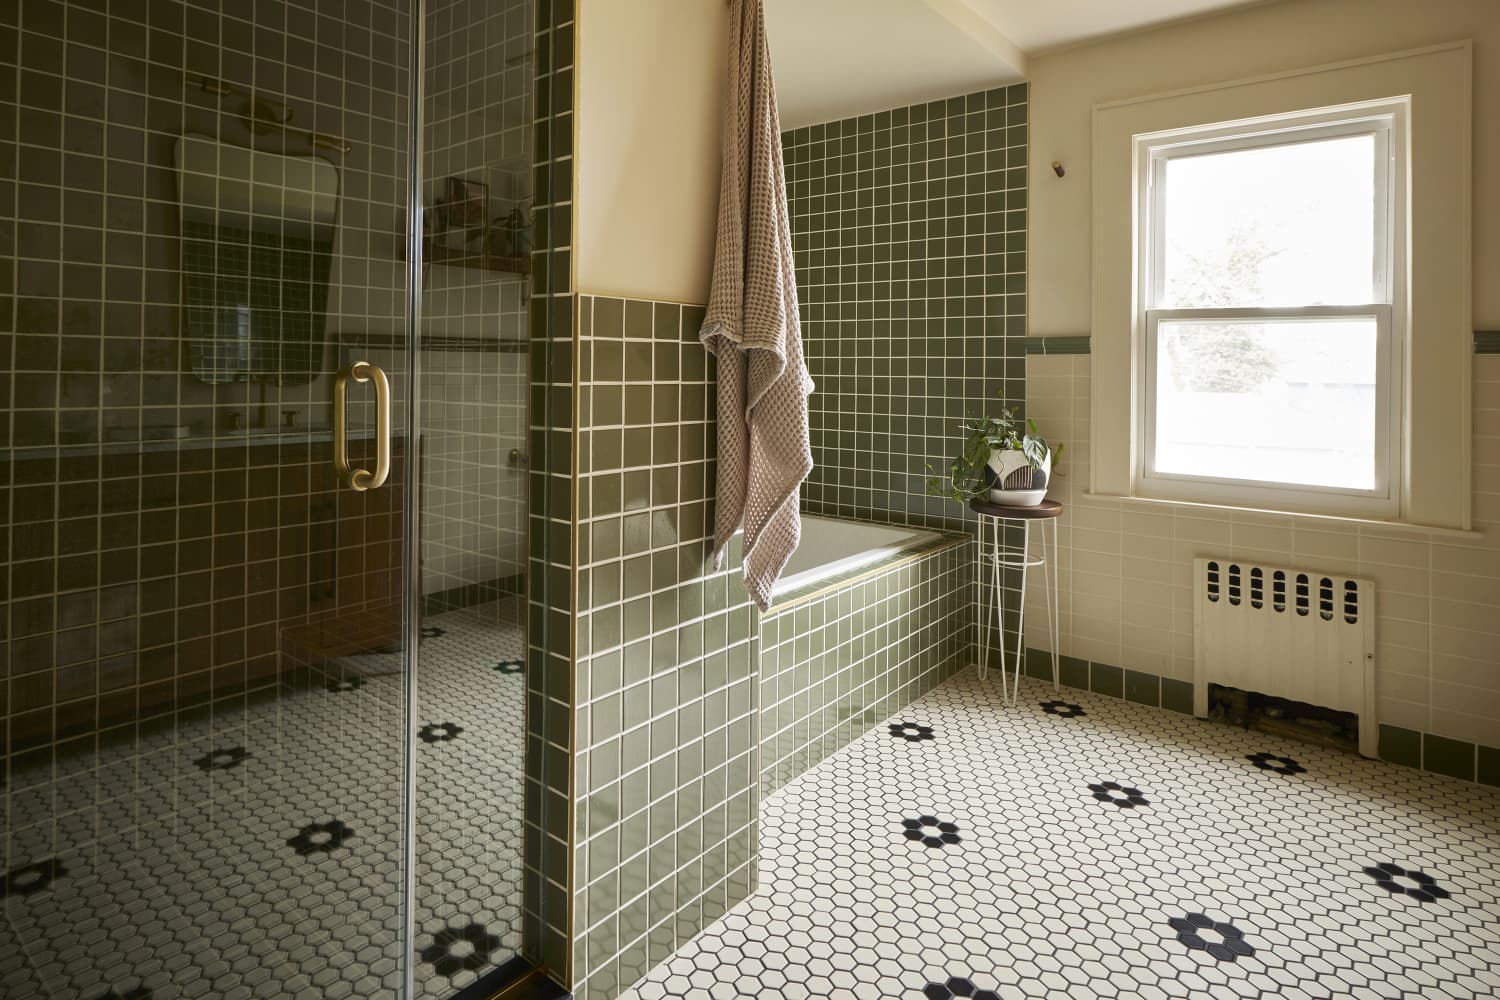
That was the spot for the beautiful soaker tub, which was literally sitting in the middle of my bedroom as I filmed this. You can see the bedroom makeover video here or check out the blog!

This was the spot for the spacious walk-in shower. It does look bigger on camera than in person.

And then a pooper room. Because who doesn’t need a unique room for their toilet?

We’d dreamed it up, so let me show you how we did it.
Choosing Tile

Choosing tile is the hardest for me. Paint choices? No problem, but tile just feels so permanent.

So, when I was sick with shingles, I had the shower floor and the bathroom floor done because I just needed it to be finished. And the intention was to do the shower walls by myself, but I did end up hiring out for that also. I had to make some tough decisions on this project with hiring help. But in the end I’m glad I made that call.

I had a really tough time deciding what I wanted to do with the shower tile. I knew I wanted to go vertical because I wanted to counteract the low ceiling. Putting the options side by side made the middle one almost look too black, which is crazy to say because you know I love a good jet black color.

Ok, it’s a vibe, what do we think? I’m absolutely obsessed with the tile. I don’t know why I was overthinking it.

I will say, though, I probably should not have chosen natural stone tile for this shower because it definitely requires some maintenance.

I had to apply about two coats of a waterproofing sealer to the stone after they were installed. And I will probably have to do this once a year to keep them looking fresh and to make sure that no soap scum gets absorbed into the black tiles. But so far, I’m mentally okay with the idea of having to do maintenance if it means I get to keep this really cool shower.

I applied the sealer to the tile with a brush and used a microfiber cloth to wipe away the excess. Although it’s an extra step it did make the tiles look so good.
Faux Limewash Paint

Between being sick and having emergency hand surgery it was time to call in the reinforcements. Danie to the rescue!

The paint samples definitely look like 50 shades of greige…

But I wanted choices to test a limewash effect on the walls. I was loving all of the black fixtures but it was starting to feel a little flat so I felt like the limewash look could give the space a little more depth.


We applied two colors to the brush and sampled different combos on the wall that gets the best natural light.

It was so helpful to have Danie’s eyeballs when it came to finishing up this space and all of those final details. I’ve been staring at planning boards for too long, and it was so nice to have a fresh perspective.

With the decision made, it was time to get the faux limewash going with Sculpture Clay and Confident White as our two shades.

Honestly, this faux lime wash technique is my favorite thing ever. I used it in my basement as well, it’s just perfect.


So this is how it looked after the first coat, pretty great right?

We did a second coat and added some water to the paint to make it thinner. As you apply the paint with the brush the water helps it all blend in. I couldn’t be happier with how it turned out and it took way less than the 2 gallons of paint that we bought.
Trimwork


Since this project was done while I was unable to use power tools, Danie got to work on cutting and securing the trim while I followed with the caulking gun.
Hang Shelves


I’m so grateful to this support system for helping me through this incredibly crazy time of not being able to work fully. And so grateful to all of you for being here, I don’t know how I would keep a roof over my head otherwise, and I can’t thank you all enough.
Shower Door

Once the shower door was installed it really started to feel like everything was coming together. I don’t know why, but the reflection of the plant and the tub in the glass makes me so weirdly happy.
Finishing Touches

Jordan and I struggled a bit without Danie but we did manage to get the towel hook mounted.

While I did touch up paint Jordan mounted the hardware for the privacy shades.


Next was time to mount the mirrors!

So cool right?
The Reveal


I cannot believe this room used to be my guest room.

And now it is a full blown bathroom!


I feel like I’m at a spa.


A lot of people had opinions about getting rid of a bedroom in order to put a bathroom in, and I’ve got to say, no regrets. This was a great idea.
I know that this was kind of a weirder project in the sense that there were a lot of things hired out for this bathroom, but I am really glad that I decided to ask for help on this one.
Obviously, with this situation, there’s so much going on right now in my house, and I feel like I’ve proven myself time and again that I do have the skills to do a lot of this work. But it was able to get done so much faster since I only had to tap in on the easy things in this space. And I just love how it came together.
We still have to tackle the pooper room and there is a separate video on the vanity (blog post coming soon)! But for now, this bathroom is functioning and it is so enjoyable. Make sure to subscribe and stay tuned because there are a lot more projects coming. Until then, Happy DIYing Friends!
Save this for later
I hope you enjoyed this project! If so, make sure to Pin It for later!